Edit
The Edit group of the Inventory ribbon contains tools to manage your stock and reconcile blast products.
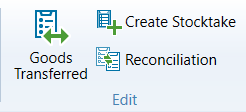
 Goods Transferred
The Goods Transferred tool allows you to record when products are sent or received.
To record the goods transferred, follow these steps:
-
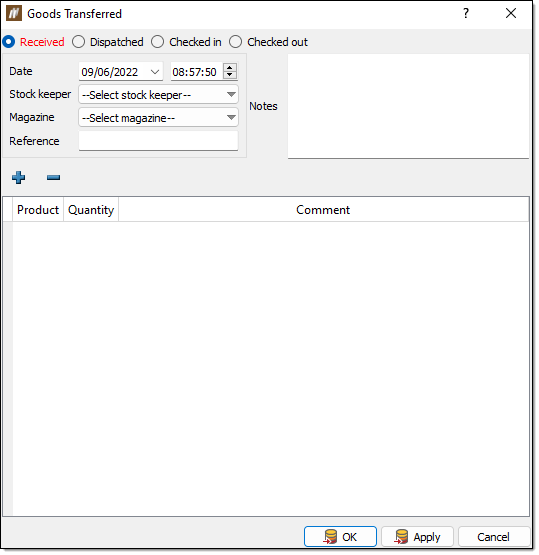
On the Inventory ribbon, in the Edit group, select Goods Transferred. The Goods Transferred panel will appear.
-
Select the type of transfer you wish to enter from the radio buttons at the top of the panel.
 Expand for more information on these options
-
The Received option refers to explosives which have been delivered to a magazine.
-
The Dispatch option refers to explosives which have been moved from a magazine to another site (other than a blast).
-
The Checked in option refers to explosives returned from a blast.
-
The Checked out option refers to explosives sent to a blast.
-
-
Enter the appropriate information using the Date, Stock keeper and Magazine drop-downs. You can also enter a reference number into the Reference field and add any comments into the Notes field.
-
Select
 to add the entry. The Select Blast Products panel will appear.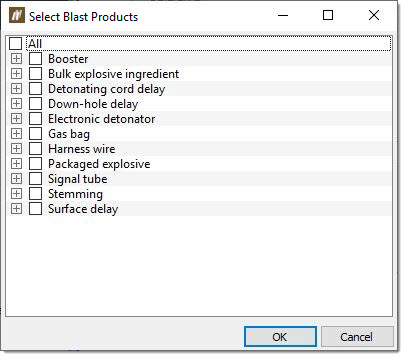
-
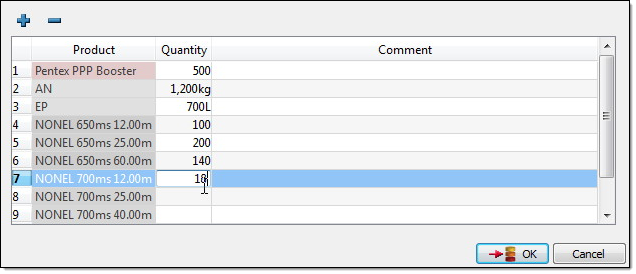
Select the desired products from this panel and click OK. The entry will appear in the table of the Goods Transferred panel.
-
Enter the appropriate information into the Quantity column of the table. You can add comments in the Comment column as desired.
-
Optionally, you can remove a row from the table by selecting
 .
. -
Click OK.
 Create Stocktake
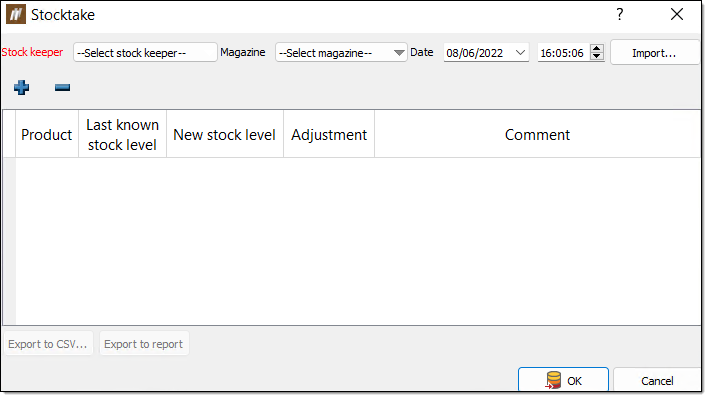
The Create Stocktake tool allows you to manage magazine stock levels by creating stocktake entries. You can do this manually or by importing a CSV file. You can also export complete stocktakes as a CSV or PDF.
To enter a new stocktake, complete the following procedure:
-
On the Inventory ribbon, in the Edit group, select
Create Stocktake. Alternatively, you can select Stocktake History in the Query group on the Inventory ribbon and select New stocktake... from the panel which appears.The Stocktake panel will appear.
-
Select the appropriate information in the Stock keeper, Magazine and Date drop-downs.
-
Select
to add the entry. The Select Blast Products panel will appear.
Note:Alternatively, you can import a new stocktake entry by clicking Import... and selecting the desired CSV file from the file explorer.
-
Select the desired products from this panel and click OK. The entry will appear in the table of the Stocktake panel.
-
Enter the desired information into the New stock level column of the table. You cannot leave any of the cells in this column blank.
-
Optionally, you can remove a row from the table by selecting
. -
Optionally, you can export the entry with the following options:
-
Select Export to CSV... to export the entry as a CSV file.
-
Select Export to report to export the entry as a pdf report.
-
-
Click OK.
 Reconciliation
The Reconciliation tool enables you to record the inventory of products used for a selected blast. You can automatically calculate the total product usage or the product usage for a period of time. You can also enter and edit the stock data manually.
To record the inventory of stock for a selected blast, follow these steps:
-
Select a blast in the data explorer or view window.
-
On the Inventory ribbon, in the Edit group, select
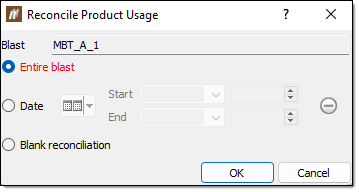
Reconciliation. The Reconcile Product Usage panel will appear.
-
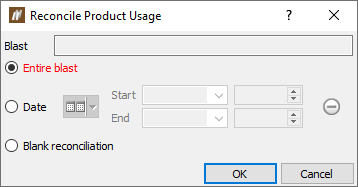
Select a reconciliation range using the radio buttons of one of the following options:
-
Entire Blast — Reconcile product usage over the lifetime of the blast - this includes all explosive products recorded in the charge validation panel (from tablet or manual entry) and accessories in the Actual Tie-up.
-
Date — Reconcile product usage for the blast over a set time period.
-
Blank reconciliation — Create a blank reconciliation for manual data entry of product usage.
-
-
Click OK.
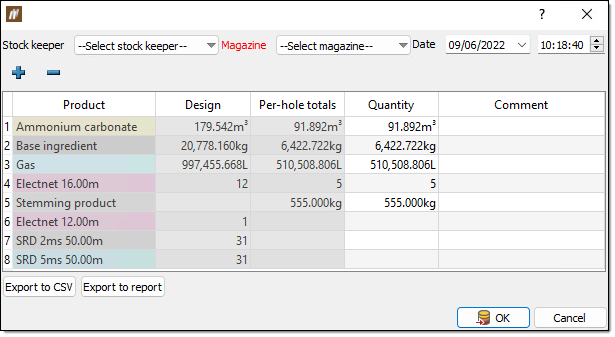
A panel will appear displaying the recorded usages corresponding to your reconciliation range selection.
 Note:
Note:If there are no reconciliation values, this table will be empty.
-
Select the appropriate information in the Stock keeper, Magazine and Date drop-downs.
-
Select
to add the entry. The Select Blast Products panel will appear.
-
Select the desired products from this panel and click OK. The entry will appear in the panel table.
-
Enter the desired information into the New stock level column of the table. You cannot leave any of the cells in this column blank.
-
Optionally, you can remove a row from the table by selecting
. -
Click OK.
