4. Generate a Schedule
Now that you have successfully validated your setup, you can move on to generating your schedule. Epoch uses a client-side evaluator to generate schedules.
To generate a schedule, open the Viewer tab.
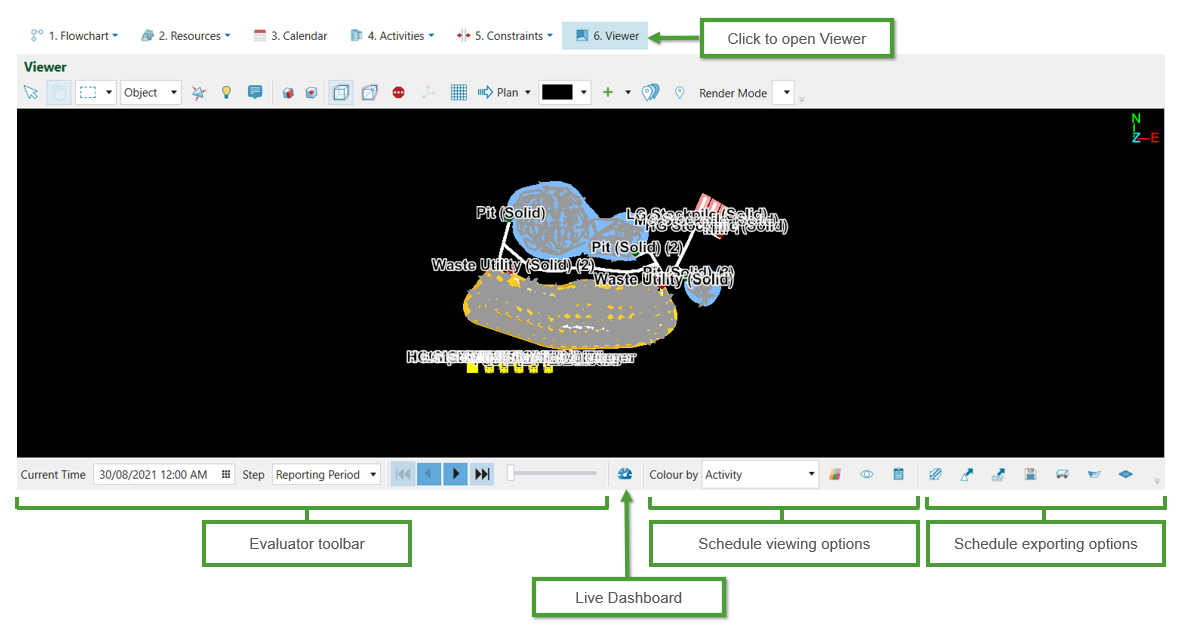
Located below the Viewer is the Evaluator toolbar. It contains all functions necessary to generate an Epoch mining sequence.

To schedule all solids, click the Schedule All button in the Evaluator toolbar.

To only schedule solids one step at a time, click the Step Forwards button in the Evaluator toolbar.

One step can be defined as:

-
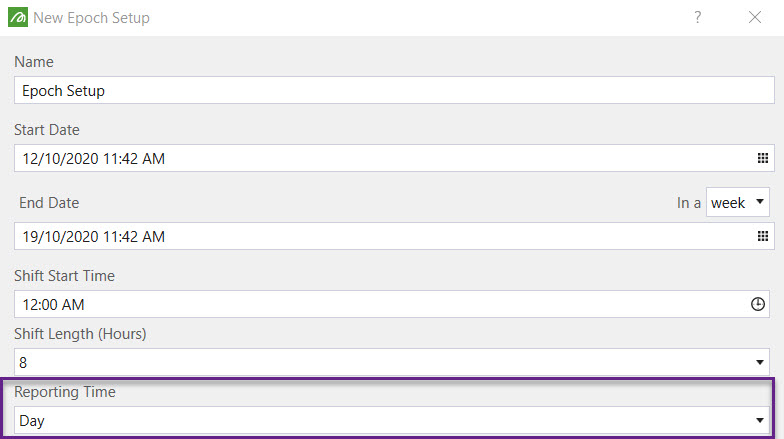
Reporting Period — Defined during the initialisation of an Epoch setup.
-
Interrupt — The schedule steps forward up until the first scheduled appointment (added underResources > Resource Groups > Appointments Calendar).
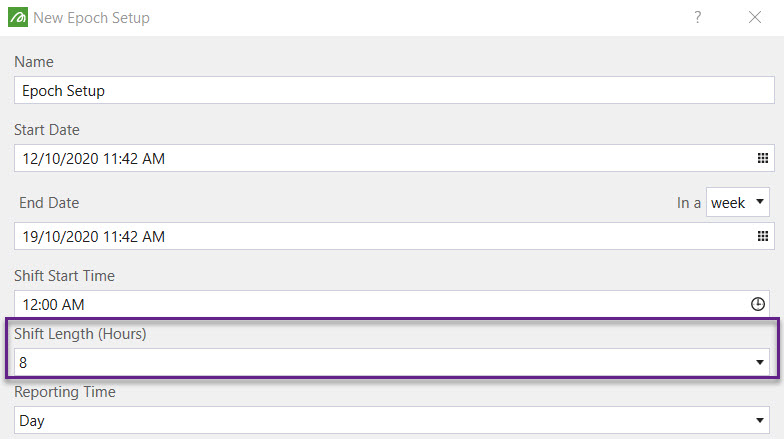
-
Shift Length — Defined during the initialisation of an Epoch setup.
-
User-defined — You set the number of hours to step forward.
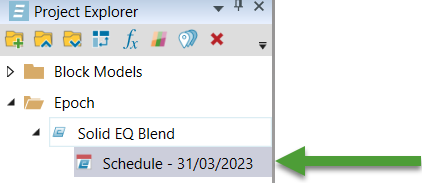
To save an Epoch schedule to view later, click ![]() in the Scheduling export options under the Viewer. You will be prompted to provide a name for the schedule. It will be stored under the Epoch Setup in the Project Explorer.
in the Scheduling export options under the Viewer. You will be prompted to provide a name for the schedule. It will be stored under the Epoch Setup in the Project Explorer.