Calendar
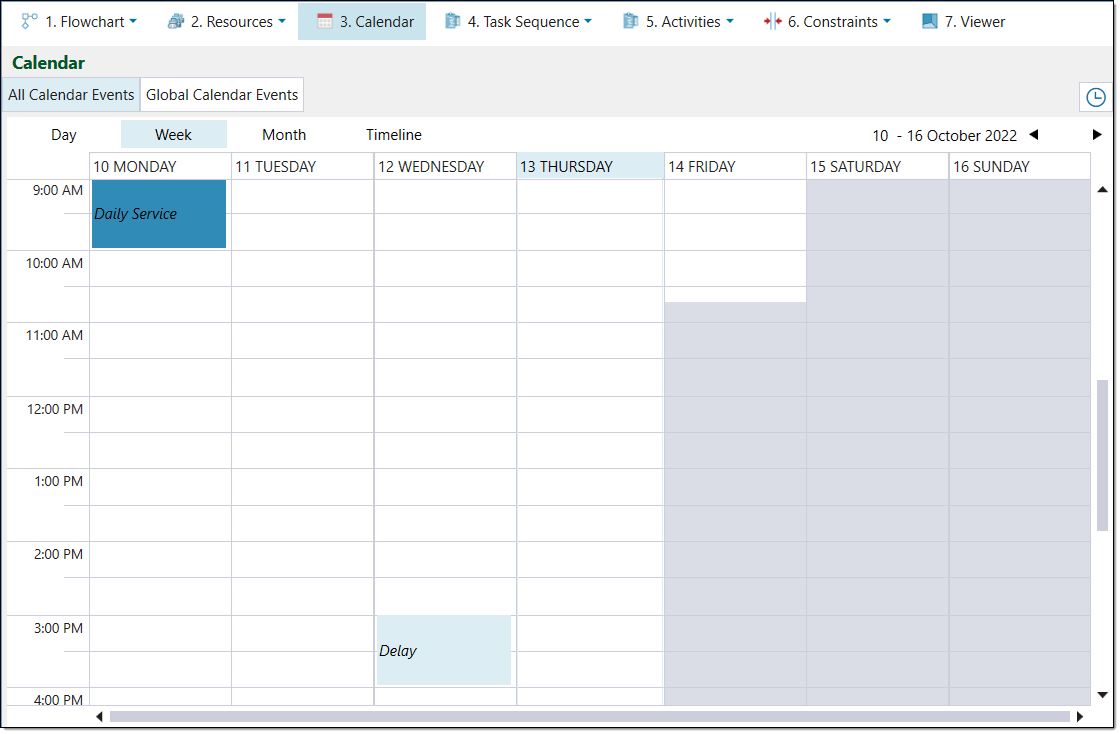
The Calendar tab provides you with a complete overview of the site appointments. These appointments include general delays and maintenance as well as global events such as public holidays and weekends. In this tab, you can view an All Calendar Events tab and a Global Calendar Events tab.
To access the calendar, select 3. Calendar from the Setup Configuration Tabs.
All Calendar Events
The All Calendar Events tab allows you to view all of the calendar events, including global events and events created through the Resource Groups tab. You can also create calendar appointments in this tab.
Global Calendar Events
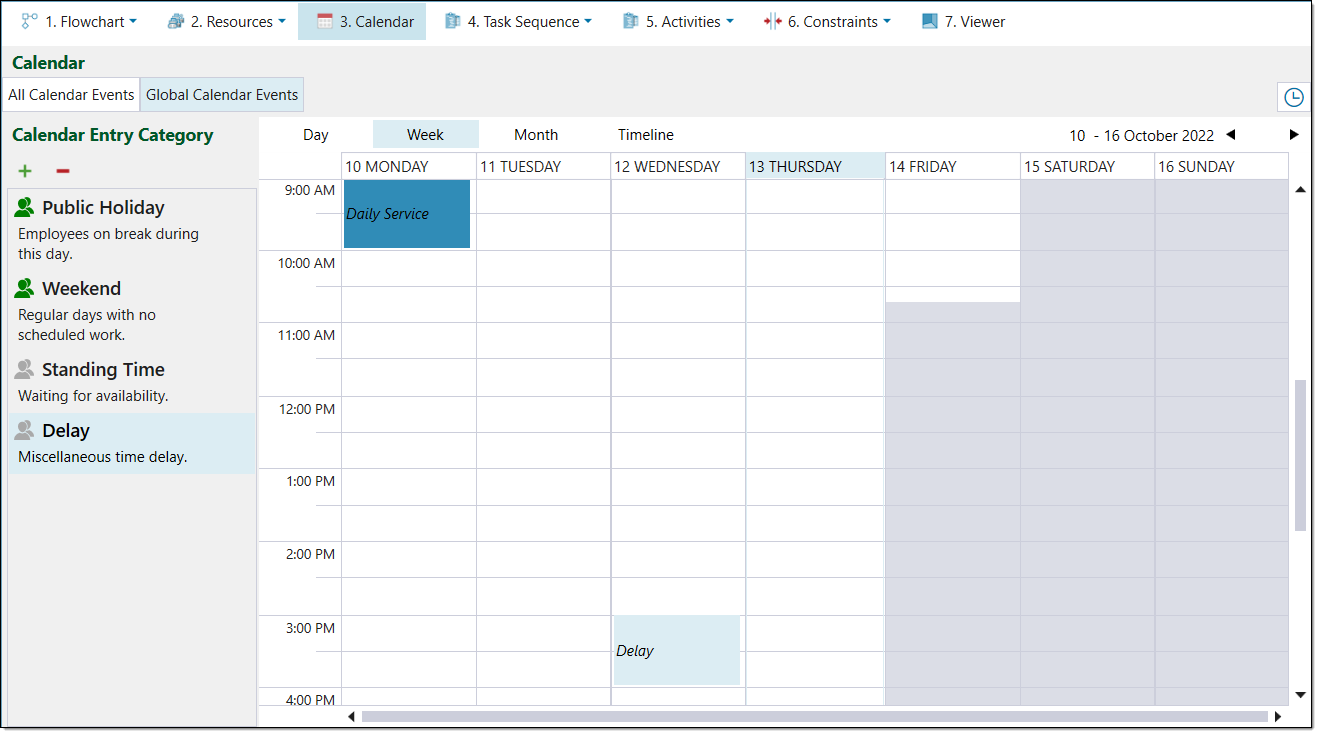
The Global Calendar Events tab allows you to schedule and manage global site events. Epoch automatically applies global events to all aspects of the site, including every resource in the setup. The tab contains a Calendar Entry Category side panel and a main calendar view.
Creating a global calendar entry
To create a global calendar entry, follow these steps:
-
Determine the calendar entry category you require. Epoch contains a list of default global event categories in the Calendar Entry Category side panel.
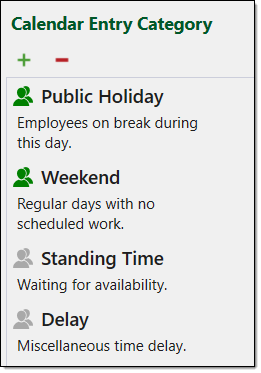
If you wish to create a new category, follow these steps:
-
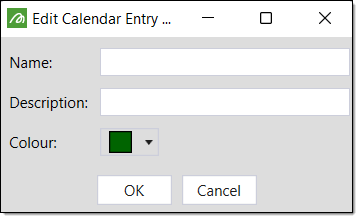
Select the
 button. The Edit Calendar Entry Category panel will appear.
 -
Enter a calendar entry name and description into the Name and Description fields respectively. You can also select an entry colour from the Colour palette drop-down.
-
Click OK. Epoch will add the entry to the Calendar Entry Category panel.
-
-
Navigate to the desired time slot in the calendar by using the following:
-
Select the desired time period from the calendar toolbar. You can select to view the calendar by days, weeks, months or by the site timeline.

-
Switch to the next day/week/month using the arrow buttons in the calendar toolbar.

-
-
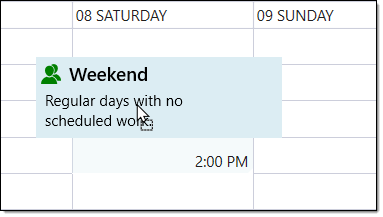
Drag the desired category from the Calendar Entry Category side panel to the desired time slot in the calendar.
-
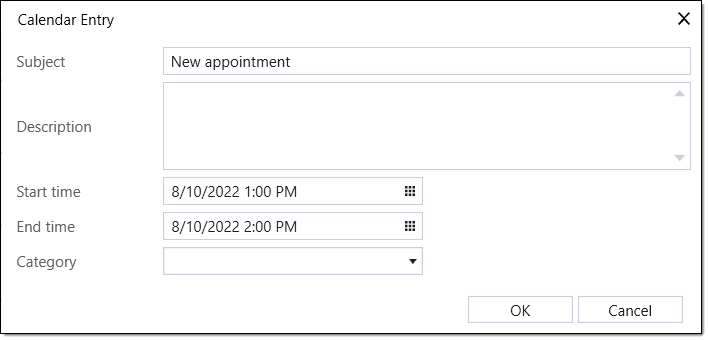
Edit the calendar entry details by double-clicking on the category on the calendar. The Calendar Entry panel will appear which allows you to edit the following fields:
- Subject
- Description
- Start time
- End time
- Category
-
Click OK. Epoch will add the changes to the entry in the calendar.
Creating a recurring appointment
To create a recurring appointment, follow these steps:
-
Click the
 Create Appointments button. The Select Resources panel will appear.
 -
Select the desired resource checkboxes from the resources list. Epoch will associate the resource(s) you select with the appointment.
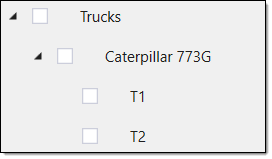
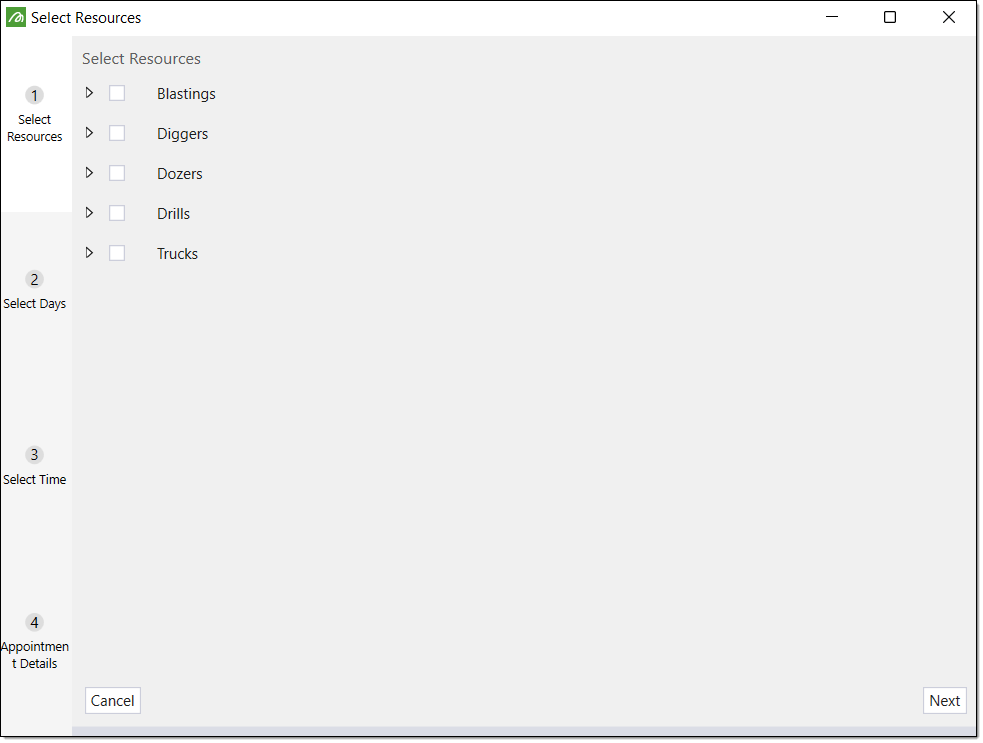 Note:
Note:You can expand the resource group headings to select specific resources.
-
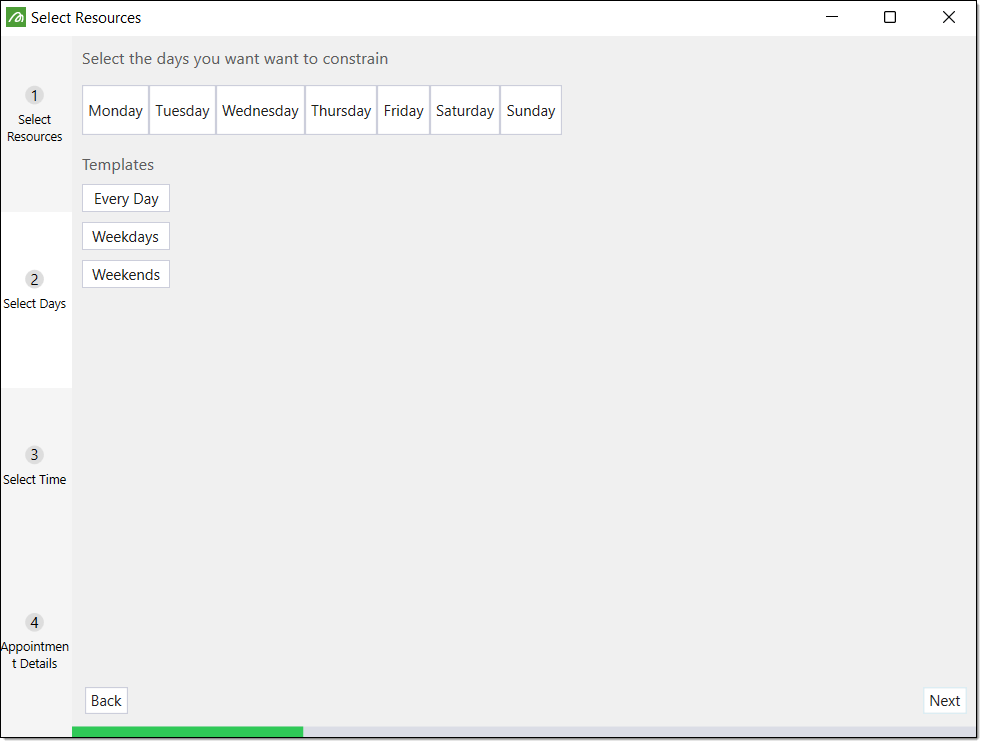
Click Next. The Select Days options will appear in the panel.
-
Select the days this appointment applies to using the corresponding day buttons. Alternatively, you can select a template from the Templates section. Selecting a template option can be useful for events such as daily servicing, which you can set as the Every Day template.
-
Click Next. The Select Time options will appear in the panel.
-
Select the times at which the appointment will occur, using the From and To fields. Optionally, you can add or remove a time range field using the
and  buttons respectively.
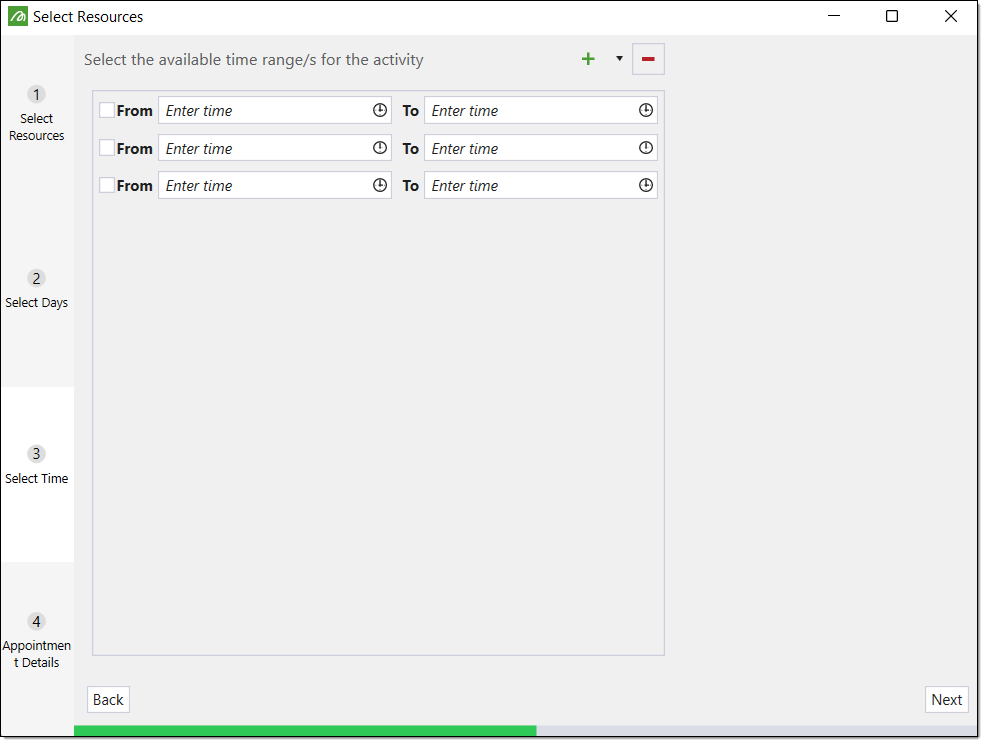
-
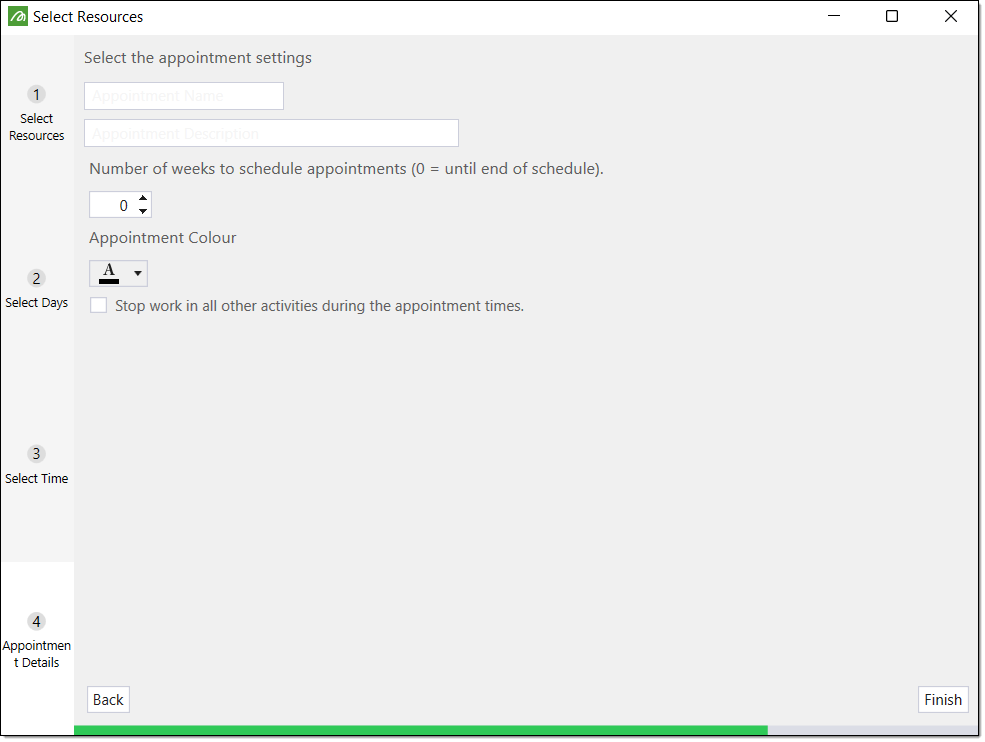
Click Next. The Appointment Details options will appear in the panel.
-
Enter an appointment name and description into the first two fields of the panel.
-
Adjust the number of weeks you wish to schedule the appointment using the Number of weeks to schedule appointments field..
-
Assign a colour to the appointment using the Appointment Colour palette drop-down.
-
Optionally, select the Stop work in all other activities during the appointment times checkbox.
-
Click Finish to add the appointment to the calendar.
Other Operations
-
To change the calendar view, you can select the desired time period from the calendar toolbar. You can select to view the calendar by days, weeks, months or by the site timeline.
-
To switch to the next day/week/month, you can use the arrow buttons in the calendar toolbar.
