Importing and Modifying Road Networks
Source file: howto-road-networks-import-including-live-sharing.htm
Road networks are a critical component of haulage setups. A road network can be imported from two types of sources: a Vulcan design database file (.dgd.isis) or a comma-separated values (CSV) file. The latest Evolution software allows for live sharing with Vulcan. This enables faster editing of the road networks based on the mining sequences being produced.
Importing a road network
Follow these steps to import a road network to your setup:
-
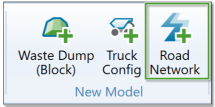
Select the Road Network icon on the ribbon.
-
Select the file path to import by clicking the Browse button to open the file path selector. Alternatively, if you want to create a single road network from multiple files, select Multiple files and then click the Browse button to select the folder containing the files.
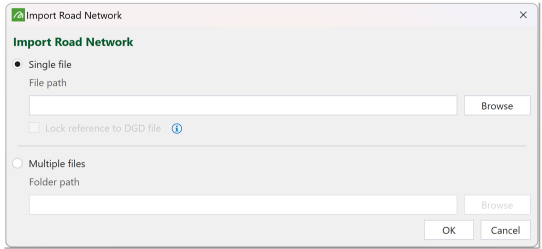
Note: All CSV files (
.csv) and Vulcan design database files (dgd.isis) in the selected folder will be imported.Note: When you import a Vulcan design database file (
dgd.isis), you can lock reference by selecting the Lock reference to DGD file checkbox. This will allow you to live edit in Vulcan.
-
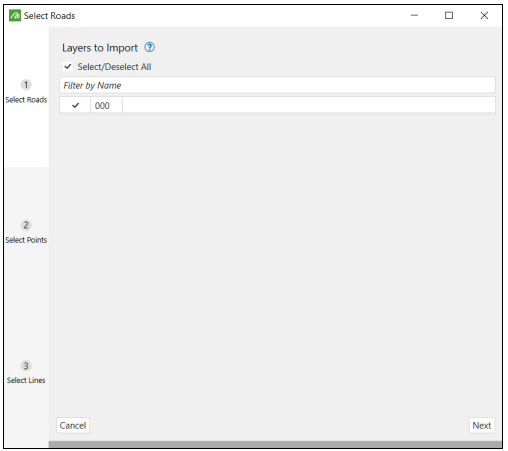
Select the layer to import and click Next at the bottom right of the window.
-
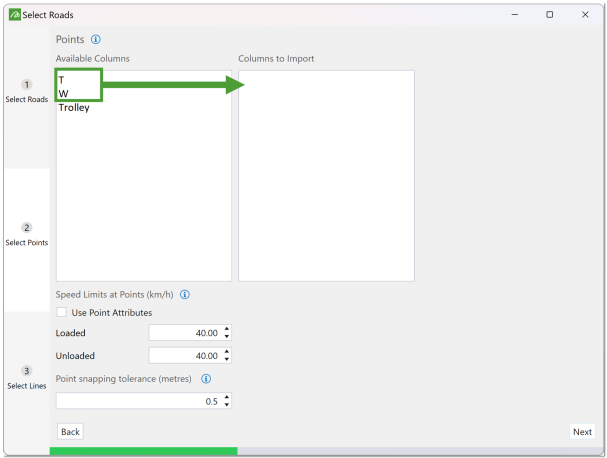
Select the point attributes you want to import and drag them from the Available Columns to the Columns to Import field.
Note: If you are looking to use a trolley line (conveyor) in Evolution, the Trolley attribute should be selected for edges.
-
Configure the fields under Speed Limits at Points (for Loaded and Unloaded) and Point Snapping Tolerance as desired and click Next.
-
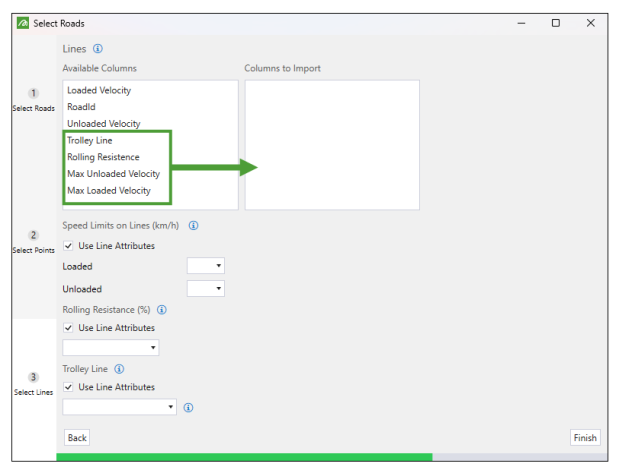
Drag the line-related attributes to be imported from the Available Columns list to the Columns to Import list.
-
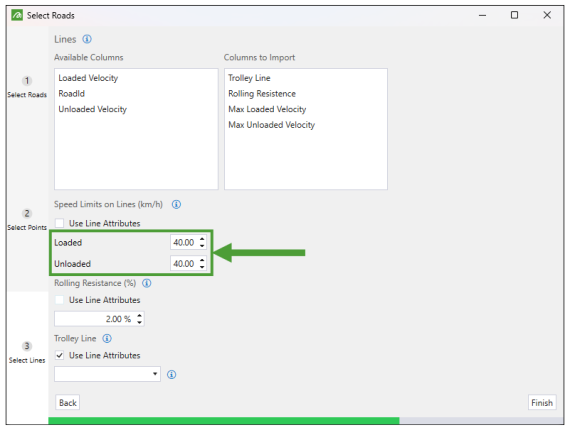
Set the Speed Limits on Lines (km/h) section.
-
You can set the values manually by inputting them in the Loaded and Unloaded fields.
-
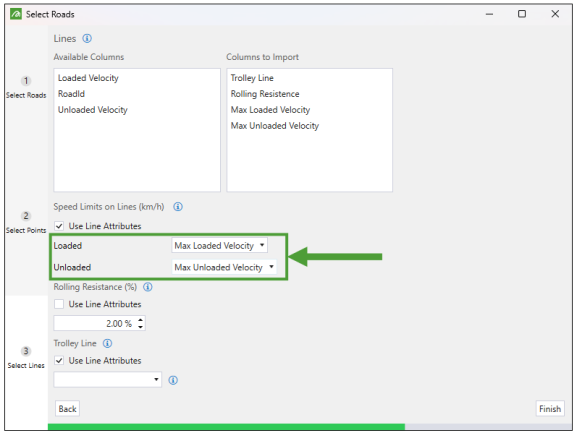
To load the preset attributes, select the Use Line Attributes checkbox and select the attributes from the drop-down list. The attributes featured on the list will depend on these imported to the Columns to Import field.
-
-
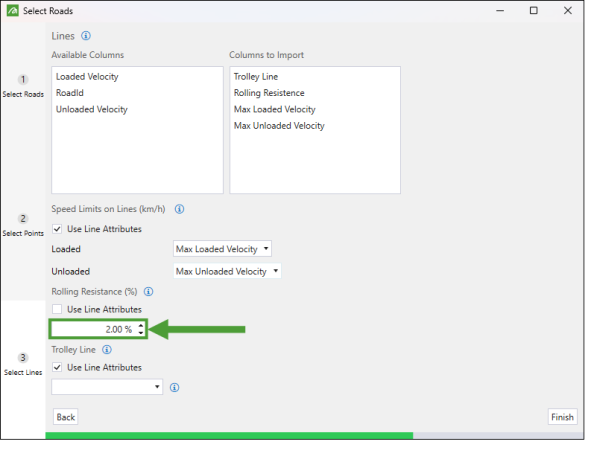
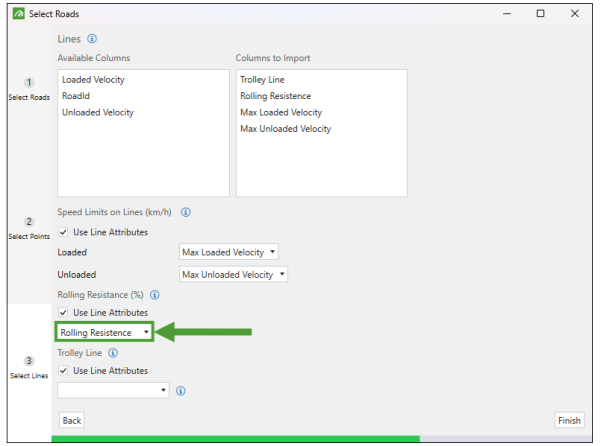
Set the Rolling Resistance (%) section.
-
You can set the value manually by inputting it in the field. The default value is 2%.
-
To load the preset attribute, select the Use Line Attributes checkbox and select the attribute from the drop-down list. The attributes featured on the list will depend on these imported to the Columns to Import field.
-
-
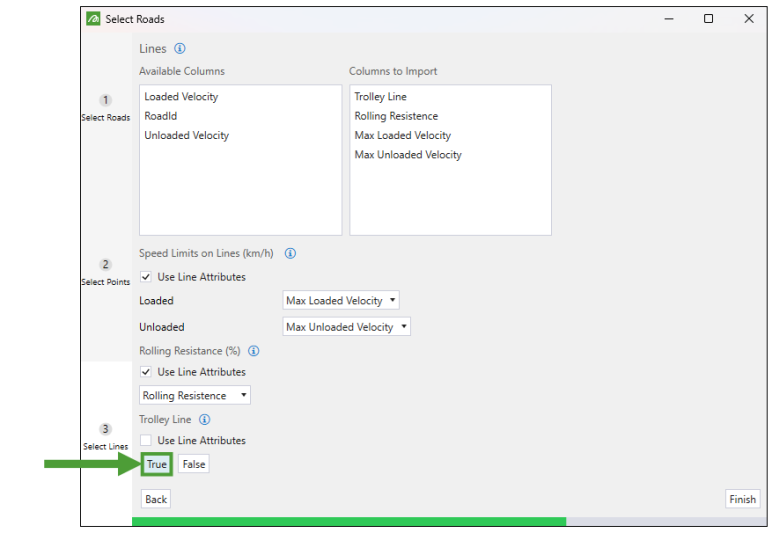
Set the Trolley Line section:
-
Set the Trolley Line to True if the trucks using this road network will be assisted by a trolley line on all lines.
-
If your road network file does not have trolley lines, leave the Use Line Attributes unchecked and select False. This will set every trolley line attribute in the network to False.
-
If only parts of the road network contain trolley lines, you need to specify this with a line attribute. Select the Use Line Attributes checkbox and then choose the trolley line attribute from the drop-down menu.
Note: Evolution will check the line attributes you have loaded to the Columns to Import field list, identify any boolean attributes, and provide them in the drop-down for you to select.
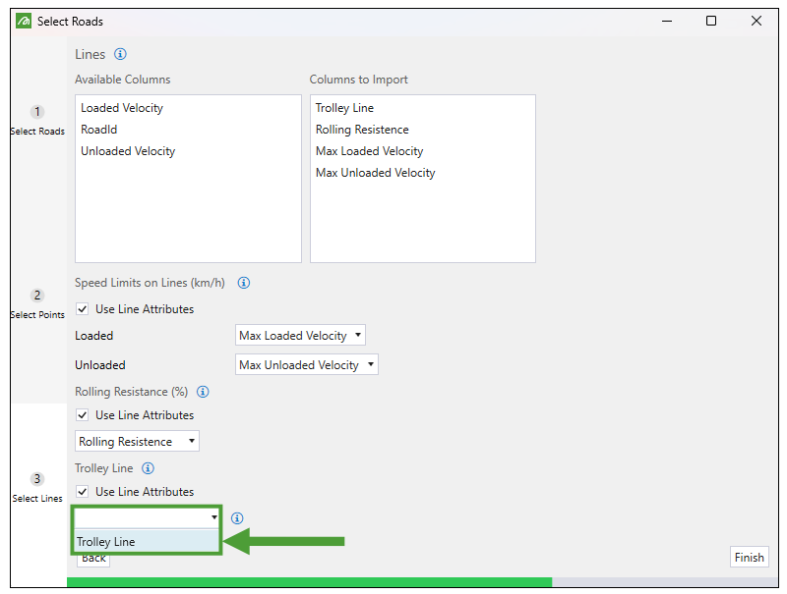
Note: A trolley line attribute can only be of boolean type, thus only boolean type attributes will be listed in the Use Line Attributes drop-down.
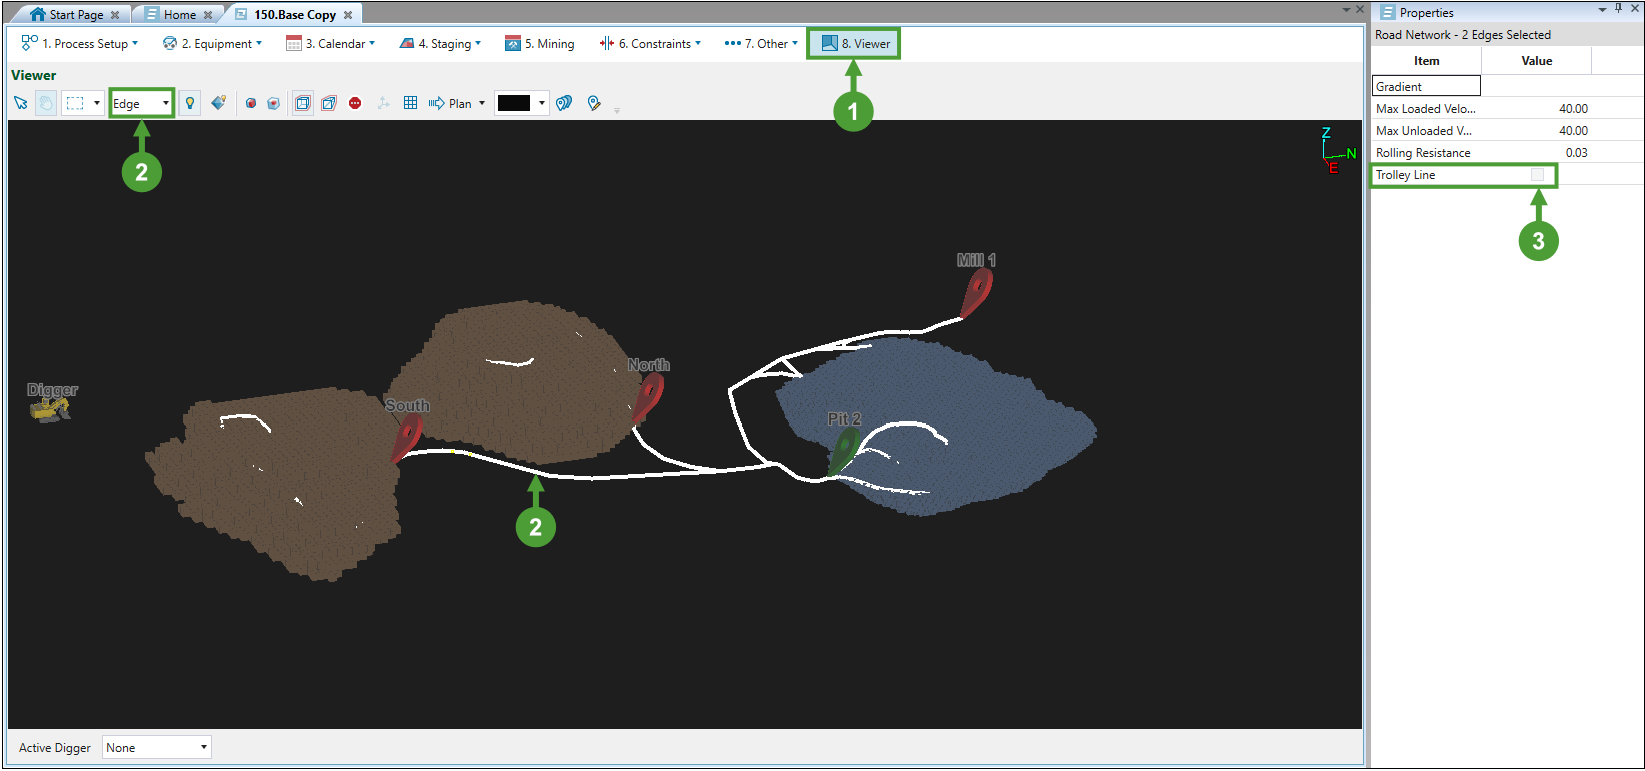
Note: You can also designate trolley lines manually by following these steps:
Load a road network to your viewer.
In Edge selection mode, select the line to which you want to assign a trolley line.
Go to the Properties tab on the right side of your screen and select the Trolley Line checkbox.
-
-
Configure the fields under Speed Limits on Lines (for Loaded and Unloaded) and Rolling Resistance as desired.
-
Click Finish. The road network will be loaded in the viewer.
Once the road network is added to a setup, live sharing will no longer be occurring. To keep the live sharing functionality, create a snapshot of the road network by right-clicking on it in the project explorer and selecting Create Snapshot.

Importing a linked road network
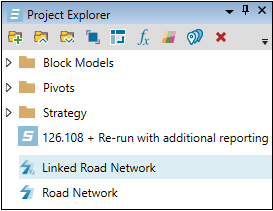
If you have activated the live editing option by selecting the Lock reference to DGD file checkbox while importing a road network (see Importing a road network for more information), the new road network name in the project explorer will be automatically prefixed with the term Linked. This means that any changes made in Vulcan to layers in the file will be reflected in the Evolution viewer.
Modifying road networks
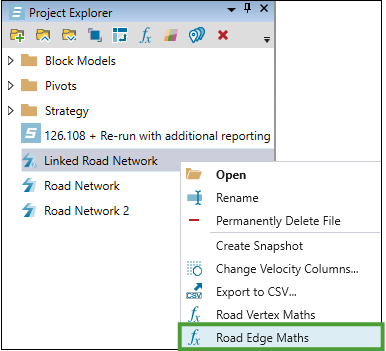
After importing a road network to your setup, you can modify it using the Road Edge Maths script. To enter the script edition tab, right-click on the road network in your project explorer and select ![]() Road Edge Maths.
Road Edge Maths.
Evolution will create a Maths Scripts folder for the given road network in the project explorer (if you have not modified maths scripts for that road network before) and create a Road Edge Maths file within that folder. Double-click the Road Edge Maths file to enter the script editor.
In the script editor, enter the appropriate formula and click ![]() Run Formula to apply it.
Run Formula to apply it.

Important: Since the Trolley Line attribute is a boolean value, it needs to be set to 1 (true) or 0 (false).
A dialog window informing you about overwriting the existing attributes by the newly applied formula will appear. Click Yes if you wish to proceed.

