Project
The following table describes the tools in the Project section of the Edit tab.
| Tool | Description |
| Project to Surface | Projects (in the 2D plane) line and polygon data onto a topographic surface. |
| Project to Plane | Allows line and polygon objects to be projected (in the 2D plane) onto a topographic triangulation. |
Project to Surface
The Project to Surface tool allows line and polygon objects to be projected onto a topographic triangulation.
To use the tool:
-
Select lines and/or polygons to project.
-
Go to Edit > Project > Project to Surface. This will open a new panel.
-
Drag and drop the Target surface into the field using the middle mouse button. Selecting the Crop to surface boundary checkbox trims the lines at the surface boundary and the polygons will be "shrunk" to fit the outer edge of the surface.
-
Click OK or Apply. The line will be draped to the selected surface.
Project to Plane
The Project to Plane tool is useful for filling in small holes in data, such as projecting toes on benches or behind windrows. Lines can be created and then projected at suitable angles to create triangulations of greater accuracy.
To apply this tool:
-
Select the object (lines or points) to be projected.
-
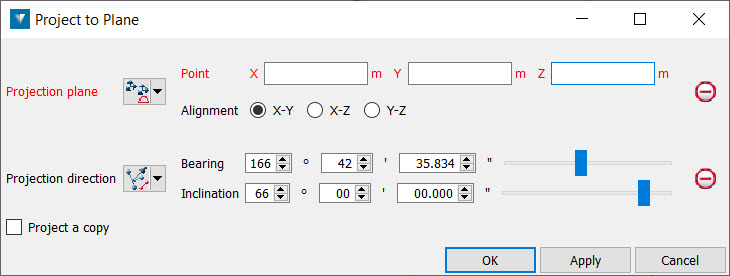
Go to Edit > Project > Project to Plane. This will open a new panel.

-
Define the Project plane using one of the available methods and choosing a point in the view.
-
Specify a Projection direction for the lines or points. Specify the Bearing and Inclination by adjusting the sliders.