Style
Source file: create-line-style.htm
The Style group is a quick selection panel for setting the appearance of the newly created cad objects that can be displayed by using sequences of dots, dashes, and spaces, thickness and colour.
To create a line style follow these steps:
-
On the Create ribbon tab, go to the Style group and set the look of your CAD lines.
-
Open the
 line thickness drop-down list and select the required thickness, between 1 and 10 pixels.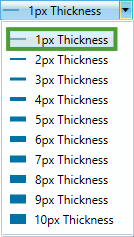
-
Open the
 line style drop-down list and select the required pattern.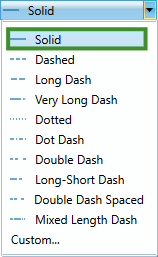
-
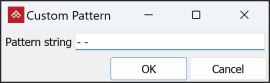
To create your own pattern, select the Custom... option, type in the new custom pattern or string using keyboard characters and click OK to confirm.
-
Set the line colour. There are two ways of setting the line colour. Select a standard colour following the next few steps. To create a custom colour, see below.
Selecting a standard colour
-
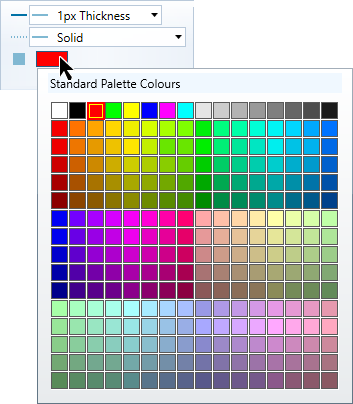
Single click the colour swatch.
The Standard Palette Colours panel will open.
-
Select the preferred colour.
Creating a custom colour.
-
Double click the colour swatch.
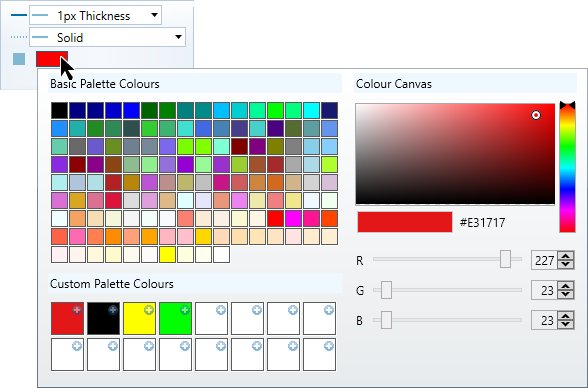
The Basic Palette Colours panel will open.
-
Select one of the basic palette colours.
-
Adjust the shade on the Colour Canvas by manoeuvring the circle, or enter a specific RGB colour code.
-
Choose one of the empty Custom Palette Colours and click its
 button to add the colour to the list.
 -
Repeat to create more colours.
-
Select the appropriate custom colour from the custom palette colours when required.
The line style with the chosen colour will be applied when new CAD objects are created.
