Manage Images
Source file: manage-images.htm
Use the image manager to manage imported images that have been overlaid on a scan or surface. The images may have originally been imported and applied to a surface through File import (importing image files). You can adjust opacity, remove the image, or edit the position of the image on the object's surface.
-
Select the surface or scan with the associated subject images in either the project explorer or a view window.
-
On the Home ribbon tab, go to the Colour group. From the Photographic drop-down list select
 Image Manager.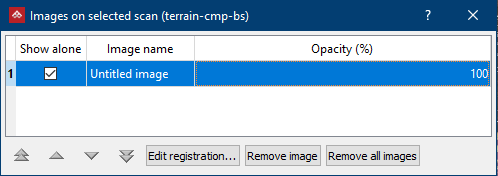
-
Select an image, then select the required function as listed below:
-
Merge UV mapped images: Merge images that have been mapped to a surface using u and v coordinates.
-
Opacity: Adjust the image's translucency. Select the opacity field then double-click on it to modify.
-
Edit Registration: Adjust a panoramic image's registration (see Panoramic photograph to scan). Adjust the positions of existing points or add more point pairs to improve the registration.
-
Remove image or Remove all images: Remove images from the scan or surface.
Note: You can select the surface after opening the Image Manager.
Note:
To be able to edit registration, the image must be a 360° x 180° spherical projection with an aspect ratio of 2:1.
