Assign to Cells
Source file: assign-discontinuities-to-cells.htm
Discontinuities are assigned
to cells that contain them when superimposed in 3D space. The result is
that individual discontinuities appearing within a cell will be either
copied or moved to the cell object itself.
-
Select the discontinuities and or the discontinuity sets to be assigned.
-
On the Geotechnical ribbon tab, go to the Cell Maps group and select
 Assign to Cells.
(Alternative 1: Right-click after selecting all discontinuities and from the context menu select Assign to cell map...)
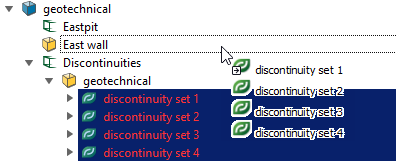
(Alternative 2: Select all discontinuities in the project explorer and drag them onto the main Cell object containing all relevant cell runs) -
Drag all relevant cells and cell runs to the Cell map field. Alternatively, select them in the project explorer followed by clicking
 to add. Use the
  to remove selections.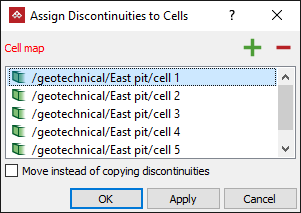
-
Select Move instead of copying discontinuities if desired. Otherwise, discontinuities will be copied into cells.
-
Click OK or Apply to complete. Discontinuities are assigned to their equivalent cells and will be visible in the view window.
Note: Discontinuities
can still be readily manipulated and moved around as desired - even into
different cells.
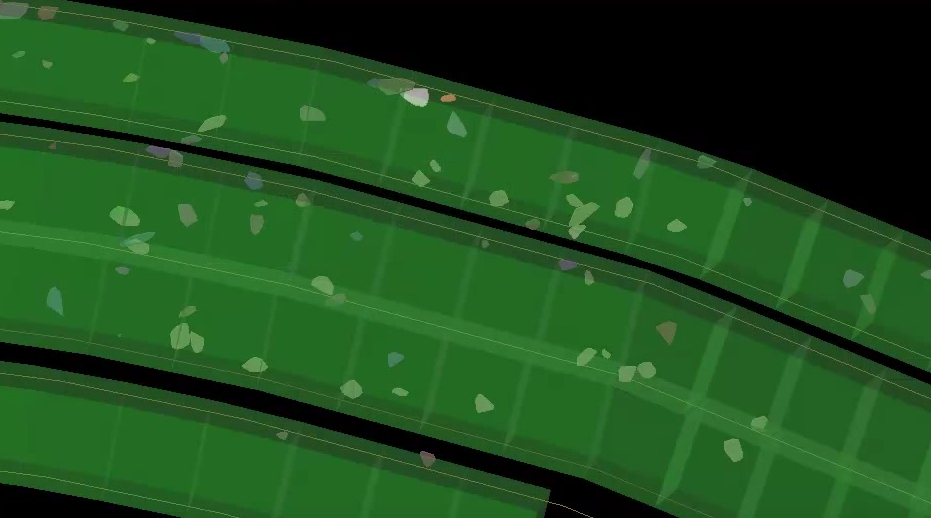
Close up view of discontinuities sitting inside the cells.
Alternative method: Select and drag all discontinuities onto main cell object.