Installing your software
Your software, it is delivered by downloading it to your computer. Carry out the following steps to install your subscribed product:
-
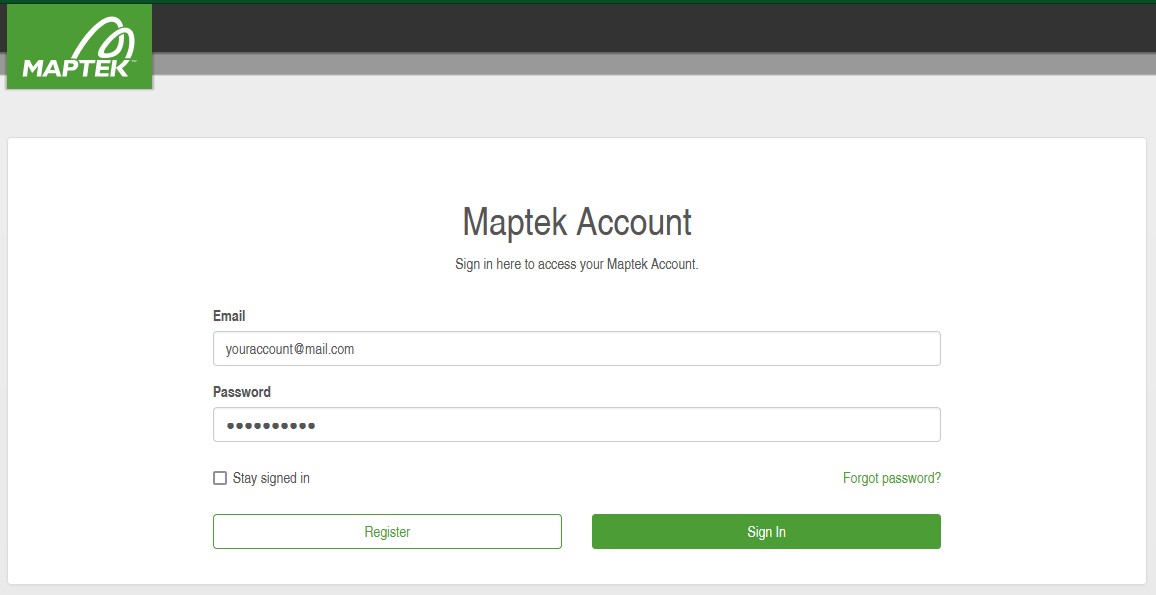
Access Maptek Account using your internet browser. Register to create a new account if you are a first time user or Sign In if you have previously set up your account.
-
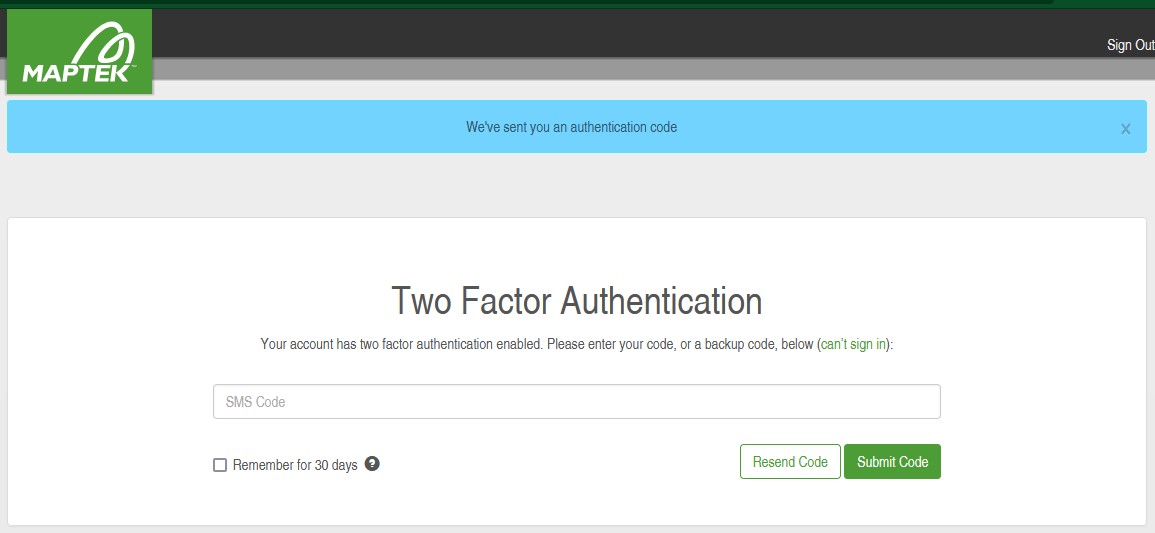
Enter your 2-factor authentication code when prompted.
-
Download the available software by clicking the Details button.
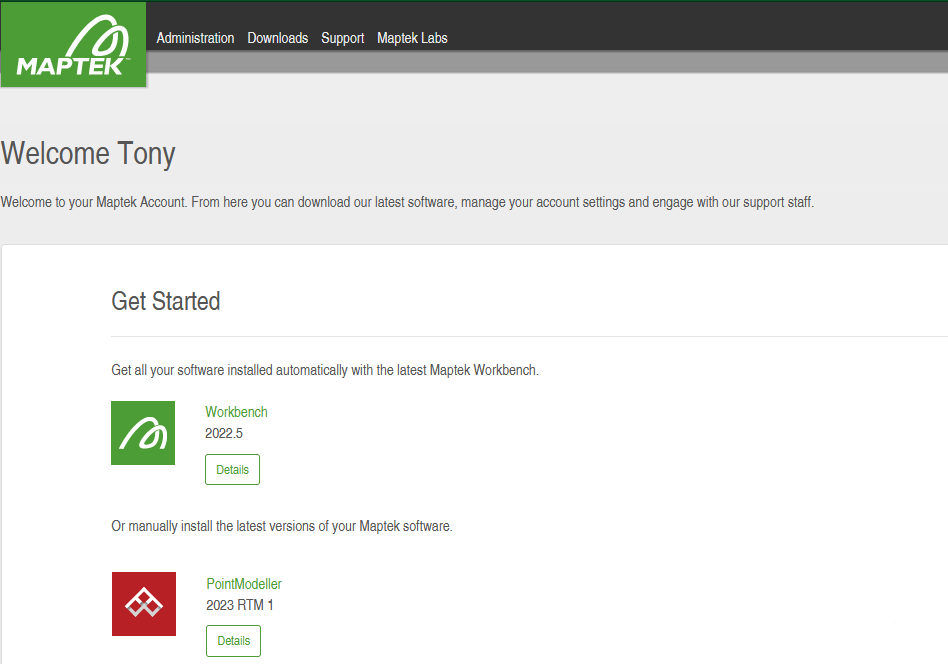
Maptek Workbench is normally installed by default, even when installing PointModeller. Workbench is a unified platform for managing and launching your applications. There are many other features and functions available that are beyond the scope of these instructions. For more information, refer to its help documentation after installing Workbench. To install your software using Workbench refer to the topic in this page: Installing software with Workbench.
-
From the application’s Download page, click Download to save the installer to your local drive and then run it to complete the installation wizard.
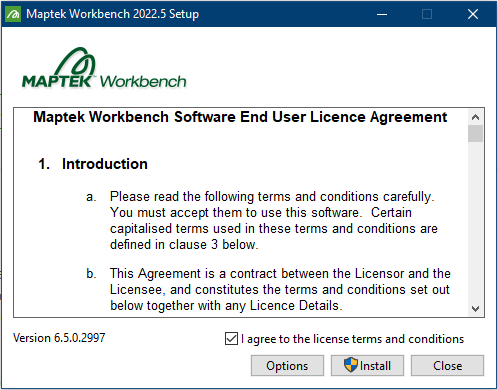
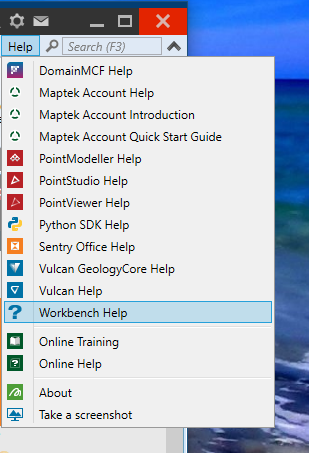
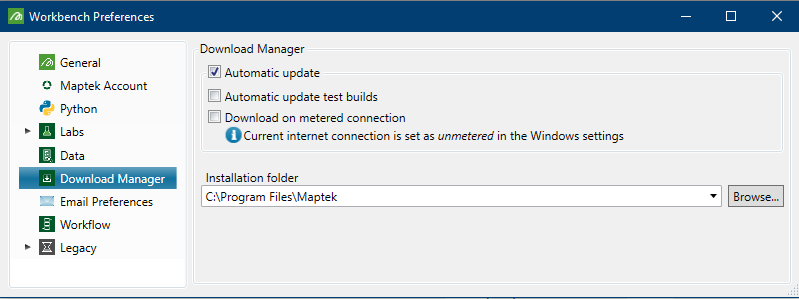
Use the default installation path (C:\Program Files\Maptek) when installing your software. Maptek workbench uses this location to check for all installed applications. If you choose to install your applications elsewhere, you may configure Workbench’s Installation folder to be directed to your preferred file location. Click ![]() (at the top right of the Workbench title bar) and select Workbench Preferences.
(at the top right of the Workbench title bar) and select Workbench Preferences.
Installing software with Workbench
Use workbench to install and run your applications, following these steps:
-
Click
 to launch Workbench. This icon is normally located on your desktop or, click Windows Start
  and locate its icon from the Windows application list.
-
Sign in using your Maptek Account user name and password. Click Sign in to Maptek Account, entering your credentials.
Note: Workbench will remember you sign in after closing the application unless you sign out of your account.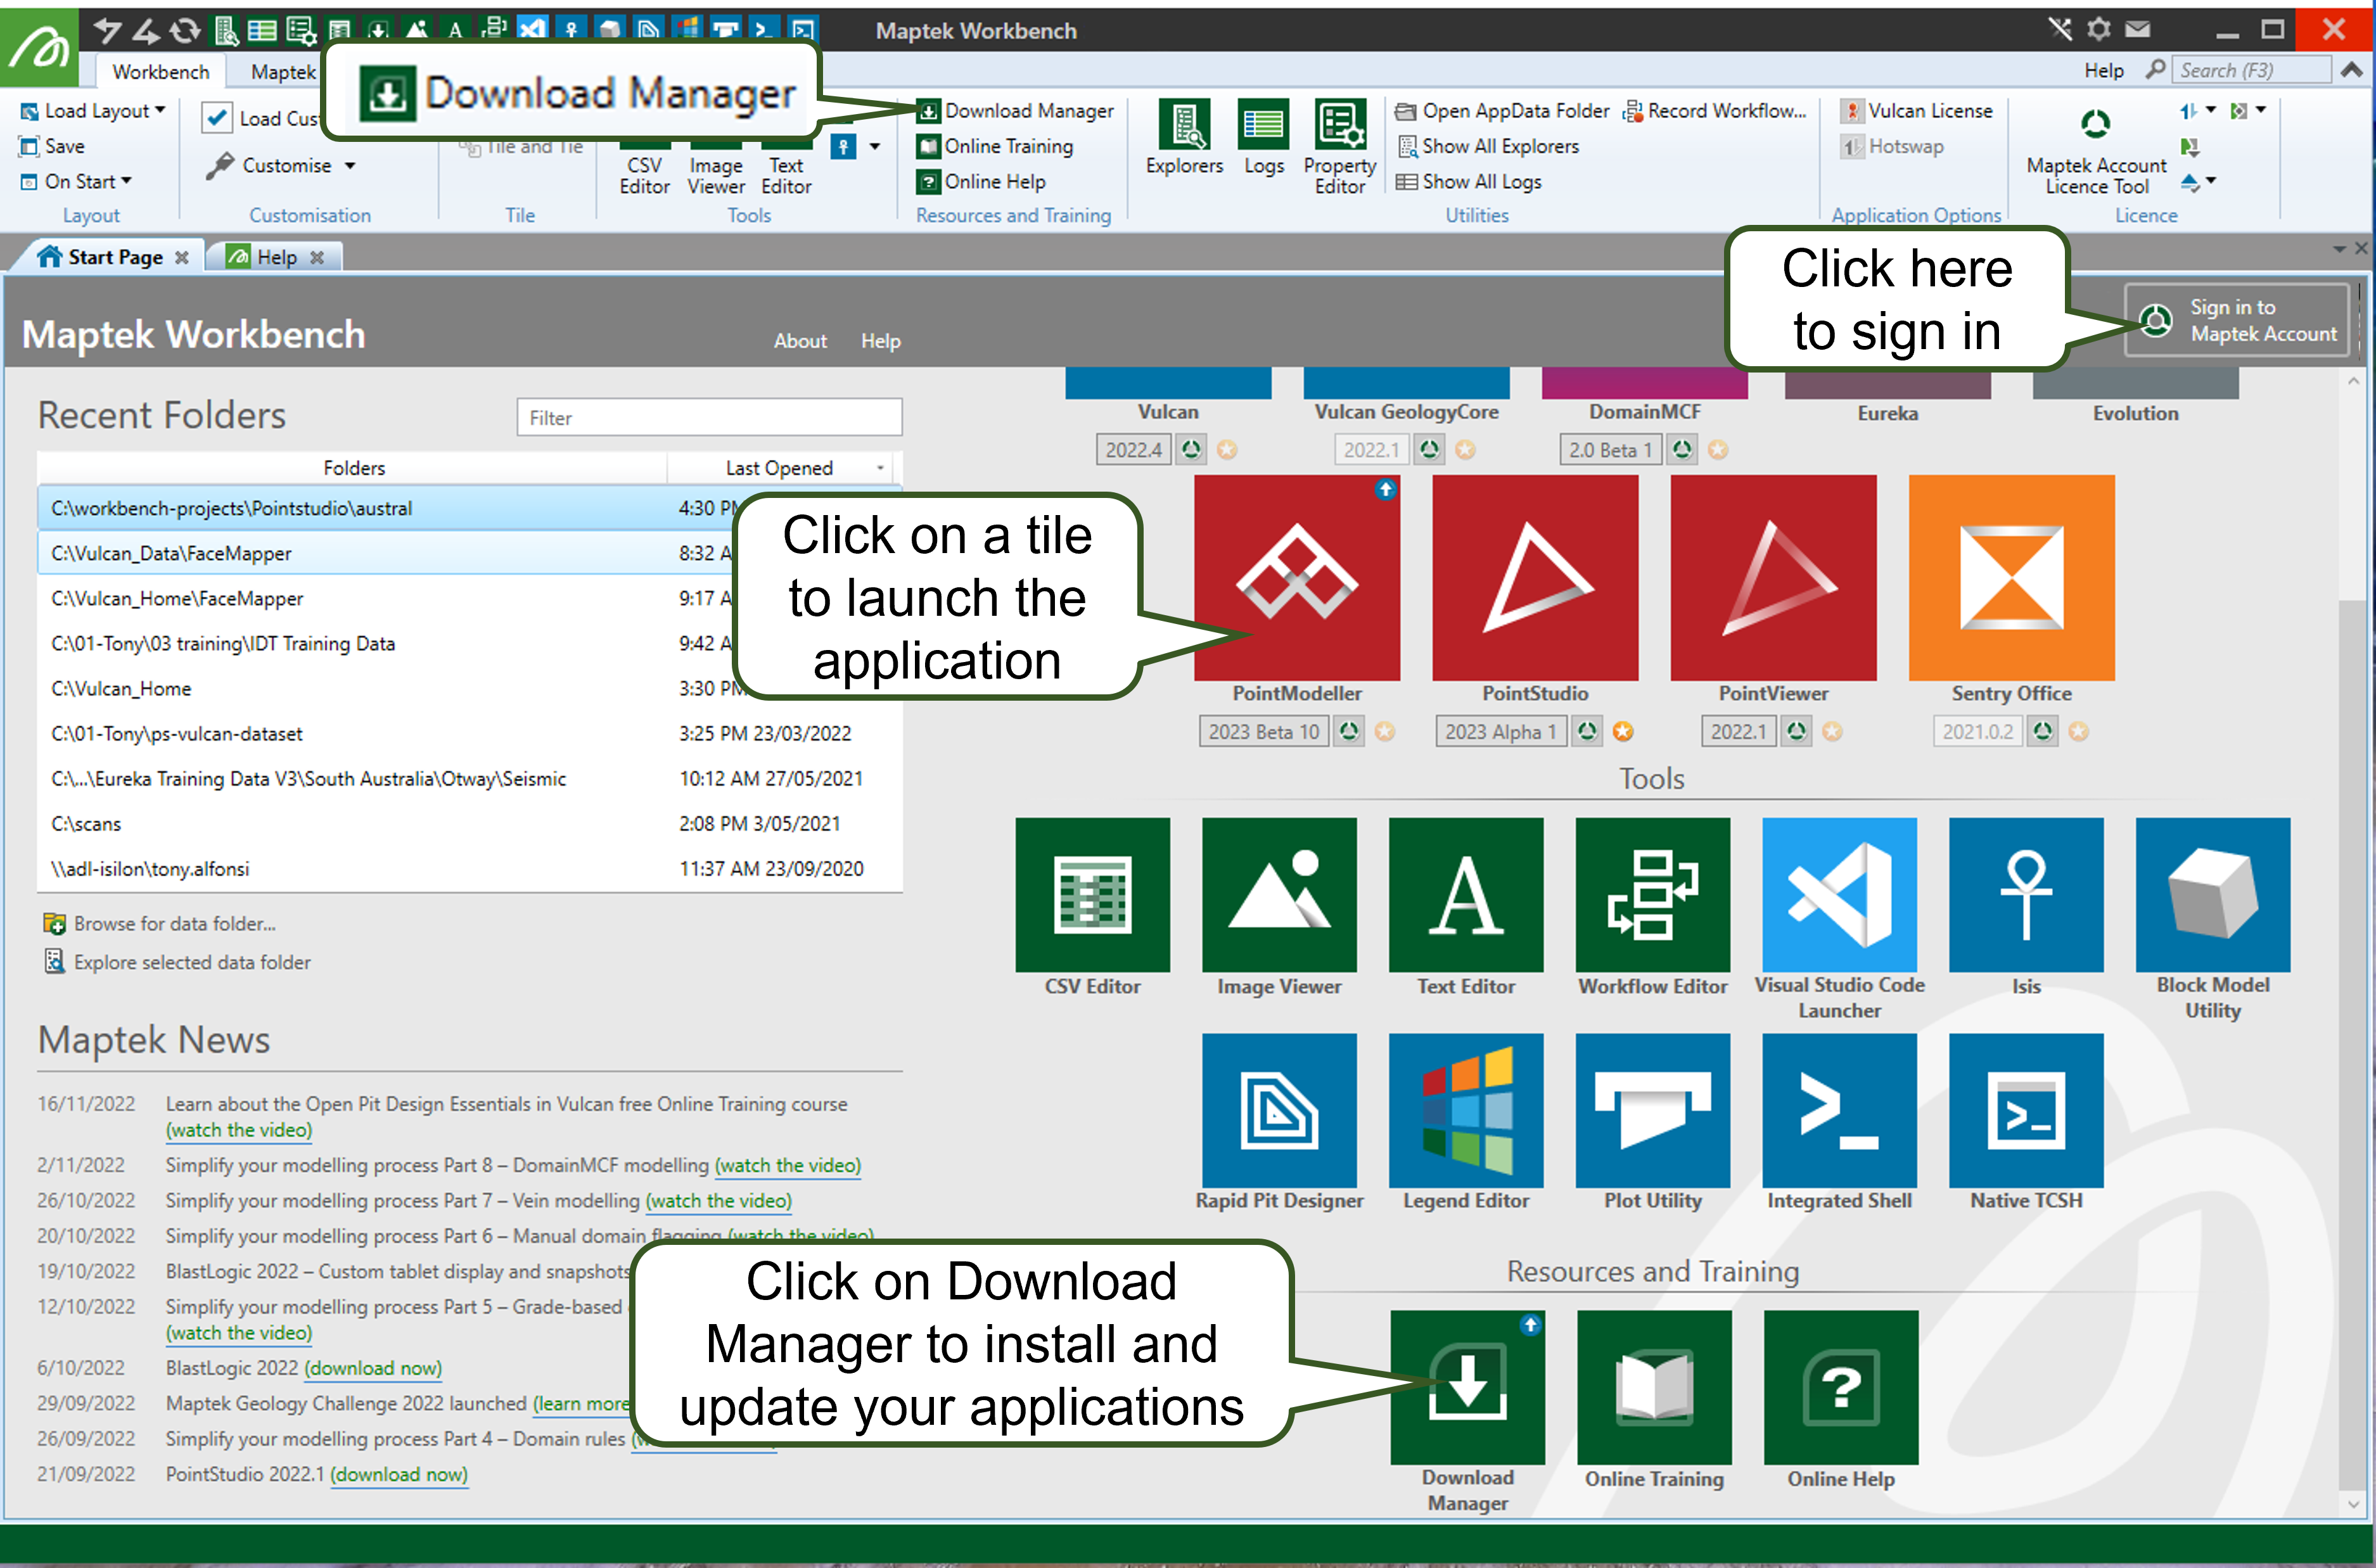
-
Click on the Download Manager tile or the icon in the Workbench tab ribbon. A new tab opens listing the available software (depending on your subscriptions).
-
Click Install to download the software. A progress bar appears and the software is automatically installed.
Note: If you have other subscriptions, you may download these a the same time.
-
Once installation completes, click Workbench’s Start Page tab. Your applications are displayed as tiles in Applications window. Click on the application tile to launch it. From here, you can start a new project or open an existing one.
Borrowing licences for using your software off-line
Borrowing your licences allows you to continue using your software when the host computer is expected to be used for extended periods disconnected from the internet and unable to connect to the Maptek Account server. Borrowing must be done before the computer is off-line. Typically, a licence is borrowed when:
- the current computer is planned to be used at a remote location.
- an alternative computer (such as a laptop with the software installed) is used in lieu of the original computer.
In either case, the borrower has no access to the Maptek Account server during its intended time of use. You can borrow your licences by following these steps:
-
Start Workbench on the donor computer and sign in to Maptek Account.
-
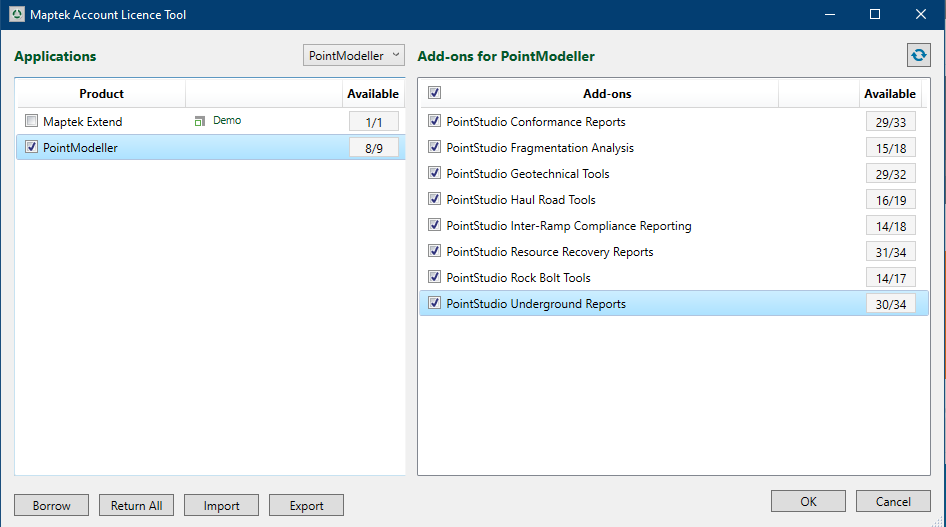
In the applications panel, click
 located below that application’s tile. The Maptek Account Licence Tool opens.
 -
In the Applications pane, select the application to borrow, by clicking on its checkbox setting it as ticked
 .
. -
In the Add-ons pane, select the available add-ons by setting their check-boxes to being ticked
 .
.
-
Click Borrow, a dialog opens. In the Maptek Account Borrow Licence Tool, The Borrow to drop-down corresponds to the hosts computer name.
-
Make a selection in the Borrow for drop-down. This is the time that the borrowed licence remains active. Licences can be borrowed for a maximum of 30 days. Click OK to confirm and close the dialog box.