Mirroring the Data

The Mirror option can be used to create a mirror image or reverse the original data.

  1. On the Edit ribbon tab navigate to the Transform group and select Mirror.

  2. Note the position of the Action plane. This plane will be used to mirror the object. Adjust the Action plane if necessary to produce the desired effect.

  3. Tip!  Right-clicking on the input fields will display a context menu with additional basic options.
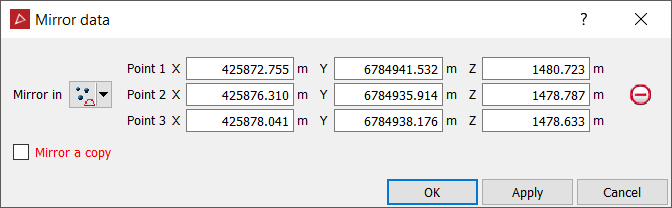
  4. Select the method of defining the rotation axis from the Mirror in drop-down list. Depending on the Mirror in selection type the panel will change to request additional inputs.
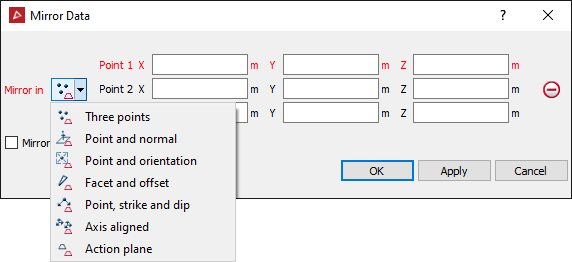
The Mirror in options are:

  • Three points: Define the plane by specifying three points.
  • Point and normals: Define the plane by specifying one point and defining its normal direction.
  • Point and orientation: Define the plane by specifying one point and orienting the plane so the current view is looking at it.
  • Facet and offset: Pick a triangle to define the plane's orientation, and then specify how far above or below that facet the plane should be.
  • Point, strike and dip:Define the plane by specifying a point and then providing dip/strike angles to specify the orientation of the plane through that point.
  • Axis aligned: Picks an axis pair such as X, Y to define the plane and then specify a point to define the offset along the other axis.
  • Action plane: Use the action plane of the current view.
  1. Clear the Mirror a copy checkbox to reverse the original data in the plane of the mirror.

  2. Select the object to be mirrored in the project explorer and make sure that no other objects are highlighted.

  3. Click OK or Apply.

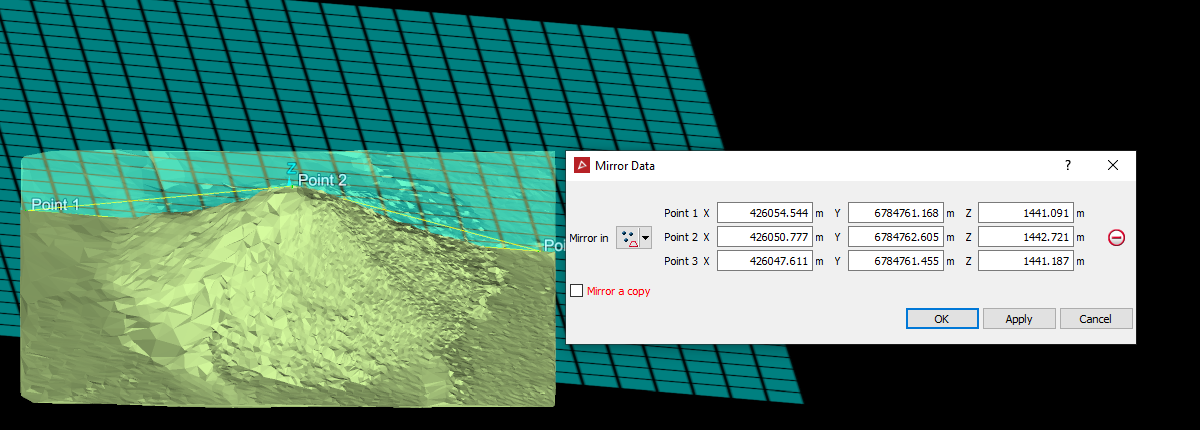
The mirror vector guide

The translucent green vector on the data is a visual aid that illustrates the position of the mirror.