Resource Recovery Report
The Resource
recovery report tool compares design (roof and floor) surfaces
with surveyed (roof and floor) surfaces for any resource that approximates
horizontal, layered zones (e.g. sedimentary material). The report generates
conformance data including loss
and dilution quantities calculated
at the floor and roof boundaries. Loss
refers to resource material that is missed by the mining process, dilution refers to unwanted neighboring
material that is mixed in with the resource material.
-
On the ribbon tab navigate to the Reporting group and select
 Resource Recovery.
The report tool will open and guide you through the steps required to produce the report.
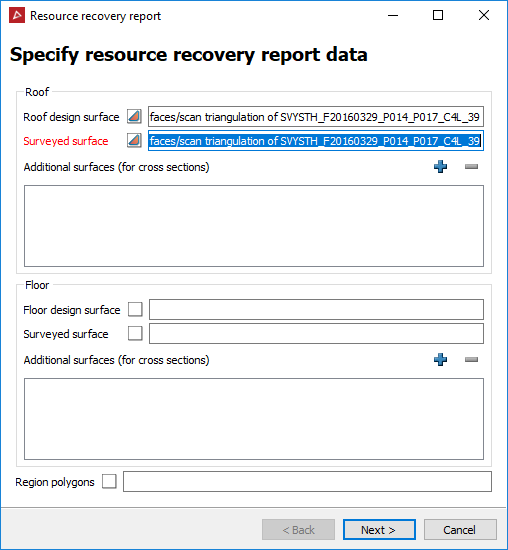
- Specify report data - select design surfaces and as-built surfaces.
Add additional region polygons if desired.
- Roof
- design surface & surveyed surface.
- Floor
- design surface & surveyed surface.
- Region
polygons - for isolating information about regions within the
material zone. Can be a single polygon, container of several polygons,
or a container of edges representing block lines. If not specified,
regions can be automatically generated in a subsequent step.
- Additional
surfaces for cross sections - will not affect calculations.
-
Configure report - adjust the look of the report and the data that will be displayed. Subsections include:
-
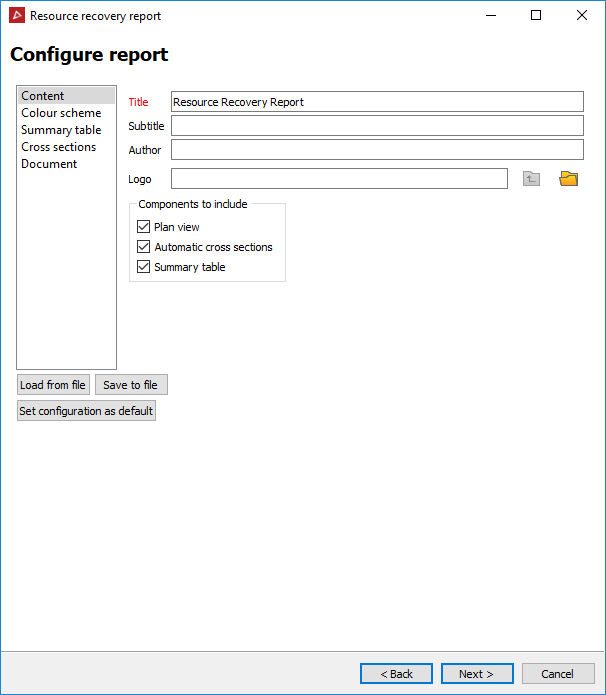
Content - Enter descriptions and select components to include (Plan view, Automatic cross sections, Summary table). Load or save configuration file.
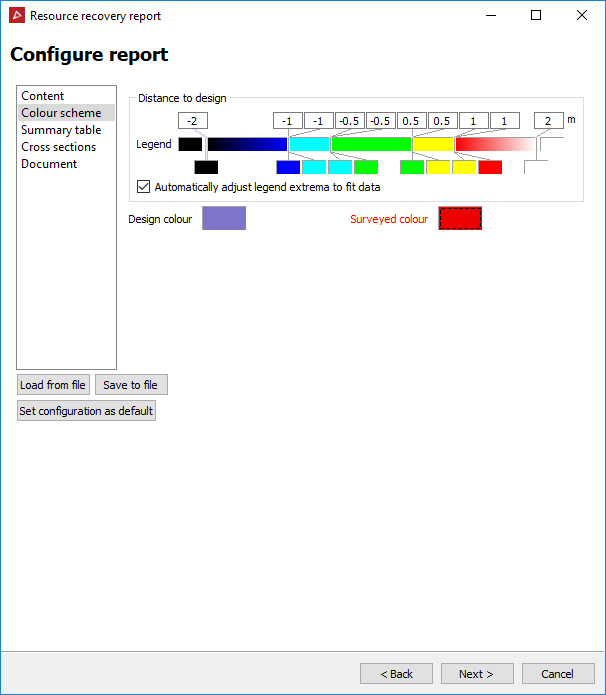
- Colour scheme - Configure the colour scheme to display heatmaps showing loss and dilution amounts on roof and floor views.
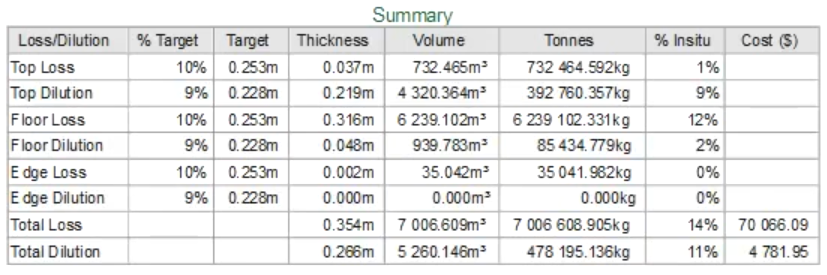
- Summary table - Set up summary table information such as material thickness, tonnages, cost and thresholds.
-
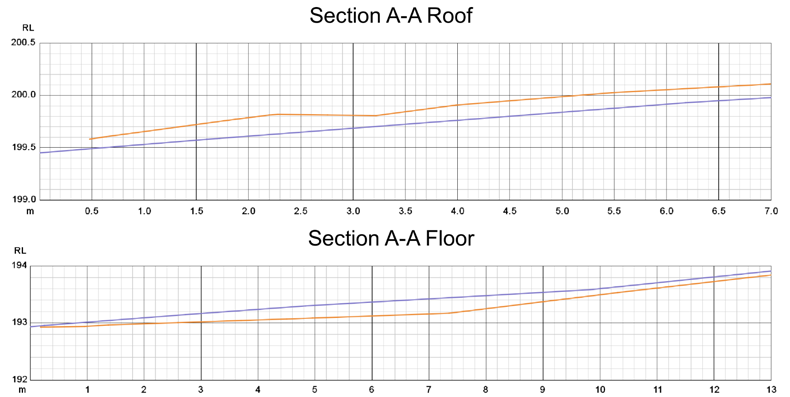
Cross sections - Set up section graphs detailing differences between design and surveyed surfaces.
- Document - Page layout - Set page size and orientation.
-
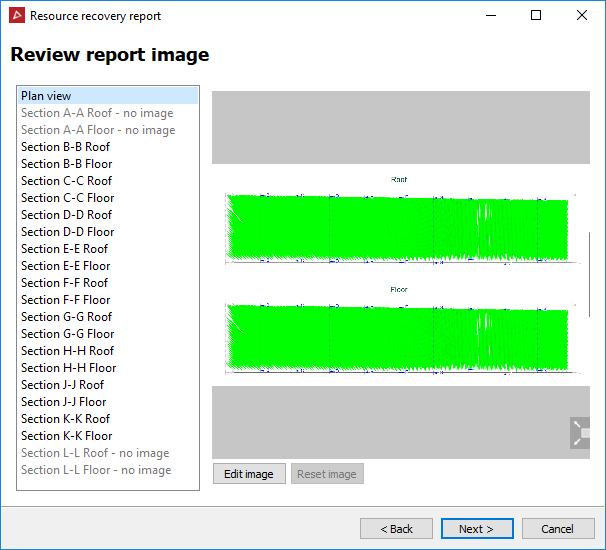
Review report images - examine layouts and adjust accordingly.
-
Generate report.
-
Preview report and save or print - examine the final output and save as PDF and or print out.
-
Click Finish to end the process.