Generating a Rock Bolt Report
The Rock bolt analysis comprises a suite of tools that allow you to locate and report on rock bolts in underground scans.
- Use the Rock Bolt Detection tool to automatically locate rock bolts on scans.
- The Verify Bolts tool can be used to check the results and remove any false positives from the automated process.
- The Place Rock Bolt tool is a smart tool that helps you quickly place individual rock bolts on the scan. This is particularly useful to add in any rock bolts that were missed in the automated process.
- Once you are satisfied with the rock bolt set, use the Rock Bolt Report to generate a PDF report that visually and numerically summarises the distribution of rock bolts.
Once all the rock bolts have been created and categorised into rock bolt, cable bolt or split set the report can now be prepared using the following steps.
-
On the Query ribbon tab navigate to the Rock Bolts group and select
 Rock Bolt Report. The Rock Bolts Report panel will open.
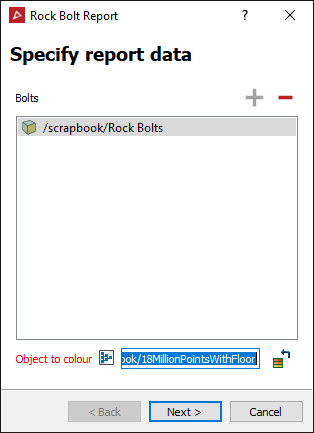
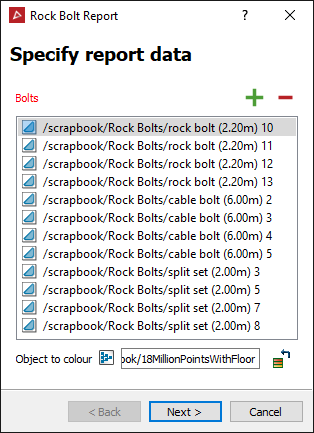
- Select the rock bolts created or select the whole Rock Bolts container and click the
 add button.
 - Specify the Object to colour, this will most likely be a scan the bolts were created from. This object will be used to generate screenshots indicating areas with problematic bolt spacing.
- Click Next.
- Select the rock bolts created or select the whole Rock Bolts container and click the
-
Configure report panel will open to adjust the look of the report and the data that will be displayed. With these subsections included:
-
Choose components to include in the Content from:
- Including an image of the adjacent bolt spacings,
- Including an image of the scan surface coloured by the distance from the nearest bolts
- Whether to include a summary table.
- Add any other images relevant to the job.

-
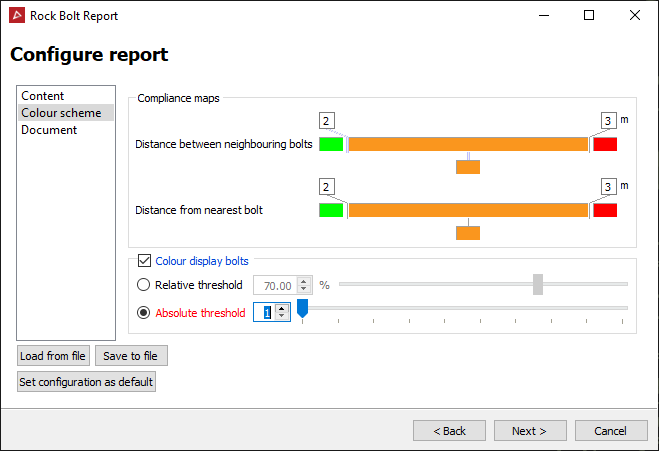
Set the Colour Scheme for the rock bolts and the cut-off distance between them.
- Clicking the colour swatch you can change the colours.
- Clicking inside the value box you can change distance cut-off value (in metres).
- Select Colour display bolt to also colour the bolt objects.
- The Relative threshold selection is the % of neighbouring bolts that fall beyond a colour boundary. OR
- Select Absolute threshold to give an explicit number of bolts instead of a percentage.
-
|
An example would be if a bolt is connected to 4 neighbouring bolts, one 0.5m away, two 2.5m away, and one 3.5m away, then based on the Compliance maps on the left:
|
-
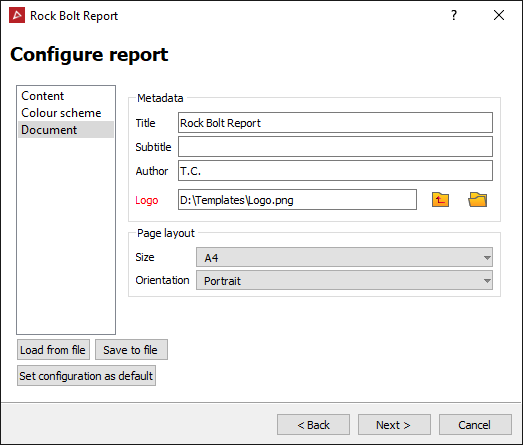
In the Document stage you can also add metadata and set a page layout.
-
Click Next to progress to reviewing the bolt groups. The Review bolt groups panel will open displaying the edge networks it has created, grouped by walls and roofs.
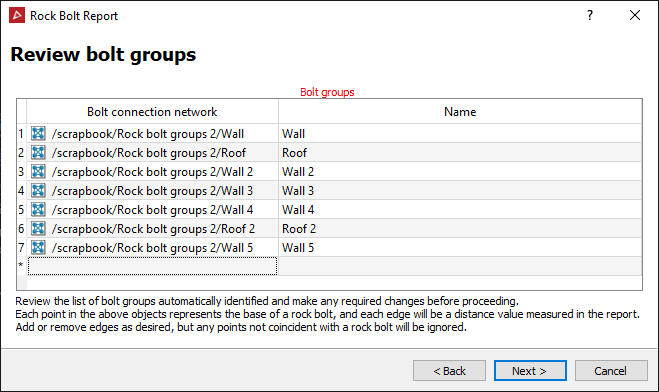
Note: Leave the Review bolt groups window open.
-
Select the Rock bolt group container from the project explorer, and choose to view them in a new view window, this will show any inconsistencies.The rock bolt groups are displayed as edge networks, and each group will be coloured same.
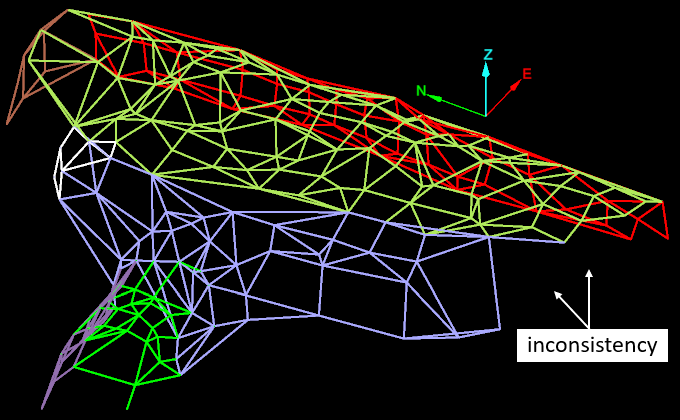
If there are any inconsistencies in the edge network, you can repair consistencies in the incomplete triangulations.
The easiest method for fixing inconsistencies is as follows:
-
On the Edit ribbon tab navigate to the Primitives group and select
 Add Points.
 -
Select your first point (the base of a rock bolt) for the repair.
-
Enable Angle from grid type snapping mode (located in the bottom right of the interface) by:
Clicking the
 Snap Targets option button followed by selecting the
  Angle from grid snapping mode.
 -
Select your second point (the base of the second rock bolt) to create an edge between the two points. (the edge will complete the triangulation).
-
Keep selecting points until all the inconsistency has been filled in.
-
Complete the process with a right-clicking.
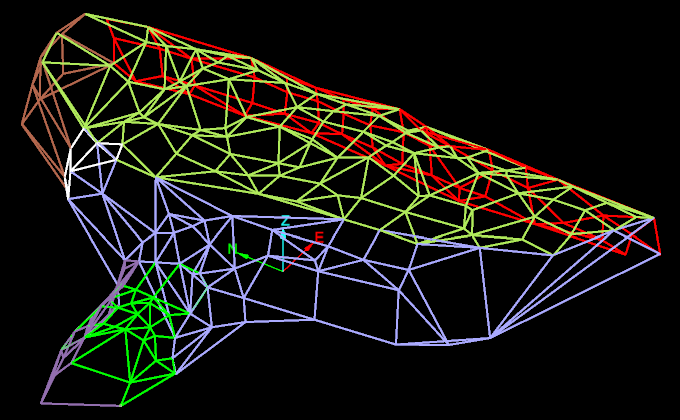
The above example shows all inconsistencies have been filled in.
-
Click Next in the Review bolt groups panel to Review report images. The Review report images panel opens with options to edit the images. Editing is done using the Windows default image editor. Images can be re set following an edit.
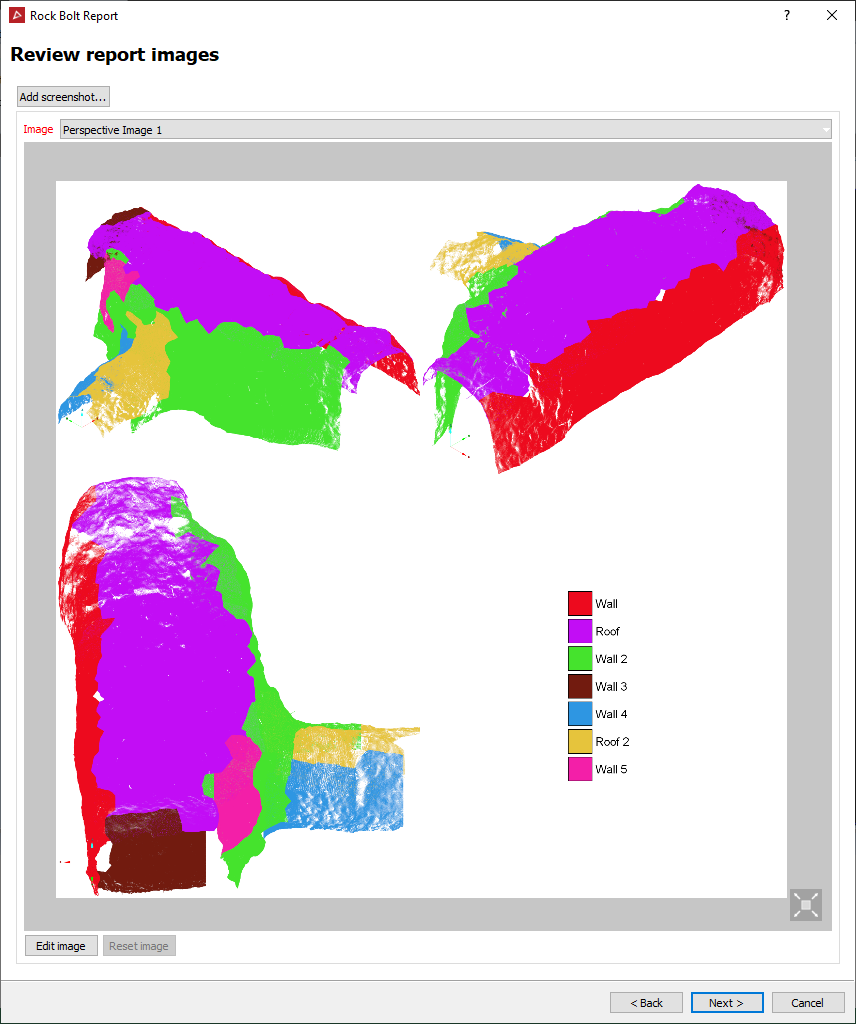
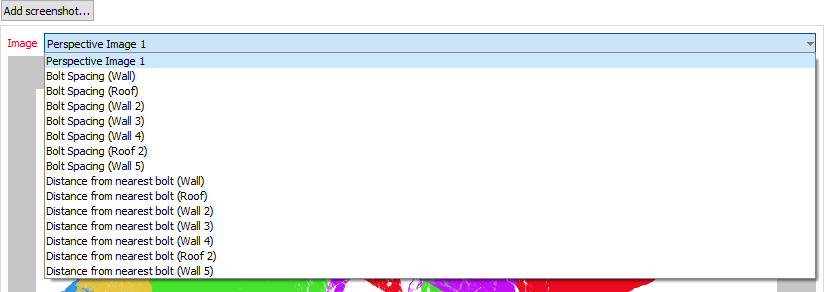
The Image drop down list will list all the available images for review, as in the above example.
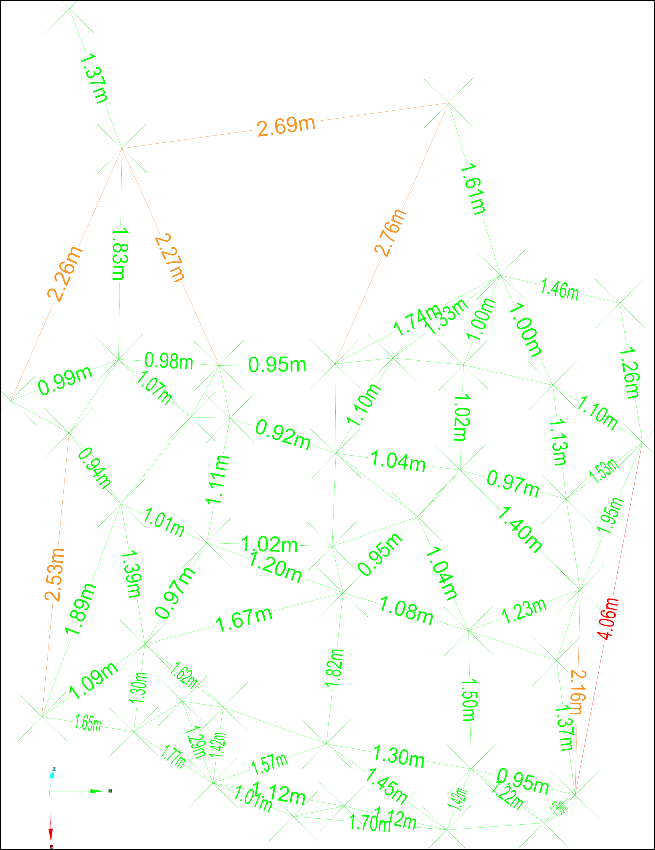
Above is an example of the image of the Bolt Spacing (Roof 2)
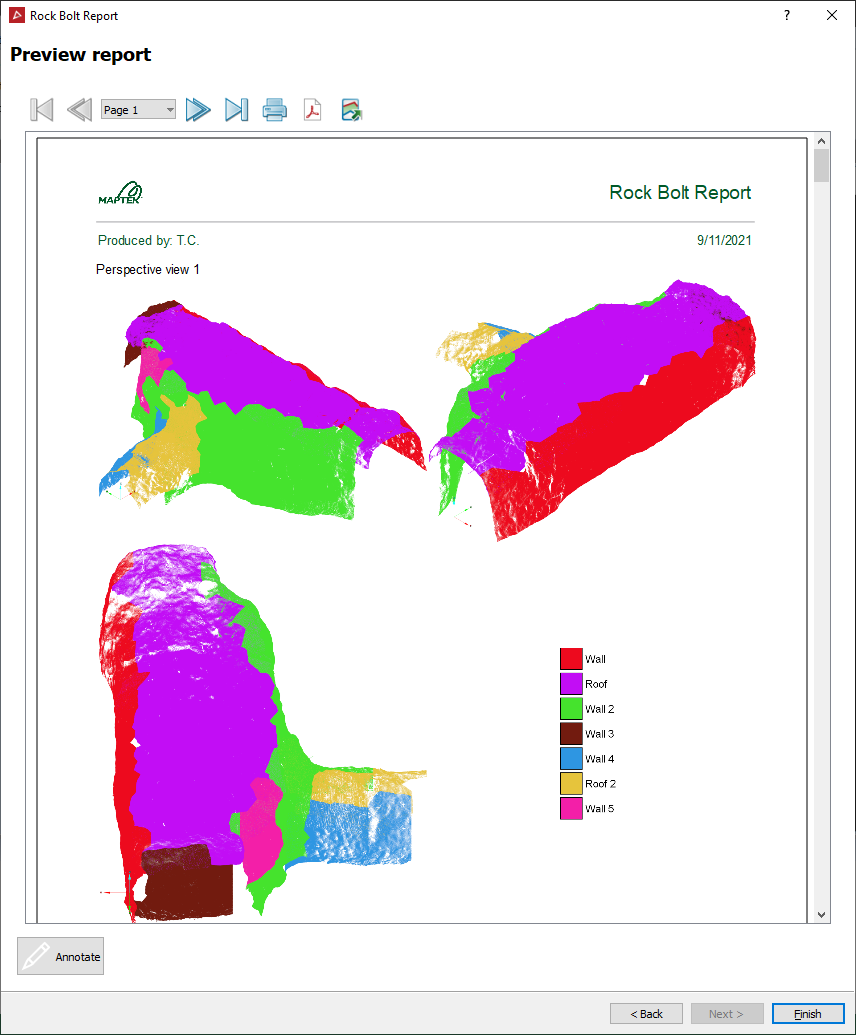
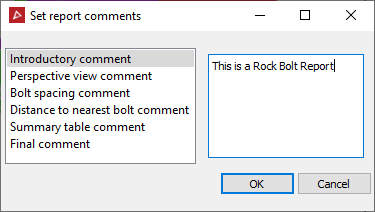
- Click Next on the Review report image panel to Preview report. From the Preview report you can:
|
|
|
-
Click Finish.
