Register Reconstruction
Source file: register-photogrammetric-reconstruction.htm
The Register Reconstruction tool allows you to register a reconstruction.
Note: You only need to register a photogrammetric reconstruction if registration from GPS coordinates is unsatisfactory or unavailable.
-
To proceed, click the
 Register Reconstruction button on the Photogrammetry tab, then follow the steps below.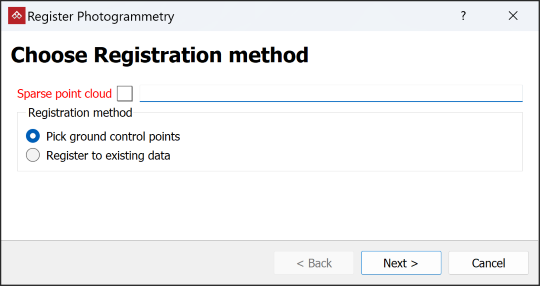
-
Select the required sparse point cloud
 in the project explorer. It will be automatically added to the Sparse point cloud field.
 -
Choose the registration method:
-
Pick ground control points to register to specific survey points.
-
Register to existing data to register to existing scans.
-
-
Click Next >.
-
Expand below according to the chosen method:
 Pick ground control points
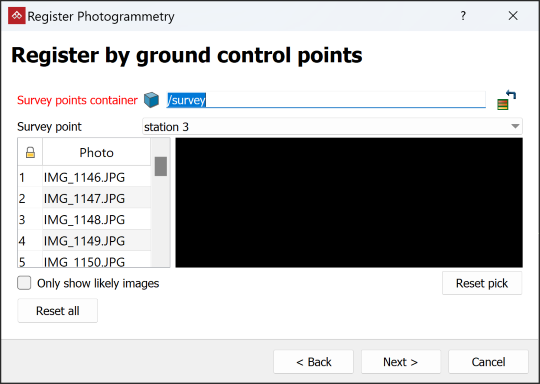
-
Identify survey points
 in the project data and drag their container into the Survey points container field.
 -
If asked to apply a new coordinate system, click Yes.
-
Select the corresponding points on several images.
Tip-
Select Only show likely images to filter out images that the software determines don't include the survey point.
-
You can select cameras in the view window rather than corresponding images from the list. This may simplify selecting suitable images relative to ground control points.
-
If the images are not near the survey points, do one of the following to reposition them:
-
Move them closer using the translate and rotate tools.
-
Perform a basic registration with a small number of survey points then repeat with more survey points to improve precision.
-
-
If the selected control point has been picked in other images, its probable location in subsequently selected images will be indicated by cross-hairs.
Note-
When you select a point on an image, the image file name will be displayed in bold black text.
-
The number of selected points in an image will appear in brackets after its file name.
-
-
Repeat for other survey points.
Note: If the software determines that a selected point is not consistent with points selected in other images, its file name will be displayed in bold red text. Check that you have selected the correct point in the image.
Register to existing data
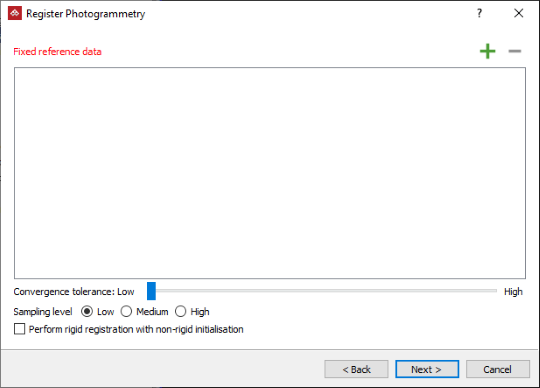
-
Drag suitable registered scans into the Fixed reference data field.
- Select the appropriate Sampling level and Convergence tolerance. The higher these settings, the more accurate the results, but the longer the registration processing time.
-
Select Perform rigid registration with non-rigid initialisation to register with settings that will prevent the scale of the result from being blown out of proportion at the expense of speed and accuracy.
-
-
Click Next >.
-
When the registration has completed, check that the registration is correct in the display.
-
Repeat the registration process as many times as necessary to achieve a satisfactory result, adjusting settings each time.
-
Click Finish.
-
