Manipulating Views
Source file: view-manipulation.htm
Setting the manipulation mode
Use the view manipulation options to change the manipulation mode as described below.
| Icon | Description | Shortcut |
|---|---|---|
 |
Z Up Mode constrains the Z axis to moving vertically in your viewing direction, regardless of camera location. | Z |
 |
Look from Mode fixes the viewpoint. Use to maintain a fixed location in space. | K |
 |
Plan View Mode sets the view to look down on the data. | P |
 |
Screen Mode enables the view to be rotated in any orientation. | S |
-
To change manipulation mode, select the required mode from the
Set Manipulation Mode drop-down list, found in either of the following locations:-
From the Camera group of the View tab.
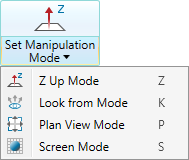
Or
-
From the view window toolbar.
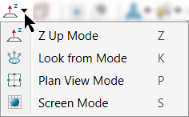
-
Tip: To reset a view window to plan view and zoom to the data extents, click
 Predefined views.
Setting the centre of rotation
When rotating a view, the centre of rotation is at the origin of the axes in the view window.
Note: Set Centre of Rotation is only available in Z Up Mode and Screen Mode.
The simplest method of setting a new centre of rotation is to press C and pick the desired new point. You can also click  Set Centre of Rotation from the Camera group of the View ribbon, or from the view window toolbar.
For a more precise location for the centre of rotation, enter the coordinates into the status bar, then click  (Complete) or press Enter.

-
Set the centre of rotation near the area of interest in the dataset. This will ensure that the data you are interested in does not disappear when you rotate a view.
-
If the axes are blocking data from view, press A hide them. Press A again to redisplay.
Viewing a scan from its origin
A scan origin is the location of the scanner when the scan was taken.
To view a scan from its origin, use one of the following methods:
-
Right-click on a point in the scan to open the context menu and select
 View Scan from Origin
 -
Select a scan and press O.
-
Select a scan and on the View menu, in the Camera group, click
View Scan from Origin.
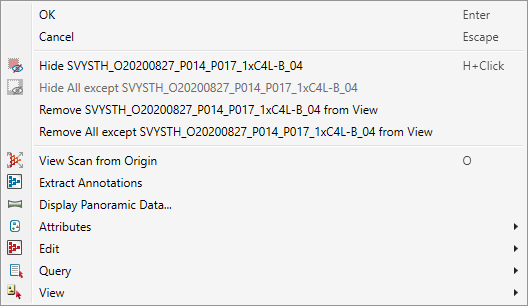
The scan will now re-orient to view all points from the scanner’s perspective.
Making the screen zoom into the point that you want to see
Place the cursor over the point of interest, hold Alt key while scrolling to zoom in to the cursor’s location.
Adjusting point sizes and line thicknesses.
You can increase or decrease point sizes and line thicknesses to enhance visibility as follows:
-
Press + to increase point sizes.
-
Press - to decrease point sizes.
-
Press 0 to increase line thicknesses.
-
Press 9 to decrease line thicknesses.
Hands free manipulation
In this mode, you do not need to press the Alt key to manipulate the objects with the mouse.
To select hands free manipulation, click the  (Hands free manipulation) button on the selection toolbar.

Tip: Hold down Shift when manipulating the view to slow the rate of movement.
Displaying the panoramic data
To view and explore panoramic data, use either of the following methods:
-
Right-click on any point in the scan to open the context menu, then select
 Display Panoramic Data... to view the photo captured by the scanner.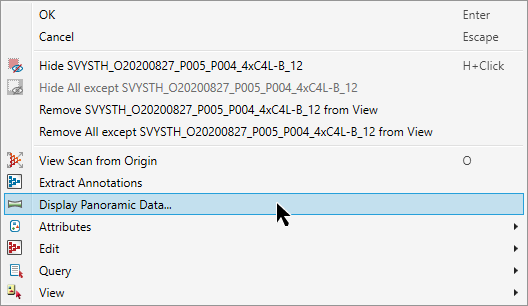
Or
-
Select a scan, then on the View menu, in the Camera group, click
View Panoramic.
The associated panoramic photo will be displayed temporarily, along with the following message box:
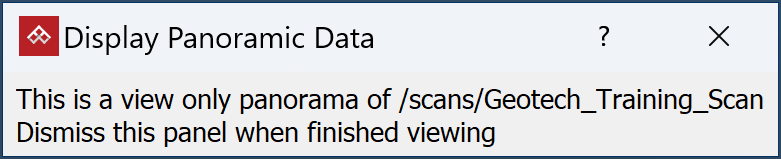
Use the standard Alt+mouse view manipulation techniques to pan around. Close the message box to return to the previous view.
Set a camera view point
To view the scene from a specific point:
-
On the View tab, in the Camera group, click
 Set View Point.
Or
From the view window toolbar click
Set View Point. -
Enter the new camera position in the status bar, or pick the desired location in the view window.

-
Enter the camera orientation in the status bar, or pick the desired direction in the view window.

The view window will reorient to the new view.
See View Window Toolbars > View toolbar for more advanced viewing features.
