To export the View window

Exports objects in the View window rendered into a high resolution image or to a 3D PDF or U3D file. Objects consisting of facets, edges or 3D text may be exported.

  1. Load the desired objects into a View window.
  2. Go to View > Export > 
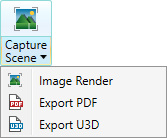
Capture Scene and from the drop down list select one of the following:
  Image Render to render a high resolution image of the view.
Export to PDF to export the view to a PDF file. see below
Export U3D to export the view to a U3D file. see below

Alternatively it can also be found in the View window toolbar .

To render a high resolution image of the view select .

 
  1. Select PNG, JPEG or BMP image type.
  2. Select the location where the image will be saved.
  3. Tick Sequentially name files to automatically name the images sequentially.
  4. Tick Show in folder to open Windows Explorer after saving the image and displaying its location.
  5. The Width and Height fields display the image size.
  6. To increase the size of the captured image, enter a number greater than one in the times view window size field. Note: Any text on the screen will not increase in size.


To export to a PDF select .

  1. Choose a directory path to save it in.
  2. Tick Show in folder to open Windows Explorer after saving the image and displaying its location.
  3. Press OK to export.


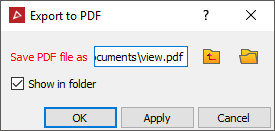
To export to a U3D select .