To measure the surface volume
Surface volume query calculates the volume enclosed by two surfaces or the volume from one surface to a plane at a fixed elevation.
-
On the Query ribbon tab navigate to the Surface group and select
 Surface Volume.
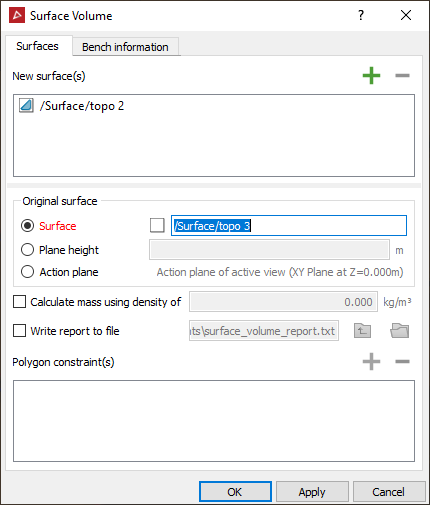
-
Drag and drop the surface to be measured into the New surface field.
-
Specify either an existing Surface to calculate a volume between or a Plane height to use. Note that the volume is only computed in the areas where the two surfaces overlap, when viewed from above or in the Z direction.
The Original surface should be a base model.
If a plane height is being used, a Reduced Level (RL) can be typed in manually or a point can be selected directly off the model in the View window. A horizontal plane at that RL will be created.
-
Volume calculations can be reported in units of mass or density. To report in density, select the Calculate mass using density of checkbox and enter a density.
Note: The volume reporting units may be changed via the PointStudio Preferences in units Units.
-
Tick Write report to file to save the results to a text file. Alternatively, this information can be seen in the report window and copied and pasted into a document.
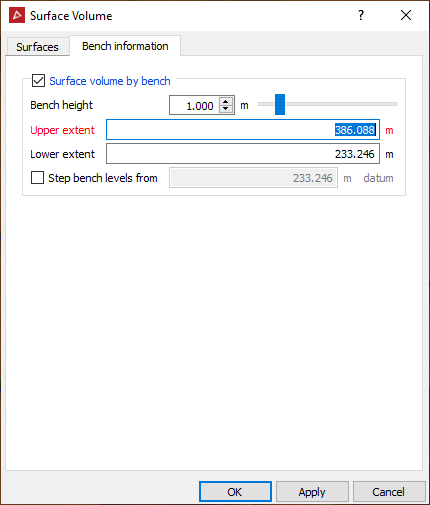
The Bench
information tab enables
the volumes to be broken down by bench.
-
Tick the Surface volume by bench checkbox to generate a bench by bench breakdown of cut, fill and volume differences.
-
Define the Bench height - the distance between bench levels.
-
Specify the upper and lower extents for the contours.
Note: The Step bench levels from checkbox must be ticked to step the bench levels at the specified bench height from the entered RL. Unchecking this option will step the bench levels from the zero RL.
In the example below, the red lines represent the specified benches and the green lines represent the area that the volumes will be calculated between.
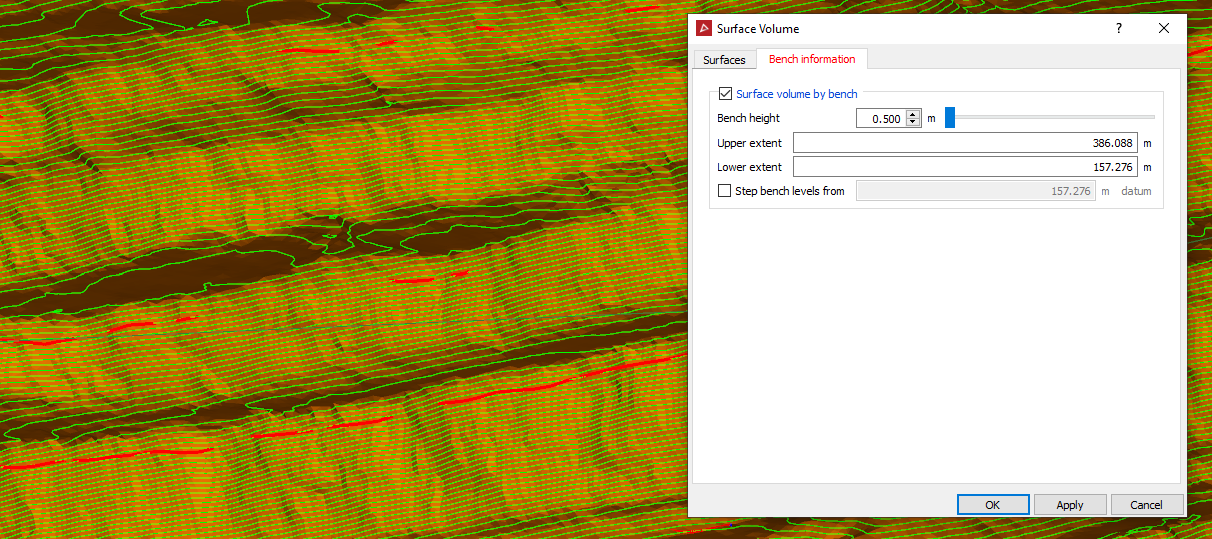
The results will be published in the report window.