To export the View window
Exports objects in the View window rendered into a high resolution image or to a 3D PDF or U3D file. Objects consisting of facets, edges or 3D text may be exported.
-
Load the desired objects into a View window.
-
On the View ribbon tab navigate to the Export group. From the Capture Scene drop-down list select one of the following methods of exporting your view:
-
 Image Render to render a high resolution image of the view. see below
 -
 Export to PDF to export the view to a PDF file. see below
 -
 Export U3D to export the view to a U3D file. see below
Alternatively it can also be found in the View window toolbar

-
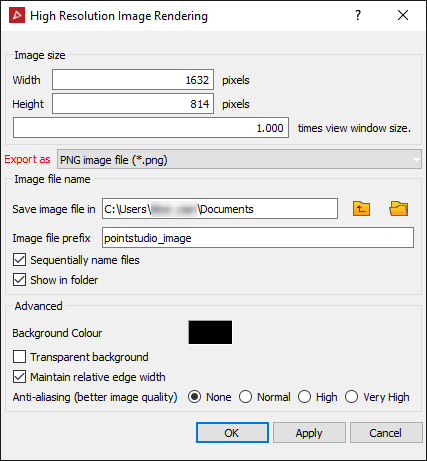
To render a high resolution image of the view select  .
.

|
|
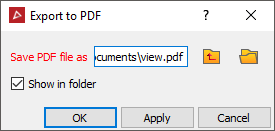
To export the View window to a PDF select  .
.
-
Choose a directory path to save it in.
-
Tick Show in folder to open Windows Explorer after saving the image and displaying its location.
-
Press OK to export.
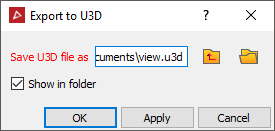
To export the View window to a U3D select  .
.
-
Choose a directory path to save it in.
-
Tick Show in folder to open Windows Explorer after saving the image and displaying its location.
-
Press OK to export.

