Attributes
Source file: attributes.htm
The Attributes tools enable you to add tags to any selection of points or objects. These can be used to sort data according to different characteristics improve analysis and understanding of the data.
Creating Attributes
The attribute creation process is identical for both point and object attributes.
-
Open the Edit Attributes panel from the Filters group on the Position and Filter ribbon tab, then click the
 button.
Or
Click either Point Attributes or Object Attributes in the Attributes group and select Apply Object/Point Attributes.
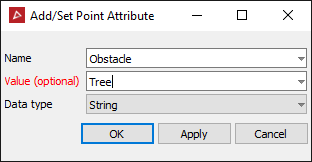
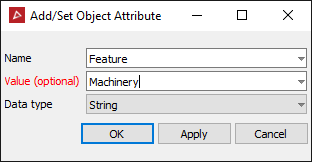
Either Add Point Attribute or Add Object Attribute will open.
-
Select the points in a scan to add an Attribute to.
-
Create a name for the Attribute.
-
Add a value (optional).
-
Select the Data type from the drop down list.
-
Click OK or Apply.
The attribute will be created and applied to the selected data.
Assigning Attributes
Attributes that have already been created can be applied to other data from the Point Attributes and Object Attributes tools.
To assign an attribute, select the data then click either Point Attributes or Object Attributes and select a pre-made attribute.
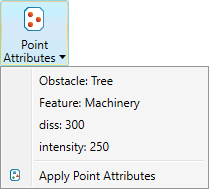
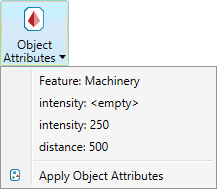
Note: A list of up to the ten most recent Point Attributes and ten Object Attributes will be available for a quick selection.
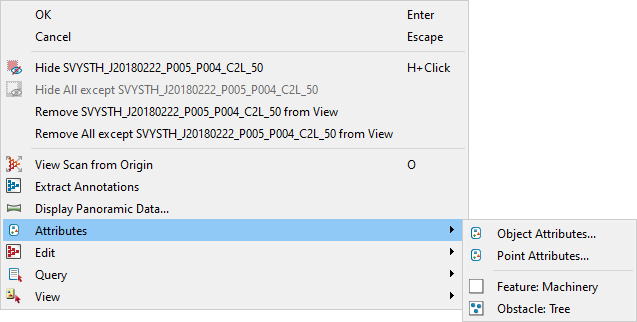
You can also assign attributes from the context menu: right-click a point or an object, hover over Attributes and select either Object Attributes... or Point Attributes....
Editing Attributes
To access the Edit Attributes panel, go to the Filters group on the
Position and Filter ribbon tab and select ![]() Edit Attributes.
Edit Attributes.
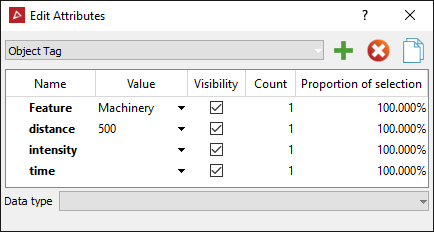
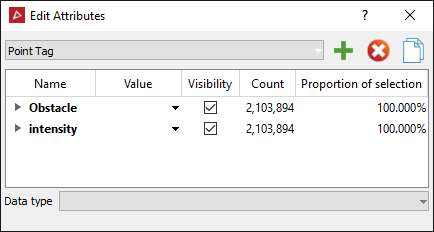
Select either Object Tag or Point Tag from the drop-down list. From here you can make any necessary changes to the attributes.
|
Example of a set of object attributes |
Example of a set of point attributes |
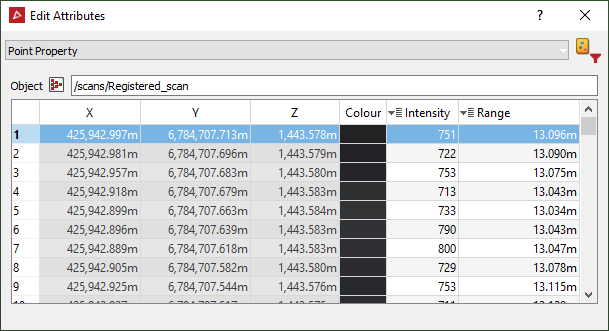
If you select Point Property from the drop-down list, the properties of all points in the selection will be displayed.
