Snap Modes
Source file: cad-snap-modes.htm
Snap modes control where drawing entities are placed in 3D space, in relation to the action plane.
Snap mode controls appear in the far right of the status bar, in the lower right corner of the user interface, when the selected tool requires a coordinate to be picked.

| Icon | Label | Description | Shortcut |
|---|---|---|---|
|
|
Pick Mode 2D/3D |
Toggle between:
|
X |

|
Project to Action Plane | Project a point perpendicularly onto the action plane. | Shift (mouse over) |

|
Disable Snaps | Disable transient snap targets. | Ctrl (while selecting) |

|
Snap Targets | Change the active transient snap targets. | none |
Transient snap targets give you an extra level of control and precision when placing points. Some commonly used snap targets are discussed in the practical examples below.
Snap targets can be toggled by opening the  Snap Targets palette and clicking their buttons.

| Icon | Active transient snap target option |
|---|---|
|
|
point |
|
|
midpoint |
|
|
line length |
|
|
angle from line |
|
|
angle from grid |
|
|
parallel to line |
|
|
perpendicular to line |
|
|
collinear to line |
|
|
collinear to endpoint perpendicular |
|
|
collinear to midpoint perpendicular |
|
|
collinear to point on grid |
|
|
grid point |
You can pick 3D points and project their digitised coordinates to the action plane. Transient snap modes become available for digitised coordinates restricted to the action plane, such as snapping at fixed angles, midpoints or parallel to existing lines.
Tip: Snap angles can be changed in the PointStudio preferences in View windows > Picking & snapping.
When you're picking coordinates, one of several visualisations will appear according to the active snap mode, to indicate where your coordinate pick will be placed.

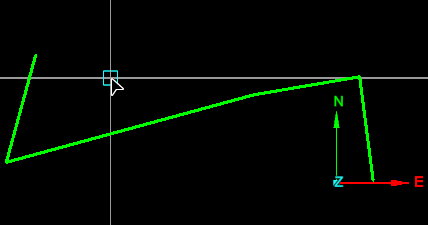
Crosshairs indicate digitising on the action plane. The cursor with a cyan square, and crosshairs in blank space indicate snapping to the action plane.

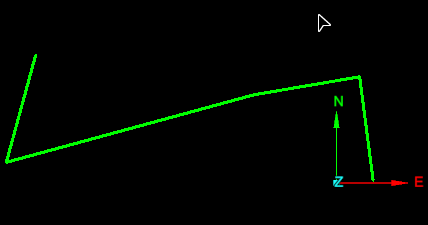
If only the cursor is visible, without visualisations, the pick is not snapping to anything, so will place a point in 3D space.

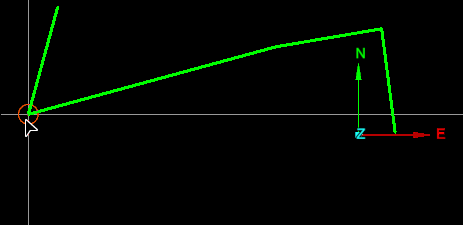
An orange circle indicates that the pick will snap to a point.

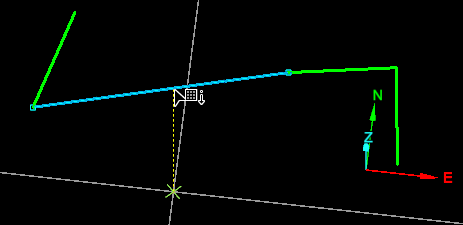
A yellow dashed line with a green X indicates that the pick will snap to an object and then project to the action plane.
-
Do not confuse snap modes with the selection toolbar icons. The point selection mode does not mean that you will snap to a point when clicking in the view.
-
Snap modes will open with the most recently used selection mode.
-
Right-clicking on
 Snap
Targets gives you the option enabling of All or None.


