Contours
Source file: create-contours.htm
The contours tool can be used to create contours on triangulations, which are then saved into an edge network object.
-
On the Create ribbon tab, go to the Topology group and select
 Contours.
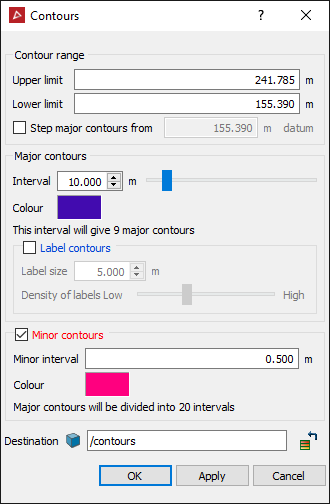
-
Enter the Upper limit and Lower limit for the contour creation, or click on them in the view window.
-
Select the Step major contours from checkbox and enter a datum value to generate contours from a level other than the zero RL. Clear to generate contours from the zero RL.
-
Define the Interval and Colour for the major contours.
-
Select the Label contours checkbox and define a Label size and Density of labels (ideally the same size as the interval) to add elevation labels to the major contours.
-
Select the Minor contours checkbox to generate minor contour lines between the major contours. Specify a Minor interval and Colour.
-
Select a container for the created contours object in the Destination field. By default, the contours are saved in the contours container.

The example
below shows major and minor contours, with the major contours labelled.
