Applying an Image to a Surface
Follow these instructions for applying imported images to surfaces using the Two-point or Multi-point methods.
Note: This procedure is not applicable to images that have already been georeferenced.
-
If you have not already imported the image, you can do so by dragging it directly into an empty view window.
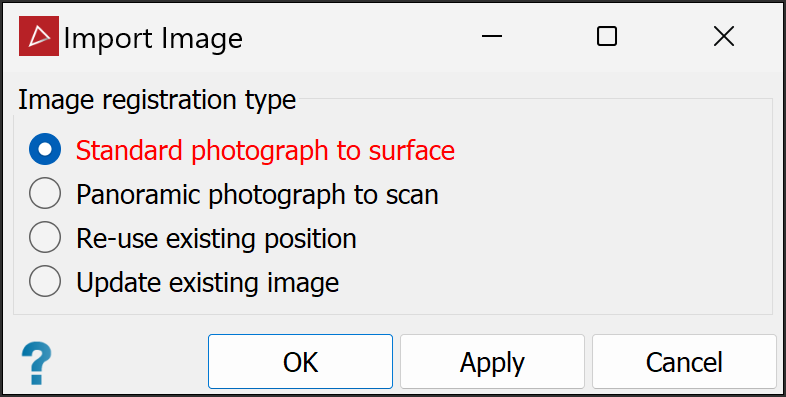
The Import image panel will open.
-
With Standard photograph to surface selected, click OK or Apply.
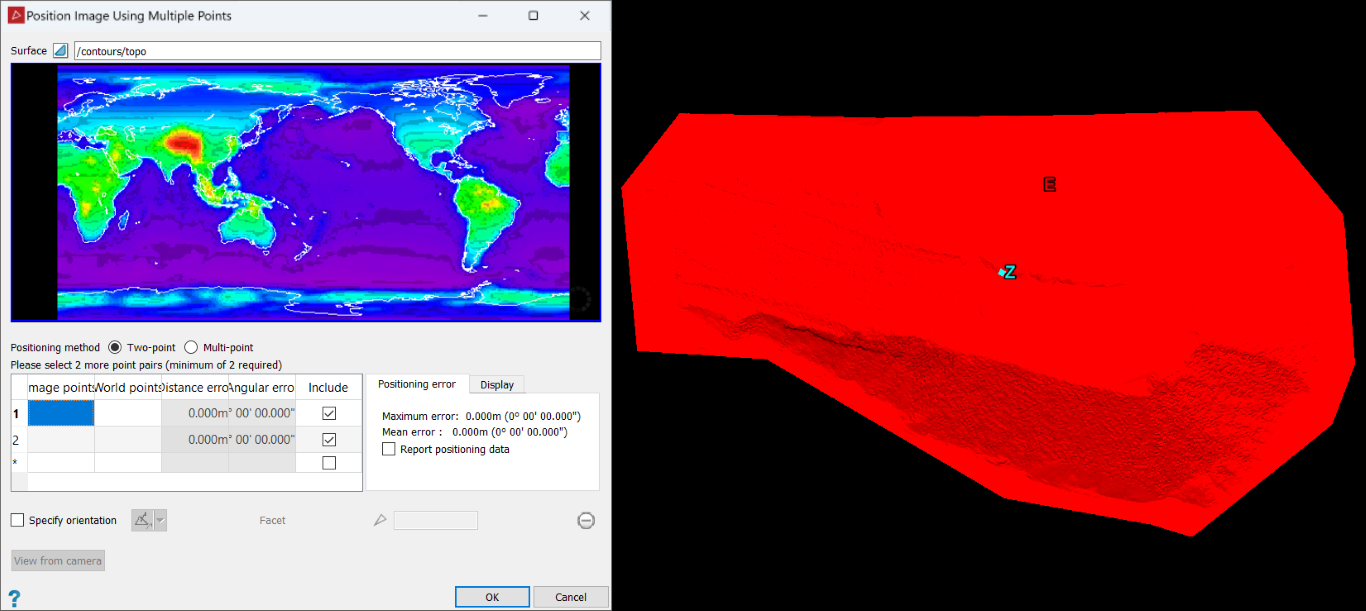
The Position Image Using Multiple Points panel will open.
-
Drag the surface to map the image onto into the Surface field.
The surface will be loaded and displayed in the view window.
Tip: Move the mouse while pressing the scroll wheel to pan the image. Scroll up or down to zoom in and out on the image.
-
Select a Positioning method and proceed accordingly.
-
Two-point requires a minimum of two point pairs to apply the image to a flat surface region.
-
Multi-point requires a minimum of eight point pairs to apply the image to a surface region.
-
-
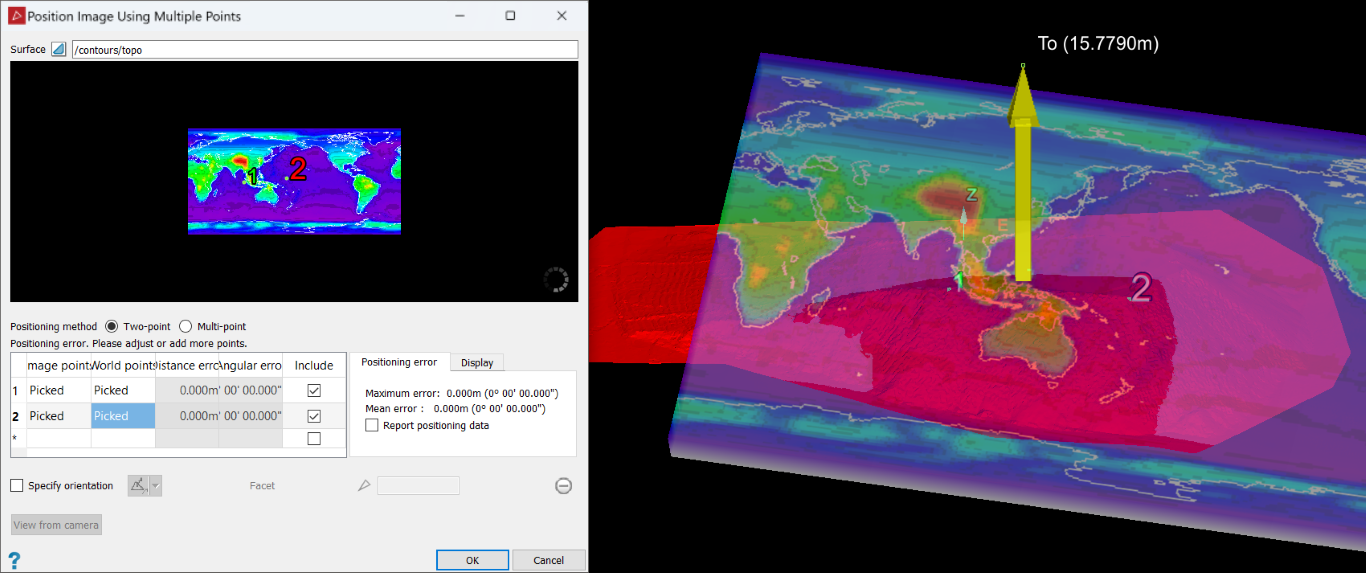
Click in the first row of the points table under Image points.
-
Click on the image to locate point 1.
The cursor will advance to the World points column.
-
Click on the surface for the corresponding point 1 location.
The cursor will jump to the next row.
Tip: Enable snap modes for more precise point selection.
-
Click on the image to locate point 2.
-
Click on the surface for the corresponding point 2 location.
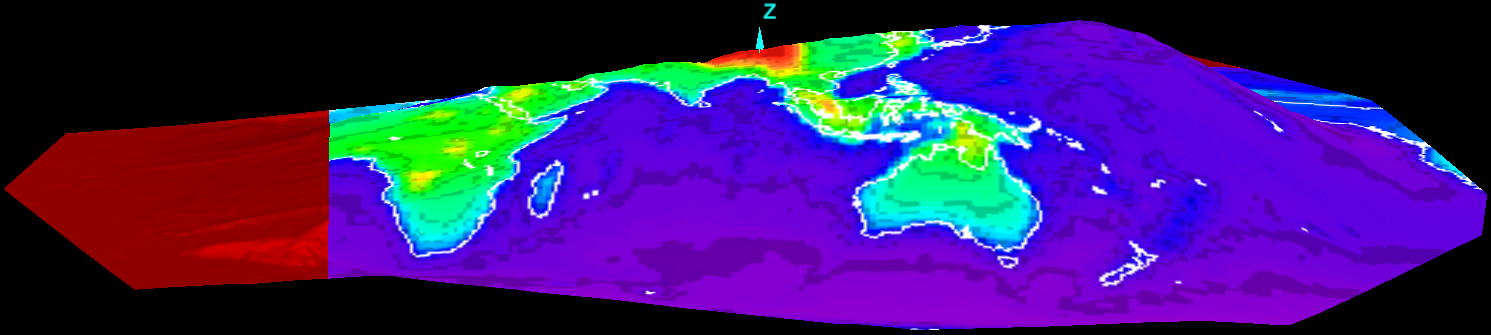
A filtered version of the image is applied to the surface.
Tip: If necessary, you can reposition a point. Select the appropriate field in the points table, then pick the new location.
-
(Optional) If the image is a top-down orthophoto, select Specify orientation, then select Axis aligned from the drop-down and choose Z axis.
-
Click in the first row in the points table under Image points.
-
Click on the image to locate point 1.
The cursor will advance to the World points column.
-
Click on the surface for the corresponding point 1 location.
The cursor will jump to the next row.
Tip: Enable snap modes for more precise point selection.
-
Click on the image to locate point 2.
-
Click on the surface for the corresponding point 2 position.
-
Continue selecting points in the image and the corresponding points on the surface for the remaining six point pairs (minimum).
-
When you have selected sufficient point pairs and their positions are approximately correct relative to each other, you can use the following options to assist with fine tuning:
-
Click View from camera to re-orient the view window to look from the camera location.
-
On the Display tab:
-
Select Camera position to display the camera's location, indicated by a grey pyramid shape.
-
Select Reprojected image points to compare point pairs in the view window. The image point positions are indicated by magenta lines radiating from the camera position.
-
Select Reprojected world points to compare point pairs in the image window. The surface point positions are displayed as magenta crosses.
Note: The options on the Display tab provide a visual guide to the algorithm process and allow comparison between your inputs and equivalent points determined by the algorithm.
Tip: If necessary, you can reposition a point. Select the appropriate field in the points table, then pick the new location.
-
-
-
(Optional) On the Positioning Error tab, select Report positioning data to show positioning information in the report window.
-
Click OK to complete the mapping process.
Two-points positioning uses at least two representative points on the input image and aligns them with two corresponding points in the 3D view. The user picks point pairs in the image and on the surface. This method maps the input image directly onto the object as though being illuminated by a projector. Available options assist in placement and orientation of the input image during the mapping process.
Multi-points mapping applies a camera lens algorithm to the input image to attempt to compensate for lens distortion. It then applies the image to a surface. You must select at least eight pairs of corresponding points between the input image and the mapping surface. The more point pairs you select, the better the accuracy. Positioning error gives an indication of the variation between the actual points selected by the user and the estimation of points determined by the algorithm. Display options enable the user to see the difference between actual selected points and the algorithm mapping of these points, allowing for visual fine tuning of points positioning.
-
To remove an image applied to a surface, proceed as follows:
-
Right-click on the surface to open its context menu.
-
Navigate to Edit > Manage images...
-
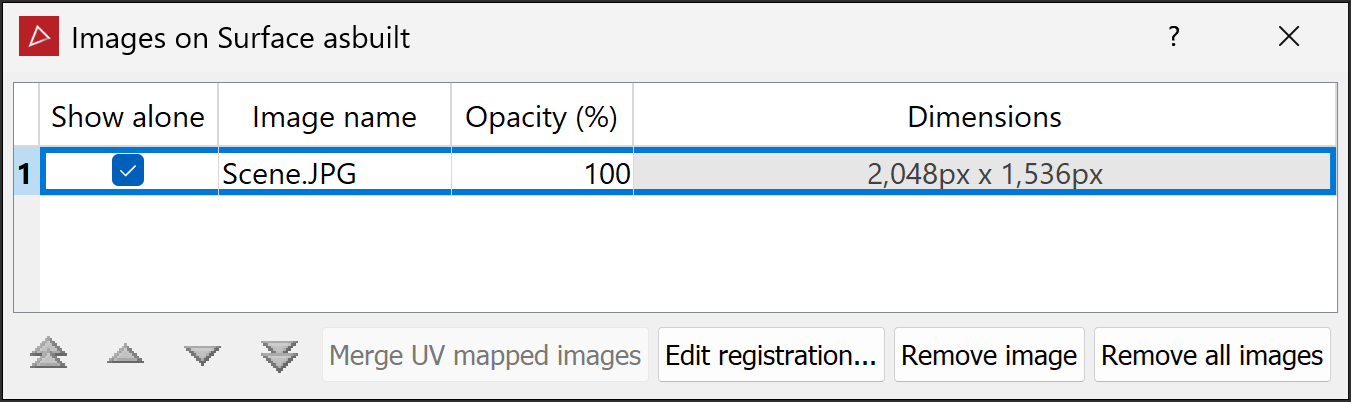
Select the image in the Images on Surface tool panel.
-
Click Remove image or Remove all images.
Tip: You can also revise the image’s positioning from the Images on Surface tool panel. Click Edit registration..., then repeat the positioning procedure.
-
