Export Intercepts
Export Hole Information
Use the Export Intercepts option to export the hole information contained in a Drill and Blast layer. The exported data can either be converted and saved (as a point object) in a nominated Vulcan layer or it can be outputted to a nominated CSV file.
Instructions
Click the Export Intercepts button on the Drill and Blast toolbar.
or
On the Drill and Blast menu, point to Analysis and Reporting, and then click Export Intercepts.
The Select hole(s) by dialog box is then displayed.
Using the displayed dialog box, nominate a method by which to select the holes. You have the choice of selecting by hole, by row or by echelon. Use the All Holes option to export all of the holes from a particular blast.
Once chosen, the selected holes are shadowed and the Select hole(s) dialog box is redisplayed. Cancel when you have finished selecting holes to export.
The following panel is then displayed.
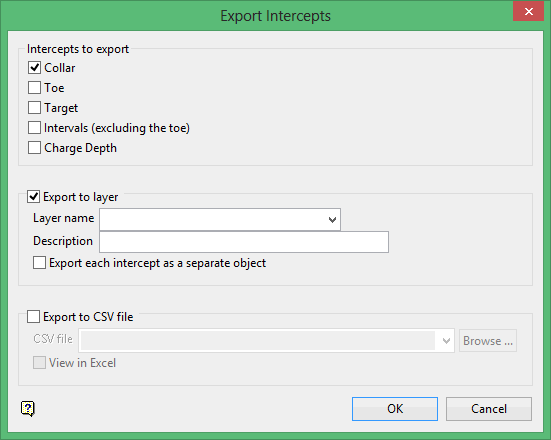
Intercepts to export
Specify the hole information that you want to export. The following information can be exported:
-
collar information
-
toe information (including intervals)
-
target information
-
interval information (excluding the toe)
Export to layer
Select this check box to convert and display the exported data in a nominated Vulcan layer.
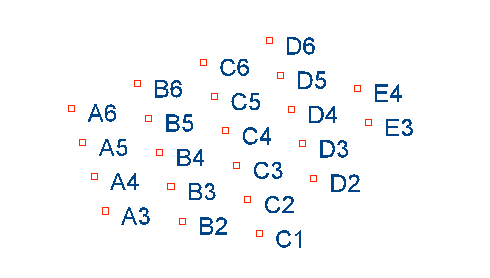
Figure 1: The Original Holes
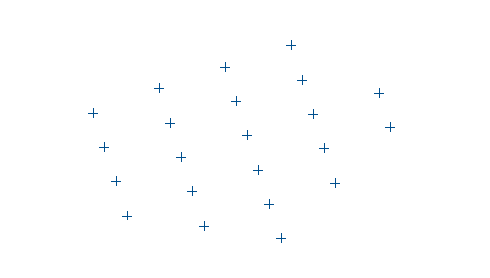
Figure 2: Exported Hole Collars
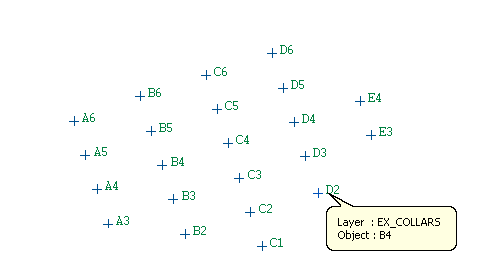
Figure 3: Exported Hole Collars (with Point Names displayed)
The default colour, which is defined through the Status toolbar, will be used to colour the points in the resulting point object. The size and shape of the point markers is determined by the point settings under the Graphics section of the Tools > Preferences option. The points can be displayed as markers, a fixed number of pixels or a fixed real world size.
The blast name will be used to name the resulting objects while each point will be named after it's corresponding hole collar/toe. The exported points will also be assigned a group code that relates to the exported information, For example, COLLAR for collar points, TOE for toe points, TARGET for target points and INT1, INT2 etc. for interval points.
Layer
Select the layer that will be used to store the resulting point object.The drop-down list contains the names of all currently loaded layers. If you select an existing layer, then the resulting data will be appended to the nominated layer. If you enter the name of an existing layer that is not currently loaded, then you will need to confirm whether you want to load the layer or replace it, that is, overwrite its contents.
To create a new layer, enter the layer name. The layer name:
may contain up to 40 characters.
must begin with an alphanumeric character [0-9] or [a-z].
cannot include spaces.
can include hyphens [ - ], plus signs [ + ], underscores [ _ ], periods/dots [. ].
can include the special characters of ÁÂÃÀÇÉÊÍÓÔÕÚÜÑ that are used in the Spanish and Portuguese languages.
Description
Enter a description to further describe the contents of this layer. The description can be up to 80 alphanumeric characters and may include spaces. If a description is not entered, then a default description will be used instead. If the chosen layer already has an assigned description, the description displays when the layer is selected. Existing layer descriptions can be overwritten.
Export each intercept as a separate object
Select this check box to export the intercepts as separate objects in the nominated layer. If this check box is not checked, then the exported data will be saved as a single point object.
Export to CSV file
Select this check box to export the hole information to a nominated CSV file. The resulting file will consist of 4 columns (hole name, Easting, Northing and RL).
CSV file
Select the file that will be used to store the exported hole information.The drop-down list contains all .csv files found in your current working directory. Click Browse to select a file from another location.
To create a new file, enter the file name and file extension.
View in Excel
Select this check box to view the resulting report through Microsoft Excel.
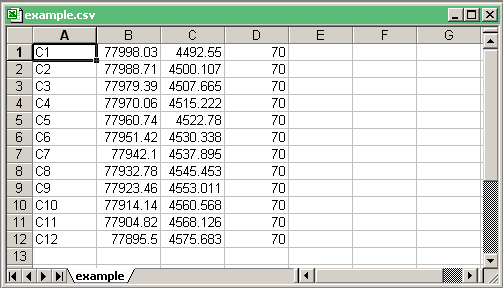
Figure 4: Hole Collar Information (as viewed through Microsoft Excel)
Click OK.
A point is then drawn at the location of each hole.
If you chose to output the hole information to a CSV file, then the report file will be created and stored in the specified directory. If you enabled the View in Excel check box, then the newly created file will be opened and displayed through Microsoft Excel.
Tip: Preselected data can be used with this option, that is, the holes are selected prior to running the Export Intercepts option. Using preselected data will allow you to bypass the Select holes by dialog box. It is also possible to export hole information through the Vulcan context menu. To do so, right-click on the desired holes and select Export Intercepts from the displayed context menu.

