Installing Vulcan
Prior to installing Vulcan:
-
If you have an existing version of Vulcan, do not install a newer version of Vulcan into the same directory. Instead, specify a different directory when prompted for the location.
-
Do not rename any existing Vulcan directories.
-
Administrator rights are required for Vulcan installation. See your IT staff if you do not have administrator rights on your computer.
-
Ensure that the Windows Installer service is enabled.
-
Close all other applications including any startup programs, during the Vulcan installation (recommended).
System Requirements
| Item | Specifications |
| Processor |
64-bit Intel or AMD CPU i7 series equivalent or higher |
| Operating System | Microsoft Windows® 10 x64bit |
| Internet connectivity | Recommended |
| RAM | 32 GB or more |
| Storage |
1 TB SSD or 7200 rpm HDD for local data storage Gigabit LAN or faster for larger remote storage 10 GB total disk space for installation 4 GB free disk space for swap files |
| Graphics Card |
OpenGL 3.3 or later compliant dedicated video card 4 GB Video RAM or more GeForce GTX or equivalent |
| Display |
1920 x 1080 resolution or higher (Dual monitors recommended) All screens should be set to the same resolution for best experience. |
| Peripherals | 3 button scroll-wheel mouse |
For more information, see System Requirements.
GUI installation
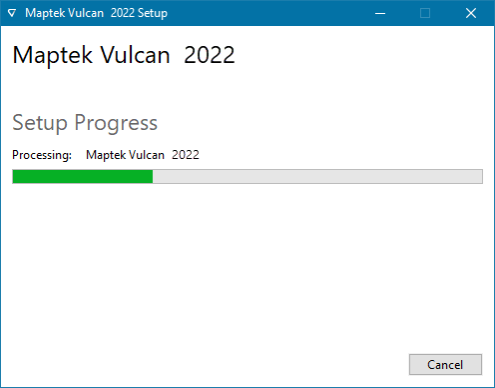
This is the default installation mode for Vulcan. The installer checks in the background for packages that need to be installed without prompting on the screen. However, you can see the installation progress through the status bar.
-
Open the installer that comes with your licence purchase. For first-time installations, it’s best recommended to use the
.exeinstaller. -
A dialog appears asking permission to allow the program to make changes to the computer. Click Yes to continue.
-
Read the licence agreement. If you agree to the terms of the licence agreement, check I accept the terms in the license agreement.
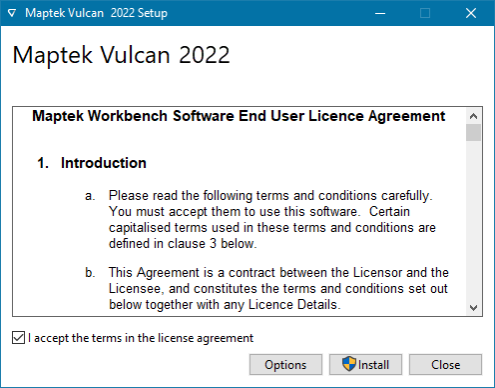
Note: The Options button allows you to change the installation folder. However, this is optional. If you need to install Vulcan in a different folder, browse a location and click OK.
-
Click Install to begin the installation. The installer automatically checks for all the updates and installs the bundled versions of Vulcan, Workbench, MSP, MAP, and all prerequisites.
-
Once the installation is finished, you may be prompted to restart the computer. A system restart can be helpful but not necessarily required if you already have Vulcan installed on your system.
Command line installation
Alternatively, Vulcan can also be installed from the command line using various parameters.
Parameters
“Vulcan <version>.exe” /? shows available installation options.
| Parameter | Description |
|
/install /repair /uninstall /layout |
Installs, repairs, uninstalls, or creates a complete local copy of the bundle in directory.
|
|
/passive /quiet |
Displays minimal UI with no prompts. Displays no UI and no prompts. By default, UI and all prompts are displayed. |
| /norestart |
Suppresses any attempts to restart. By default, UI will prompt before restart. |
| /log log.txt |
Logs to a specific file. By default, a log file is created in |
Custom properties
Vulcan 12.0 and onward supports INSTALLDIRcustom property.
| Property | Description |
| INSTALLDIR | The target folder in which the Vulcan is installed. |
Silent installation
To perform a silent installation of Vulcan, run the command below. Running a silent installation will install Vulcan with the default environment variables set on the target machine. However, it does not set any corporate standards variables.
“Vulcan <version>.exe” /install /quiet /log “<target folder>\Vulcan_2021_Install_0000.txt” INSTALLDIR=“<target folder>”
Using .msi and not .exe
If you want to handle prerequisites and Vulcan installation separately within SCCM, you may use .msi with msiexec.
In Vulcan 2021, .msi can be used without any modification. To perform a silent install, you can run the following command.
msiexec.exe /quiet /i “Vulcan.msi” INSTALLDIR=“<target folder>”

