Create or Open
Use the Create or Open option to create an .IREG file or open an existing .IREG file. These files can then be used in place of pexel files when loading triangulations.
To create an .IREG file, you need an image file in one of the following formats; Model_CompuServe.gif (.GIF), JPEG (.JPG or .JPEG), tagged image file format (.TIF or .TIFF), ER Mapper ECW image (.ECW) or RGB. This file does not need to be located in your working directory, however, the IREG file will be stored in your working directory.
The ER Mapper ECW image format allows a very large texture to be applied to triangulations. For example, over 1 billion pixels may be interactively viewed using this option. Refer to the ER Mapper website for more information on producing ECW images.
Instructions
On the Model menu, point to Image Registration, and then click Create or Open to display the Open Image Registration for Editing panel.
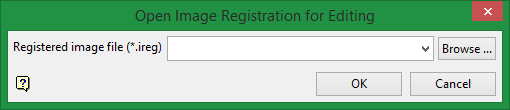
Specify the name of the Image Registration file that you want to open. The drop-down list contains all of the .IREG files found in your current working directory. To create a new file, enter the file name and file extension. By default, the resulting file will be stored in your current working directory.
Click OK.
The following panel displays.
Image Registration Properties
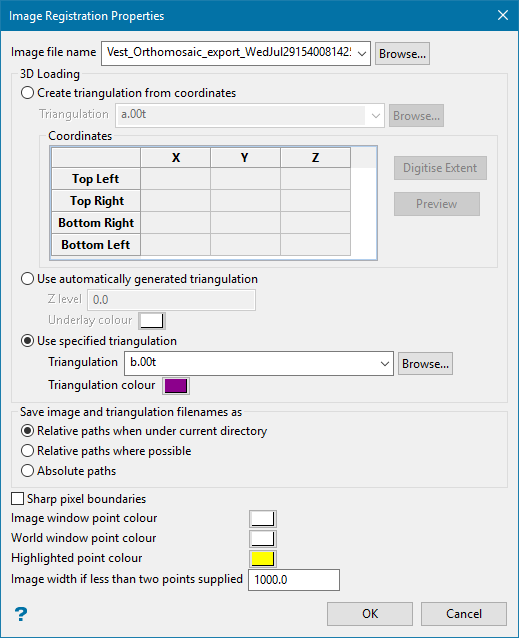
Image file name
Select an image file. Click Browse to select a file from another location.
3D Loading
Create triangulation from coordinates
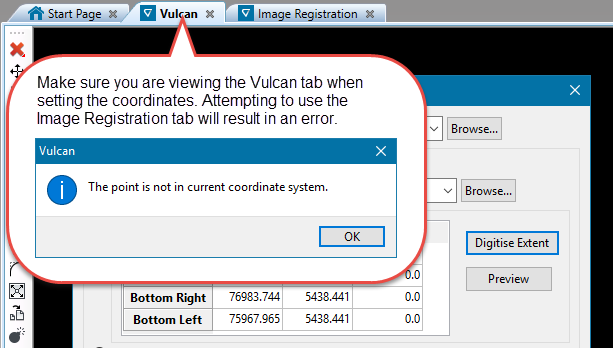
Click the Digitise Extent button to select the coordinates for placing your image.
Use automatically generated triangulation
Select this option to create an underlay that will cover the extent of your mapping. This option works best if you are only going to use two or three control points.
When using this option you will be able to double-click on the IREG file (in the Vulcan Explorer application) and have it automatically displayed as a texture on a triangulation in the Primary Window. This option does not create a triangulation.
Use specified triangulation
Select this option to associate an IREG file with a specific triangulation. The list contains all triangulations in the current working directory. Click Browse to select a file from another location.
You will also need to specify a colour for the triangulation. The nominated colour will be used for the wireframe, and will be used as a base colour for the lighting effects.
Save image and triangulation filenames as
Select the method you want to use when saving the IREG file.
Relative paths allow the file to be transferred from one computer to another if the file structure within the working directory where the file is saved is the same.
An absolute path will reflect the entire file path, including the drive letter. For this method to be transferable, the complete folder structure (including drive letter) must be identical.
Sharp pixel boundaries
Select this check box if you want the pixels to look 'chunky' instead of smoothed under high magnification.
Point Colour
The Image window point colour, World window point colour and Highlighted point colour options allow you to specify the colour for the control points.
Image width, if less than two points supplied
Enter the width of the image. This value, which must be entered in real world units, will be used when only one control point is specified.
Click OK.
The Image Registration window is then opened.
Step-by-step direction can be found here.

