Customise
Use the Customise option to create custom menus, toolbars, command lists, and hotkeys. These can consist of individual options, customised menus, existing menus and lava scripts.
Instructions
On the Workbench menu, click on Customise to display the User Interface Customise window.
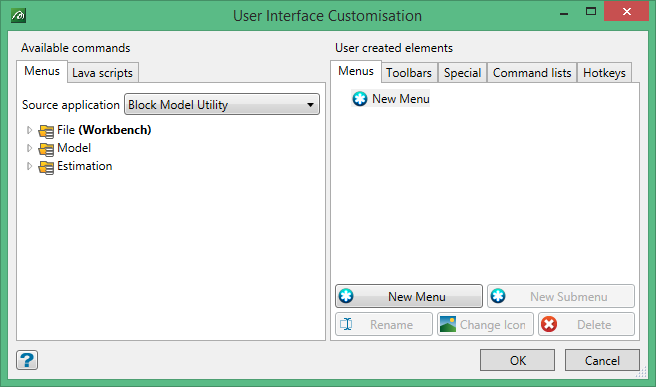
Available commands
All available commands are listed here. Any command can be used in any created element.
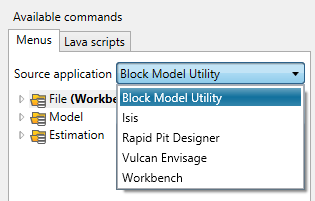
Figure 1: Available commands
Menus
This pane lists all menus, submenus and options found in each of the Source applications listed in the drop-down list. As the Source application is changed, the menu list will change.
Lava Scripts
This pane lists all available lava script files (.lava).
User created elements
Menus
This pane lists custom user-defined menus.
Building a menuStart by double-clicking the Right-click on the Untitled Menu to activate the context menu, and the select Rename to give a title to your menu. (See Diagram 1) Note: : All right-click commands are also available as buttons at the bottom of the pane.
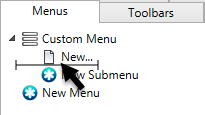
Figure 2: Right-click on Untitled Menu to activate context menu. To build a custom menu, simply drag an item from a list of Available commands on the left side and drop it in place on the right side. You will be able to see where it will be placed by the indicator bar. (See Diagram 2)
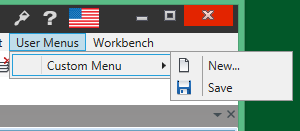
2 When you have completed the menu click OK to save it. The new menu will appear on the menubar under User Menus. (See Diagram 3)
3 |
 in the right column. This will cause a blank Untitled Menu to be created.
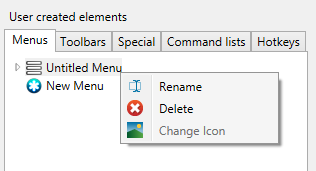
Toolbars
This pane lists all custom user-defined toolbars.
Building a new toolbarStart by double-clicking the Right-click on the Untitled Toolbar to activate the context menu, and the select Rename to give a title to your toolbar. (See Diagram 4) Note: : All right-click commands are also available as buttons at the bottom of the pane. The same commands are available as context menu items or as buttons at the bottom of the pane.
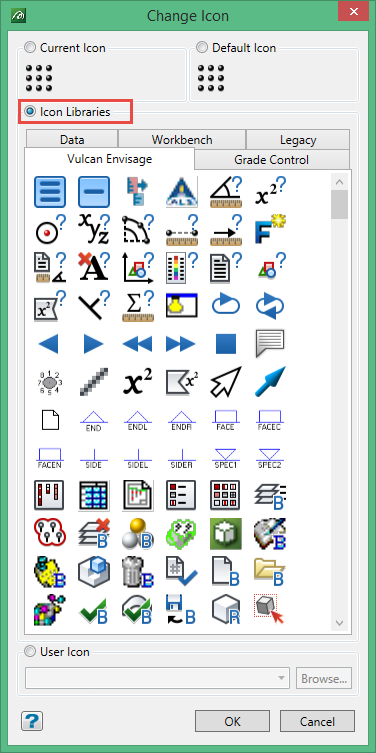
4 Custom iconsYou can assign custom icons to each toolbar item by either right-clicking on the item to activate the context menu and selecting Change Icon, or by highlighting the item and then selecting the
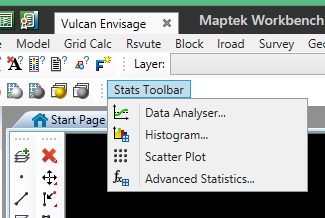
5 The resulting toolbar can be loaded like any other toolbar. (See Diagram 6)
6 |
 in the right column. This will cause a blank Untitled Toolbar to be created.
Special
This pane lists all menus based on plugin functionality. The functionality would be determined by the plugin itself.
Command lists
This pane contains all customised lists of instructions made up of menu commands and/or written instructions.
Hotkeys
Hotkeys (or shortcut keys) are keystrokes that can be assigned to frequently used menus or options. There is a list of reserved hotkeys that cannot be overwritten. However, any command or menu item can be made into a hotkey item by following these steps:
-
Drag the item from the Available commands list to the User created elements list.
-
Decide upon a hotkey combination.
-
Click Apply or OK.
Tip: Click Apply if you want to continue assigning more hotkeys. Click OK if you are finished and wish to close the User Interface.
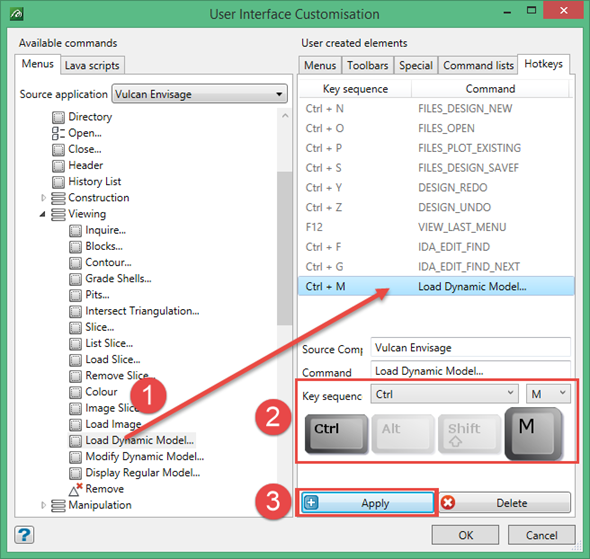
Figure 3: Creating a hotkey shortcut.
Refer to the following for a list of hotkeys that are reserved by Vulcan.
After you have finished customising your toolbars and/or hotkeys, click OK to display the Save Customisation Settings window.
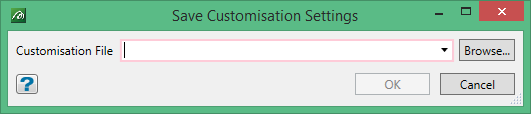
Use this panel to save any customisations to a specified Workbench customisation file (<filename>.vwc.xml). In this way you can create different Workbench themes that contain menus and toolbars custom designed for the tasks you perform.
Customise file
Enter, or select from the drop-down list, the name of the Workbench customisation file that will be used to store customisations
Set as Default
Select this check box to set a specified Workbench customisation file to be loaded and used for every Workbench session. Using this option will automatically enable the Use Customised Workbench (Menus and Toolbars) preference, which displays under the Workbench section of the Tools > Preferences option.
Click OK to save the customisations. If your vulcan.prefs file (located in the User Profile area) is "read-only", then the "Error Saving Preference File" message displays.
The newly saved customisations will take effect in the next Workbench session if the Use Customised Workbench check box was selected. To disable the loading of a customisation file, clear the Use Customised Workbench check box.
If you try to exit without saving your customisations, then you will be prompted as to whether or not you want to save the customisations. Choosing to save the customisations will result in the Save Workbench Customisations panel being displayed.
Tip: Refer to the Tutorial section for more information on the Workbench Customise interface as well as step-by-step video demonstrations on how to create custom toolbars and hotkeys etc.

