Create Points
Use the Create Point option to create named points to mark specific locations, such as block corners. The named points can be digitised onto the current section or all sections contained in the current dragline setup.
Note: This option will automatically move you to section view on the current section.
Instructions
On the Dragline menu, point to Points, and then click Create Points.
Using the left mouse button, digitise the location for the named point.
If a Dragline specifications file (.rsp) was not opened prior to selecting this option, then the Open Dragline Specification panel displays first.
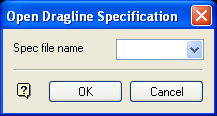
Open Dragline Specification panel
Spec file name
Enter, or select from the drop-down list, the <spec_file_id> part of the dragline specifications file name. The maximum size is 6 alphanumeric characters. Selecting a name from the drop-down list will open an existing specifications file. Entering a new name will create a new specifications file.
Click OK.
The following panel is then displayed.
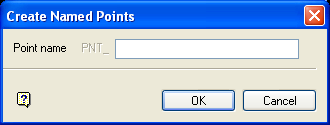
Point name
Enter the name that will be assigned to the point (spaces cannot be used). Point names, including the PNT_ prefix, can contain up to 40 alphanumeric characters. Duplicate point name are not supported.
Click OK.
Specify whether the named point is to be applied to just the current section or to all sections. Applying the named points to all sections will result in points with the same section chainage distance and elevation.
You will then be prompted to digitise the next point location. Cancel when you have finished creating named points.

