Plot Builder
Use this option to quickly layout and design a plot using dynamic views. Supports up to 9 arbitrary views.
Instructions
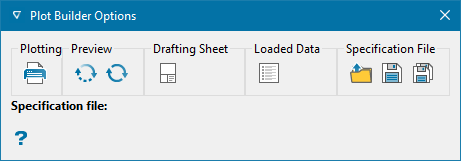
On the File menu, point to Plot, then click Plot Builder to display the following interface.

|
Generate the plot. |

|
Start dynamic display. |

|
Stop dynamic display. |

|
Update display. |

|
Select a drafting sheet. |

|
Displays a panel showing all data that is loaded into Plot Builder. Items can also be deleted using this panel. |

|
Open specification file. |

|
Save. Use to save a specification file. |

|
Save as. Use to save an existing specification file using a new name. |
Tip: Plot Builder will also open the Property Editor window, a Plot Preview tab, and a Data View tab. You can customise the arrangement of these displays by dragging and dropping the tabs of each pane.
Plot Builder workflow
Pick drafting sheet
Click the icon to Select a Drafting Sheet.
Orient your view
The panels can be repositioned by clicking the title bar and dragging it away from its current position. Positioning guides will appear showing available locations for placement. Release the panel when the desired guide is highlighted and the panel will drop into place. They can also remain floating as a stand-alone window.
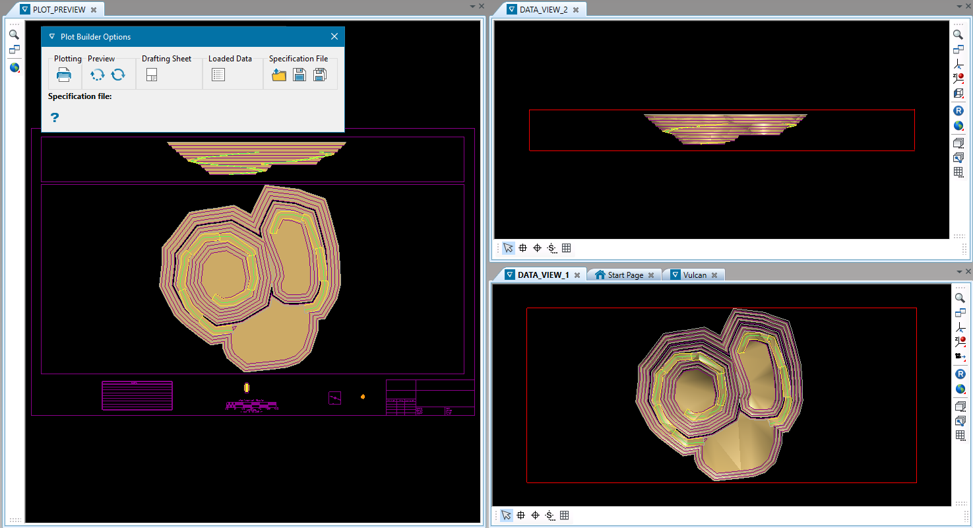
Figure 1: Example layout showing two views and the plot results.
Load data into views
Load the data by dragging the layer or triangulation to a preview window, which will send it to all the views. The orientation of each panel can be adjusted separately. In Figure 1 above, the pit layers were loaded into Data View 1 in the lower right. The same layers also appeared in Data View 2, which was then orientated to a side-view.
Remove a layer by right-clicking the object in the Data View panel, then selecting Remove from the context menu.
View a list of all loaded data
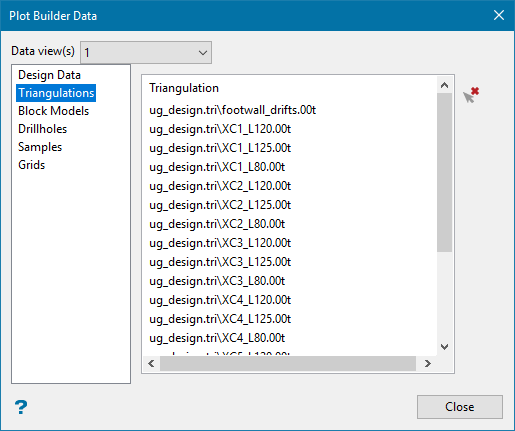
You can see a list of all data that is loaded by clicking the Loaded Data icon. The categories of data are displayed on the left side of the panel. Highlight any category to see a list of that type of data currently loaded into Plot Builder.
You can also delete items from this list by highlighting one of more items in the list, then clicking the ![]() icon.
icon.
Update the display
You can update the display by click either the Update Display icon or the icon to Start Dynamic Display.
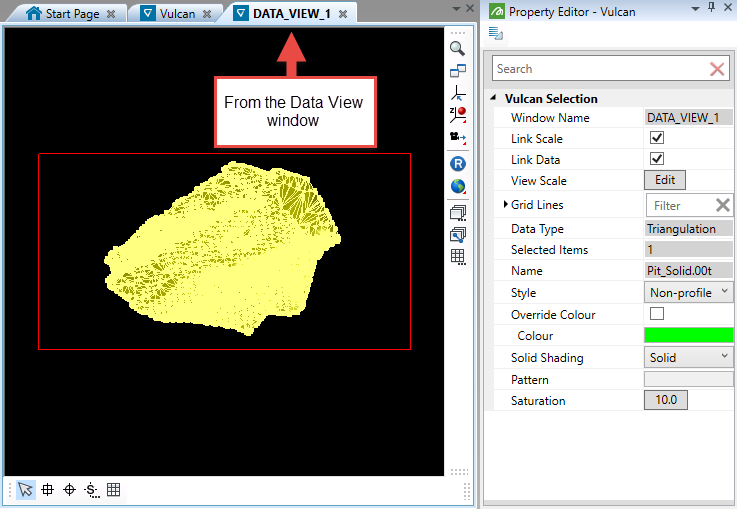
Using the Property Editor
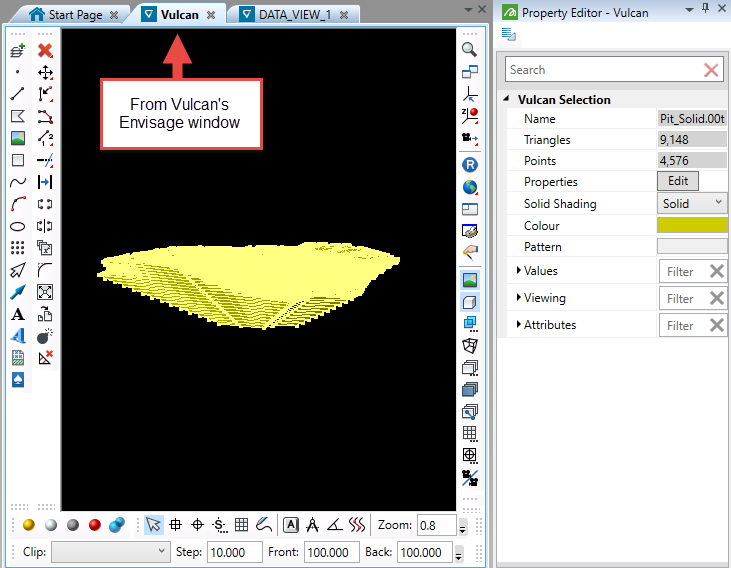
You can edit the objects loaded into Vulcan by clicking on an object, then using the Property Editor to make your edits.
Note: The options available in the Property Editor change depending on if you are highlighting an object in Vulcan's Envisage screen or in Plot Builder's Data View screen. This is true even though you may be selecting the same object.
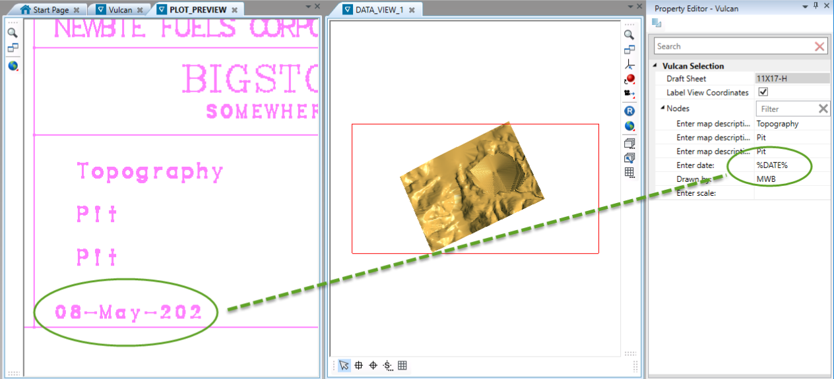
Fill in notes
Customise the text, scale, and north arrow by highlighting the feature in the Plot Preview panel, then editing the options in the Property Editor.
You can make changes to the layout by Editing the drafting sheet.
For example, suppose you entered %DATE% in the date field of Nodes in the Property Editor, but there was not enough room on the displayed drafting sheet to fit it all in.
-
Open up File > Drafting Sheets > Drafting Sheet Builder.
-
Select the drafting sheet you are using.
-
Go to the Text Field tab.
-
Find the row that represents the text field Enter date: for the prompt.
-
Increase the number in the Characters column.
-
Save the drafting sheet.
Note: The parameters available in the Property Editor will vary depending on the number of elements in the drafting sheet design.
Save your work
Save the specification file by clicking either the Save icon or the Save As icon.
Generate the plot
Click the Generate Plot File icon to display the panel to name the plot.
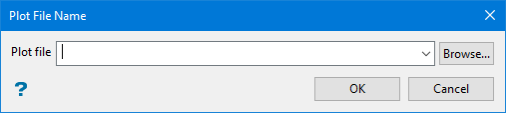
Enter a new name in the space provided, select from the drop-down list if you wish to use an existing file name stored in the current working directory, or Browse for one stored in a different location.
Click OK.

