Bench Profile
Create Bench Profiles through a Triangulation
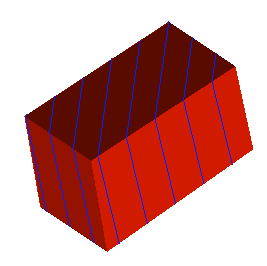
Use the Bench Profile option to create profiles at a nominated angle through a 2D or 3D triangulated body that displays on the screen.
Instructions
On the Model menu, point to Triangle Utility, and then click Bench Profile to display the 3D Bench Profiles panel.

Bench Layer Name
Enter, or select from the drop-down list, the layer name for the profiles.
Bench Description
Enter a description to further describe the contents of this layer. The description can be up to 80 alphanumeric characters and may include spaces. If a description is not entered, then a default description will be used instead. If the chosen layer already has an assigned description, the description displays when the layer is selected. Existing layer descriptions can be overwritten.
Bench Object Prefix
Enter a prefix (optional) for the object name of each profile. The maximum size is 3 alphanumeric characters. The object name will be the RL of each profile. The name can be changed through the Design > Attribute Edit > Name option.
Bench Height
Enter the bench height (must be a positive value).
Click OK to display the Bench definition panel.
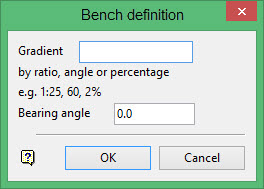
Gradient
Enter the gradient of the bench from the horizontal. It can be entered as a ratio, inclination (angle) or as a percentage. Negative values are allowed.
Bearing angle
Enter, in degrees, the bearing of the benches.
Click OK.
Select the bearing reference point, followed by the triangulation to bench profile. If there is only one triangulation loaded onscreen, then it will be automatically selected.
The benches are then loaded into the nominated layer and added to the screen. To save the layer, use the Save button ![]() on the Standard toolbar, or the File > Save or File > Save Layer options.
on the Standard toolbar, or the File > Save or File > Save Layer options.

