Constraints
Source file: epoch-setups-constraints.htm
To aid in the scheduling process, Epoch provides you with a number of constraints you can configure. The main focuses of these constraints are to either place maximum values on specific schedule targets or to optimise the availability and productivity of the equipment. For example, the Global Accumulation constraint allows you to set a maximum limit on the material moved in your schedule, per period.
Constraints are categorised as hard or soft. While Epoch only aspires to meet soft constraints, any hard constraints you set will be satisfied by the schedule. The following icons signify whether a constraint is hard or soft:
-
A solid yellow circle icon indicates the constraint is hard.

-
A hollow yellow circle icon indicates the constraint is soft.

You can then interpret how well a schedule performs with the set constraints by analysing the schedule results. For more information on analysing a schedule in Epoch, see Live Dashboard.
RLA constraint
The RLA constraint is an advanced tool which optimises the allocation of primary equipment to solids based on production rates and availability. The use of the RLA constraint is highly encouraged as it will reduce schedule times overall.
To use the constraint, first create an RLA constraint file by clicking the Run button in the Scheduling section of the Ribbon Control menu and then selecting the appropriate Epoch setup from the subsequent panel. The RLA Constraint file contains a record of allocations for pieces of equipment.

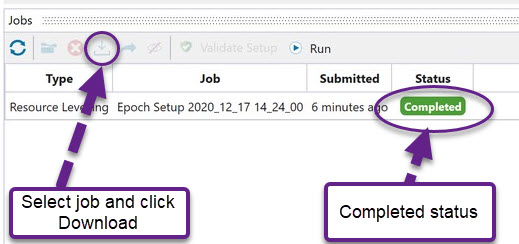
You can track the progress of the RLA constraint file in the Jobs Window.

Once the job has the status Completed, it can be downloaded by clicking the Download icon.
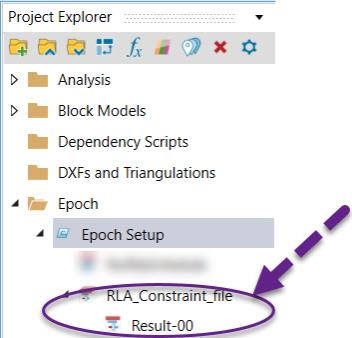
The RLA constraint file will appear in the project explorer.
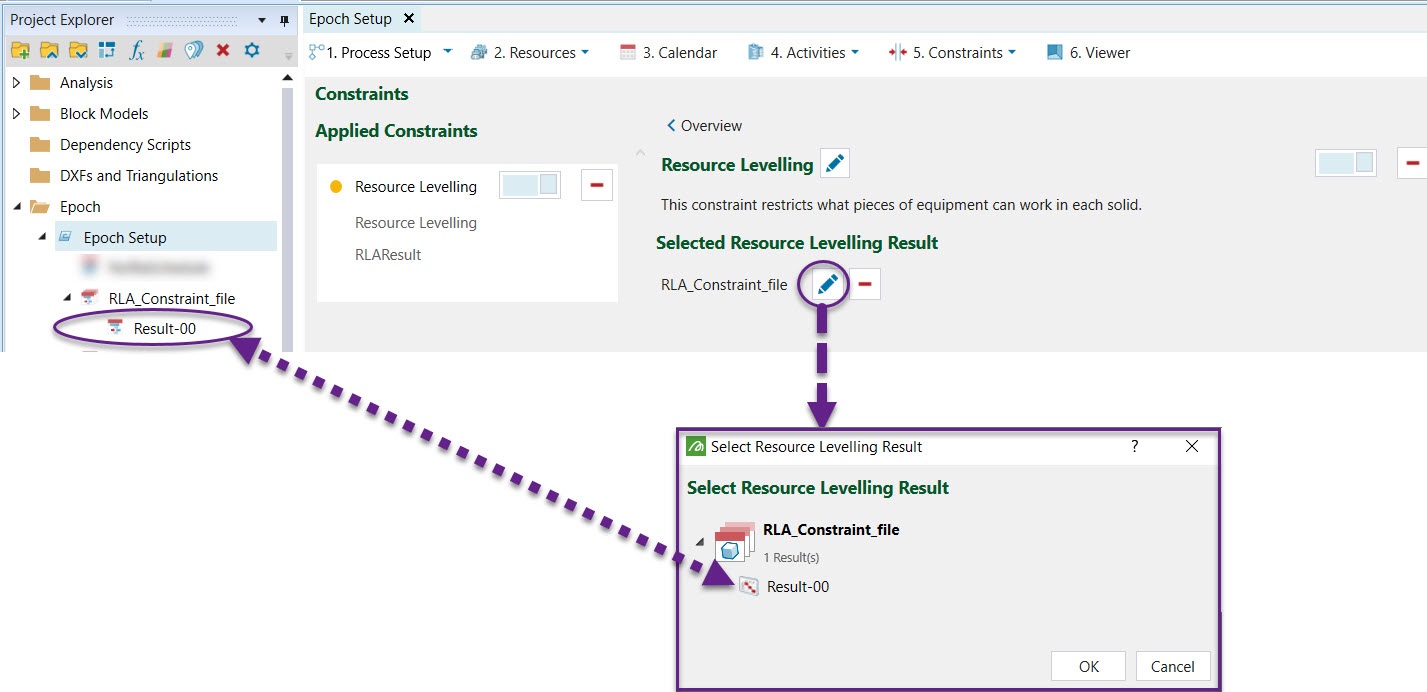
To view the results, open the Constraints-RLA tab and select the RLA Constraints file.
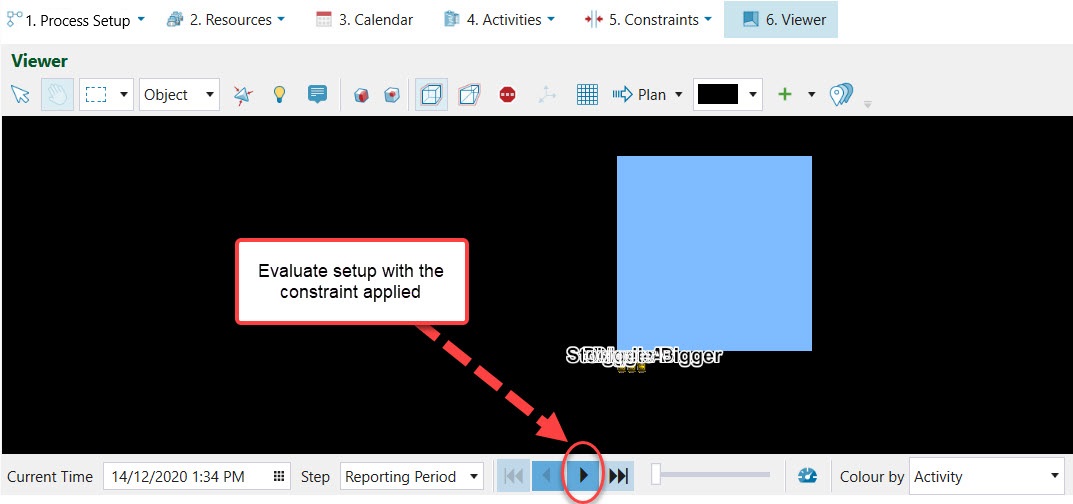
Once the constraint is added, results can be displayed by opening the viewer tab and stepping forward using the client evaluator.
Solid Availability
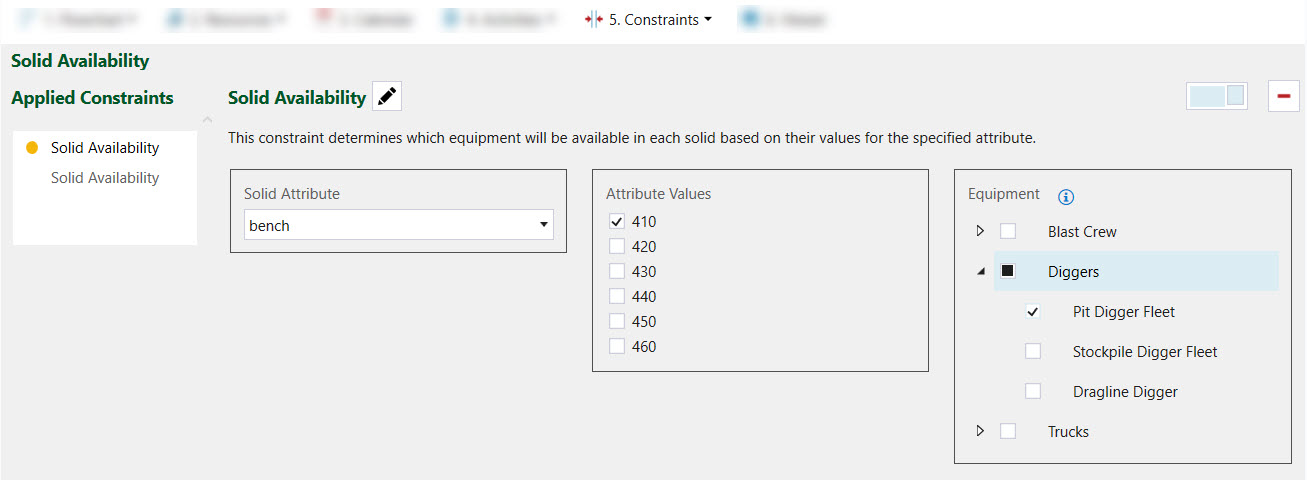
The Solid Availability constraint allows you to assign equipment to solids according to a specific solid attribute. The example below indicates that the equipment fleet Pit Digger Fleet has been assigned to work on solids with a bench (model variable) value of 410. No equipment from the Trucks resource has been allocated to bench 410 which means that ALL trucks are automatically allocated to bench 410.
Global Accumulation
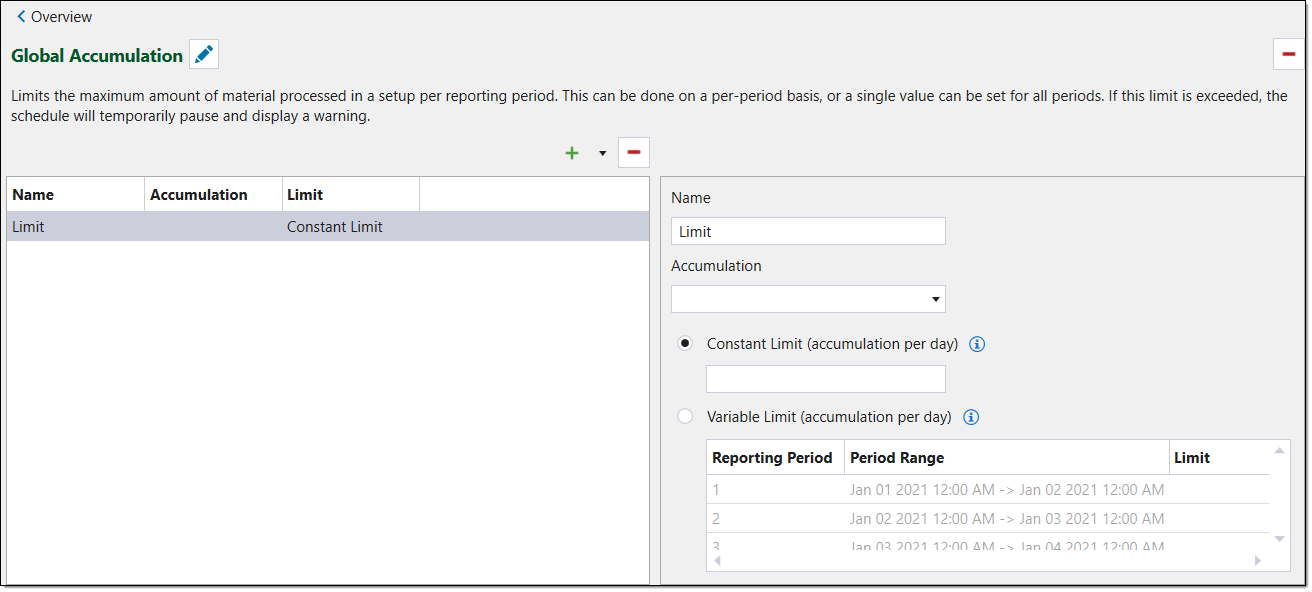
The Global Accumulation constraint allows you to place a maximum limit on the material moved per reporting period. This material may result from several processes, such as material mined from a pit or reclaimed from a stockpile. You can create limits for each reporting period or set a single limit across all of the reporting periods. If a schedule exceeds the limits you set, it will temporarily pause and display a warning indicating the excess issue. If no constraint is set, the amount of material moved is only restricted by the resource availability and productivity.
To create a global accumulation constraint, follow these steps:
-
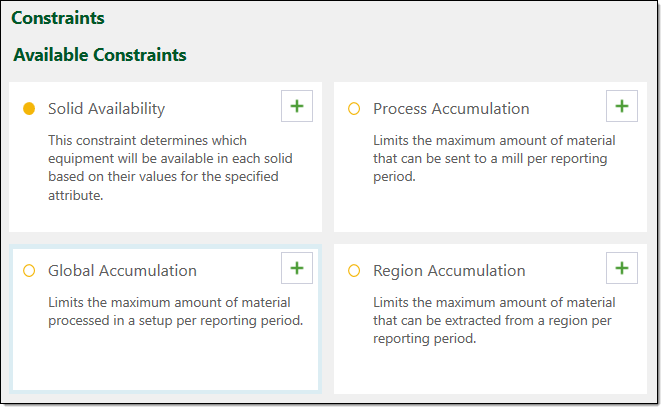
From the Configuration Setup Tabs, in the 6. Constraints drop-down, select Overview. The Constraints window will appear, displaying the applied and available constraints.
-
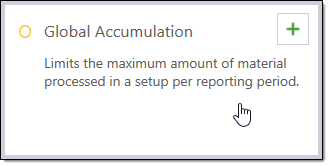
Select the Global Accumulation constraint.
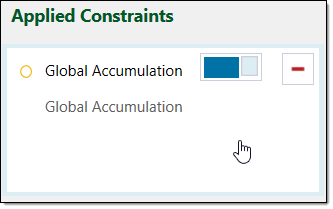
Epoch will add this constraint to the Applied Constraints field.
-
Select the Global Accumulation constraint in the Applied Constraints field.
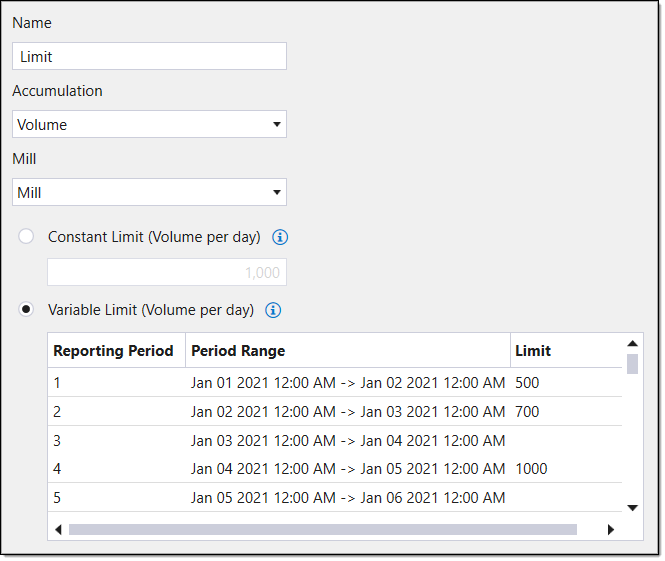
The Global Accumulation window will appear. By default, Epoch will add a limit, named Limit, to the limits table.
-
Select the Limit row in the limits table. Alternatively, you can create a new limit by selecting
 . In the fields next to the table, you can view and edit the details of the selected limit.
 -
Optionally, edit the name of the limit in the Name field.
-
Select a parcel category from the Accumulation drop-down. Epoch will use this attribute to measure the accumulation of material. Typical selections are tonnage or volume.
-
Select the desired limit type radio button. You can choose from the following options:
-
Constant Limit. Select this radio button to set a single value as the maximum limit for every reporting period. You can then enter the desired maximum value into the Constant Limit field.

-
Variable Limit. Select this radio button to define different maximum values for the desired reporting periods. The table displays the periods and period ranges in the setup. You can then enter the desired maximum values into the Limit column cells, corresponding to the desired periods.
 NoteEpoch will consider any periods with empty limits as unconstrained.
-
Process Accumulation
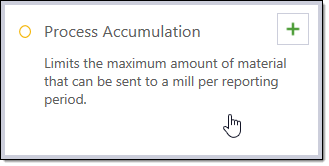
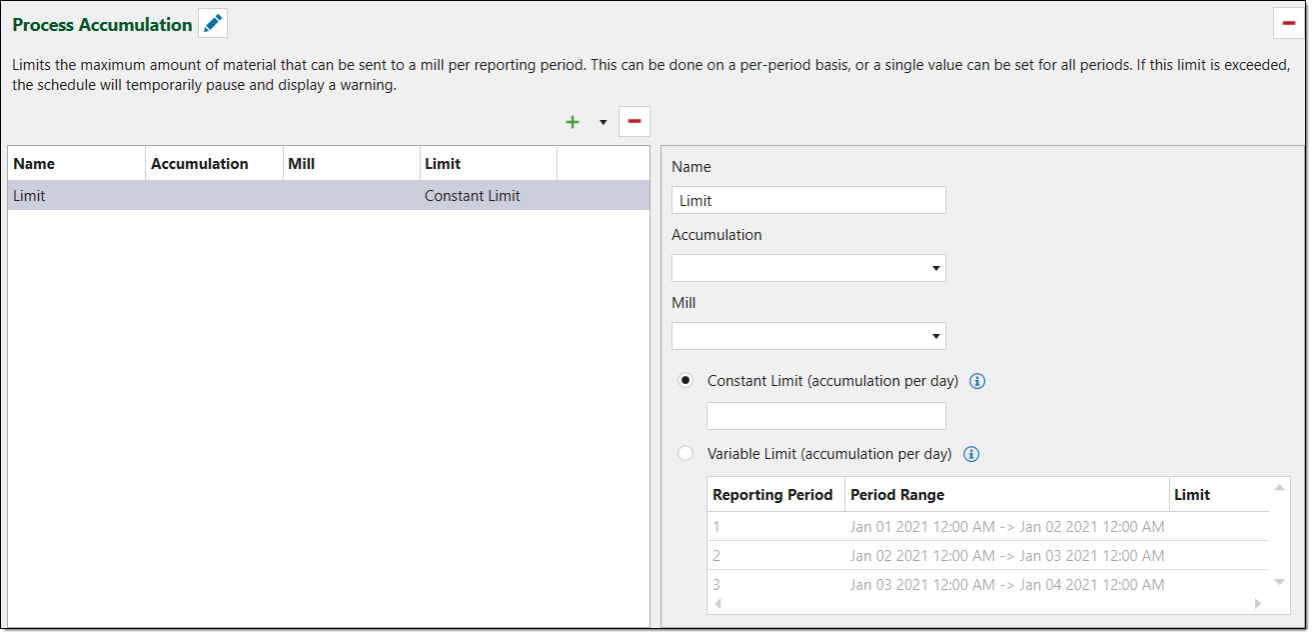
The Process Accumulation constraint allows you to place a maximum limit on the material sent to any mill per reporting period. You can create limits for each reporting period or constrain all of the periods by a single limit. If a schedule exceeds the limits you set, it will temporarily pause and display a warning indicating the excess issue. If no constraint is set, the only constraining factor is the capacity of the mill(s).
To create a process accumulation constraint, follow these steps:
-
From the Configuration Setup Tabs, in the 6. Constraints drop-down, select Overview. The Constraints window will appear, displaying the applied and available constraints.
-
Select the Process Accumulation constraint.
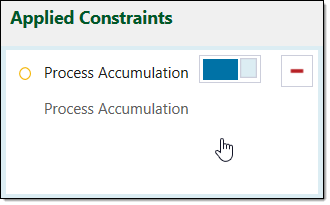
Epoch will add this constraint to the Applied Constraints field.
-
Select the Process Accumulation constraint in the Applied Constraints field.
The Process Accumulation window will appear.
-
Select the Limit row in the limits table. In the fields next to the table, you can view and edit the limit details.
-
Optionally, edit the name of the limit in the Name field.
-
Select an accumulation attribute from the Accumulation drop-down. Epoch will use this attribute to measure the accumulation of material. Typical selections are tonnage or volume.
-
Select the mill you wish to apply this constraint to, using the Mill drop-down.
-
Select the desired limit type radio button. You can choose from the following options:
-
Constant Limit. Select this radio button to set a single value as the maximum limit for every reporting period. You can then enter the desired maximum value into the Constant Limit field.
-
Variable Limit. Select this radio button to define different maximum values for the desired reporting periods. The table displays the periods and period ranges in the setup. You can then enter the desired maximum values into the Limit column cells, corresponding to the desired periods.
 NoteEpoch will consider any periods with empty limits as unconstrained.
-
Region Accumulation
The Region Accumulation constraint allows you to limit the material processed/moved from a particular region per reporting period. You can define this region by selecting the desired setup attribute, such stage or bench. You can also create limits for each reporting period or constrain all of the periods by a single limit. If a schedule exceeds the limits you set, it will temporarily pause and display a warning indicating the excess issue. If no constraint is set, an unlimited amount of material can be moved in a period? or just leave as unconstrained.
To create a region accumulation constraint, follow these steps:
-
From the Configuration Setup Tabs, in the 6. Constraints drop-down, select Overview. The Constraints window will appear, displaying the applied and available constraints.
-
Select the Region Accumulation constraint.
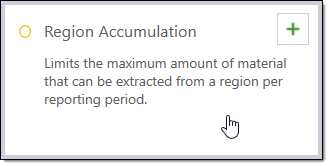
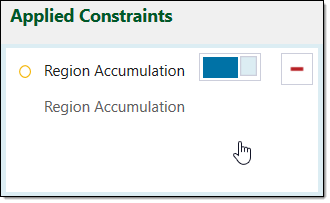
Epoch will add this constraint to the Applied Constraints field.
-
Select the Region Accumulation constraint in the Applied Constraints field.
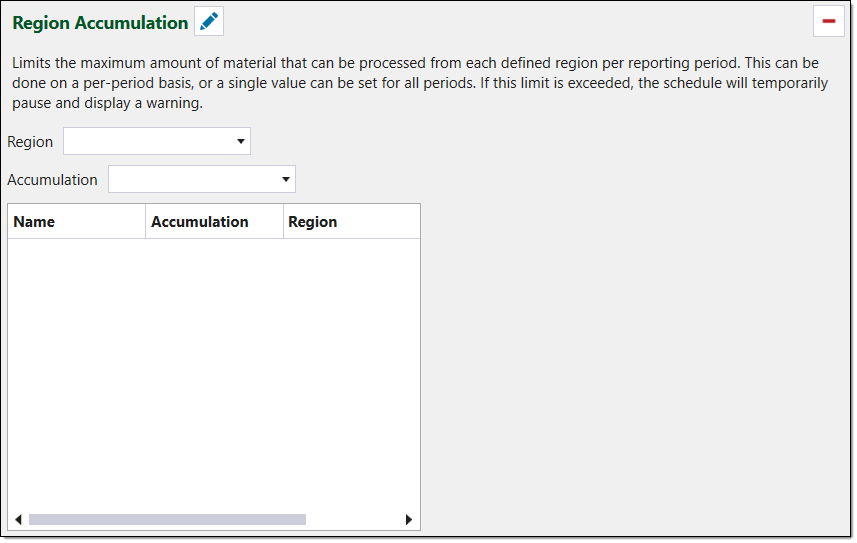
The Region Accumulation window will appear.
-
Select a region attribute from the Region drop-down. The attribute you select will define the regions of the
By default, Epoch will add a limit to the limit table, named Limit.
-
Select an accumulation attribute from the Accumulation drop-down. Epoch will use this attribute to measure the accumulation of material. Typical selections are tonnage or volume.
-
Select the Limit row in the limits table. In the fields next to the table, you can view and edit the limit details.
-
Optionally, edit the name of the limit in the Name field.
-
Select an accumulation attribute from the Accumulation drop-down. Evolution will use this attribute to measure the accumulation of material. Typical selections are tonnage or volume.
-
Select the desired limit type radio button. You can choose from the following options:
-
Constant Limit . Select this radio button to set a single value as the maximum limit for every reporting period. You can then enter the desired maximum value into the Constant Limit field.
-
Variable Limit. Select this radio button to define different maximum values for the desired reporting periods. The table displays the periods and period ranges in the setup. You can then enter the desired maximum values into the Limit column cells, corresponding to the desired periods.
NoteEpoch will consider any periods with empty limits as unconstrained.
-
Other Operations
-
To edit the name of the constraint, click
 and alter the name as desired in the name field. Click
  to save the name.
 -
To add a new limit to the limits table, click
. -
To remove a limit from the limits table, select the limit and click
 .
.
