Destination Rate
Use the Destination Rate constraint to set the limit on the maximum rate at which the material can be sent to each destination in each defined period. You can assign the priorities and create the destination priority timeline in the ![]() Destination Priority subtab (see Destination Priority for more information). Once a destination reaches its accumulation limit for a given period, it will become unavailable until the next period begins and the material will be sent to the next available destination, based on priority. You can set the Destination Rate constraint for mills, stockpiles, and overflow stockpiles.
Destination Priority subtab (see Destination Priority for more information). Once a destination reaches its accumulation limit for a given period, it will become unavailable until the next period begins and the material will be sent to the next available destination, based on priority. You can set the Destination Rate constraint for mills, stockpiles, and overflow stockpiles.
Follow these steps to configure the Destination Rate constraint:
-
Select the accumulation type from the drop-down menu.

-
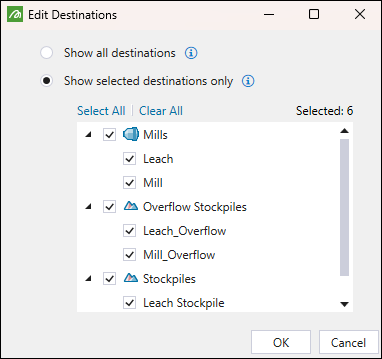
Click the Edit Destinations… button to specify the destinations for which the constraint should be set. After selecting which destinations should be included in the constraint, click OK to confirm your selection. You can select from the following options:
-
Select the Show all destinations radio button to include all destinations in your setup. Any new destination that you add to your setup will be automatically added to the constraint.
-
Select the Show selected destinations only radio button to choose the destinations for which you want the constraint to be set. Any new destination that you add to your setup will not be shown in the constraint unless you add it manually.
-
-
Set the reporting intervals by selecting one of the following:
-
When you select Reporting Periods, the constraint calendar periods will be automatically generated and synchronised with reporting periods specified for your setup.
-
When you select Custom Periods, you will be able to add reporting periods of various lengths to the constraint calendar.

Select one of the following ways to add periods the constraint calendar:
|
|
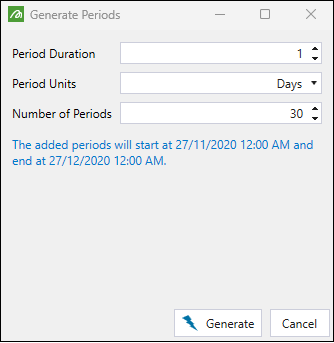
Adds multiple periods of the same duration at once. When you click this button, you can configure the following in the Generate Periods panel:
As shown in the example below, after specifying 30 periods, each lasting 1 day, Evolution has automatically calculated the end of the reporting cycle based on the entered data and setup settings.
Click |
|
|
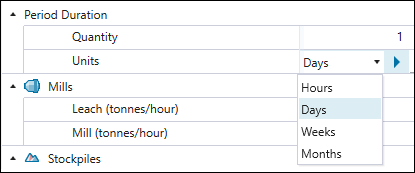
Adds a single period to the constraint calendar. You can set the duration of the added period by specifying the Quantity and Units fields.
|
|
|
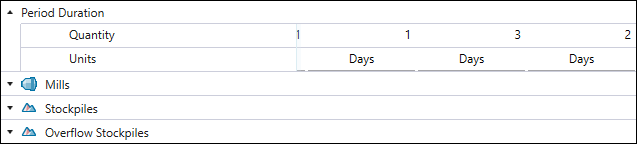
Adds multiple periods to the constraint calendar according to the number that you have entered. You can set a different duration for each added period by specifying the Quantity and Units fields.
|
|
|
Inserts a new period before the selected period. Note: To select a period, click on the cell with the period name |
Note: This toolbar will appear only when you set the reporting intervals to Custom Periods.
Tip: To remove a period, click on the cell with the period name (for example, Period 1), and click ![]() (Delete period) on the toolbar.
(Delete period) on the toolbar.
-
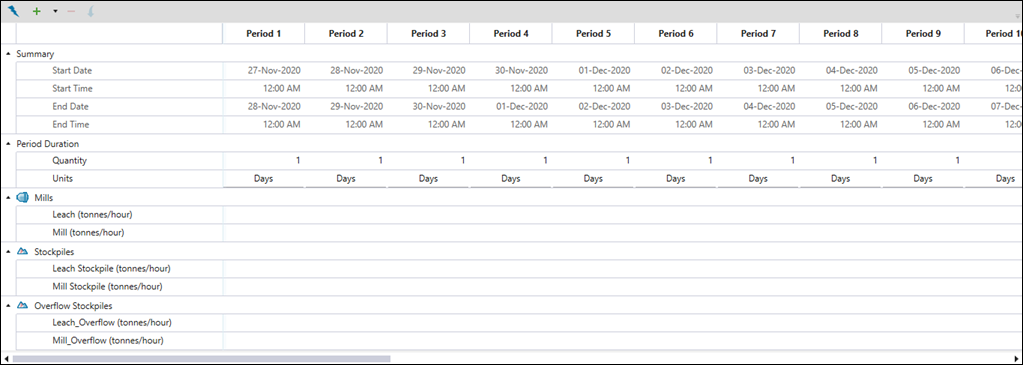
After adding and configuring the constraint reporting periods, specify the maximum amount of material that can be sent to each destination in each period.
-
Click the
 button once to copy the properties of the current period to the next period.
 -
Double-click the
button to copy the properties of the current period to the subsequent periods until the end of the schedule. -
Alternatively, copy a cell's setting using Ctrl + C , then paste into selected cells with Ctrl + V.
Note: The cells that you leave blank will indicate that the material sending rate is unlimited for the corresponding destination in the given period.
-
