Importing a Solid Model
Source file: origin-reserve-models-import-new.htm
Solid models can be imported as a BMF, an EVBM, a CSV or an EVWD file. To import an Origin Solids pit, select ![]() Pit (Solid)on the Home ribbon >Import Model group.
Pit (Solid)on the Home ribbon >Import Model group.

The Import New Reserve Model dialog window will appear. You can designate the name of the new transform to be created, and select the radio button corresponding to the desired input type. You can select from the following types:
Click OK to confirm your selection and proceed to the next window.
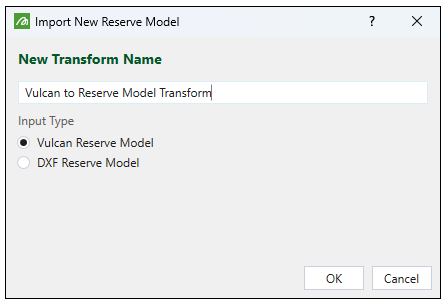
Vulcan Reserve Model (input type)
If you have selected Vulcan Reserve Model as an input type, a file with the name you have set will be created under the Transforms folder in your project explorer.
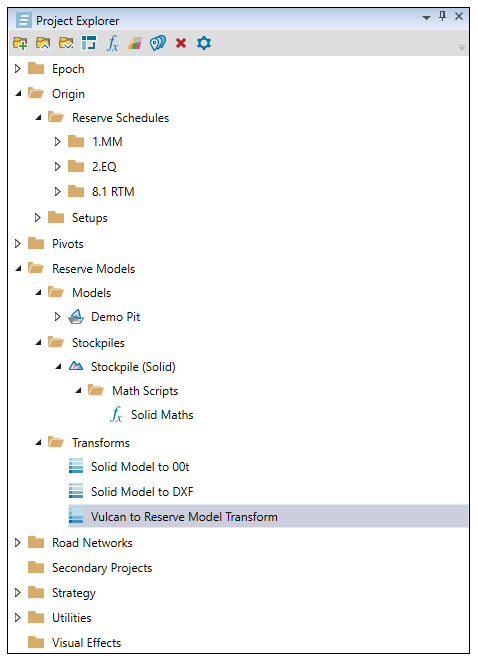
The created transform file will also open in your viewer.
-
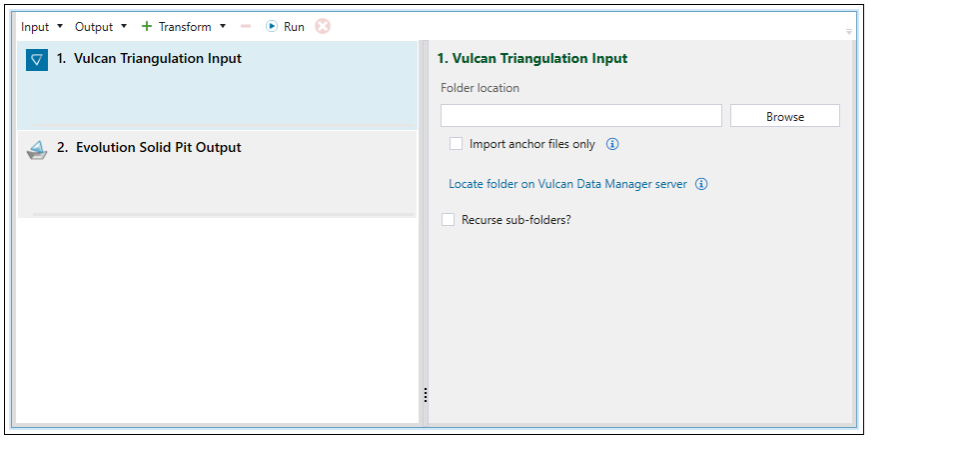
Click Browse to specify the location of the folder from which the files should be imported.
-
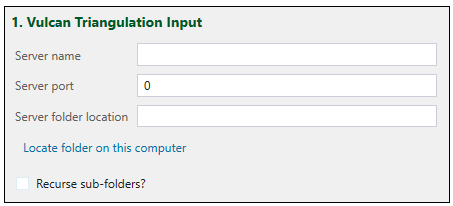
Alternatively, click Locate folder on Vulcan Data Manager server and enter server details to import the files from the folder located on the server:
-
Select Import anchor files only checkbox to include data only from anchor files. See for more information.
-
Select Recurse sub-folders? checkbox to include the data from subfolders in your model.
DXF Reserve Model (input type)
If you have selected DXF Reserve Model as an input type, a file with the name you have set will be created under the Transforms folder in your project explorer.
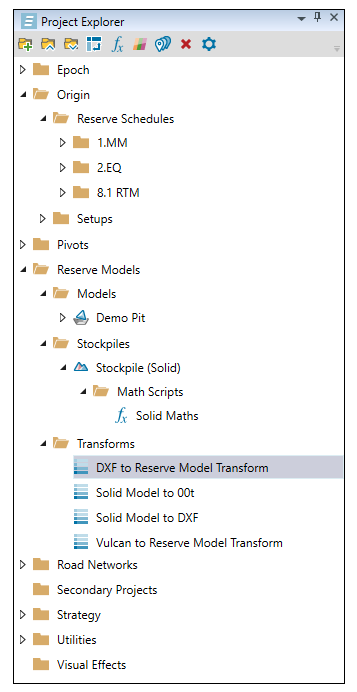
The created transform file will also open in your viewer.

-
Click Browse to specify the CSV file from which the data should be imported.
-
Select an attribute from the ID column drop-down.
Note: The attributes listed in the ID column drop-down are based on the CSV file you have imported.
-
Click Browse to select the location to save the DXF folder.
-
Select Recurse sub-folders? checkbox to include the data from subfolders in your model.
Transform operations
Once you have configured your input, you can refine your data by selecting the following operations from the ![]() drop-down:
drop-down:
-
 Column filter
 -
 Row filter
 -
 Maths Scripts
These operations are performed the same way as the transform operations applicable to block models. See Transform operations for more information.
Note: Reblocker transform operation is not applicable to Origin Solids.
Output
You can generate an output once you have performed the required transform operations. To generate an output, select the target output file format from the ![]() drop-down. You can select the following file types:
drop-down. You can select the following file types:
 Solid Pit
If you have selected ![]() Solid Pit as an output, configure the Name, Stage, and Bench fields as appropriate. The variables listed in the Stage and Bench drop-downs will be based on the data loaded from the input file and the filters you have applied with the Column Filter transform operation.
Solid Pit as an output, configure the Name, Stage, and Bench fields as appropriate. The variables listed in the Stage and Bench drop-downs will be based on the data loaded from the input file and the filters you have applied with the Column Filter transform operation.
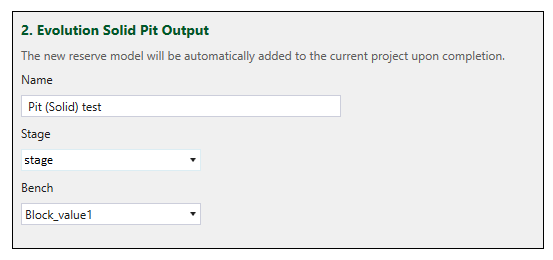
After entering the required information, click ![]() Run to validate your model. The model will be loaded in the project explorer.
Run to validate your model. The model will be loaded in the project explorer.
 Solid Stockpile
If you have selected ![]() Solid Stockpile as an output, configure the Name, Stage, and Bench fields as appropriate.. The variables listed in the Stage and Bench drop-downs will be based on the data loaded from the input file and the filters you have applied with the
Solid Stockpile as an output, configure the Name, Stage, and Bench fields as appropriate.. The variables listed in the Stage and Bench drop-downs will be based on the data loaded from the input file and the filters you have applied with the ![]() Column Filter transform operation.
Column Filter transform operation.
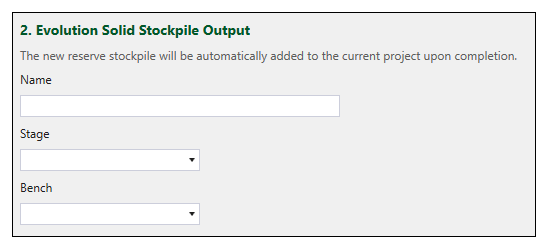
After entering the required information, click ![]() Run to validate your model. The model will be loaded in the project explorer.
Run to validate your model. The model will be loaded in the project explorer.
 Solid Waste Dump
If you have selected ![]() Solid Waste Dump as an output, configure the Name, Area, and Bench fields as appropriate. The variables listed in the Area and Bench drop-downs will be based on the data loaded from the input file and the filters you have applied with the
Solid Waste Dump as an output, configure the Name, Area, and Bench fields as appropriate. The variables listed in the Area and Bench drop-downs will be based on the data loaded from the input file and the filters you have applied with the ![]() Column Filter transform operation.
Column Filter transform operation.
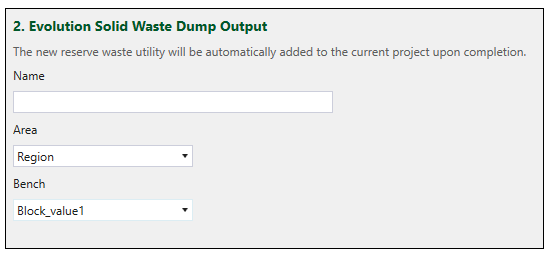
After entering the required information, click ![]() Run to validate your model. The model will be loaded in the project explorer.
Run to validate your model. The model will be loaded in the project explorer.
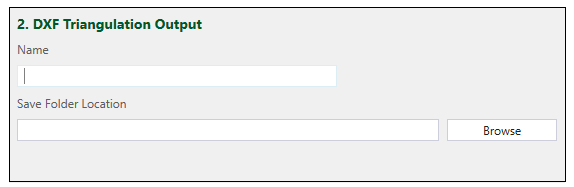
DXF Triangulations
If you have selected ![]() DXF Triangulations as an output, specify the name of the new model to be created, and the location under which the folder with the model should be saved.
DXF Triangulations as an output, specify the name of the new model to be created, and the location under which the folder with the model should be saved.
After entering the required information, click ![]() Run to validate your model. The model will be loaded in the project explorer.
Run to validate your model. The model will be loaded in the project explorer.
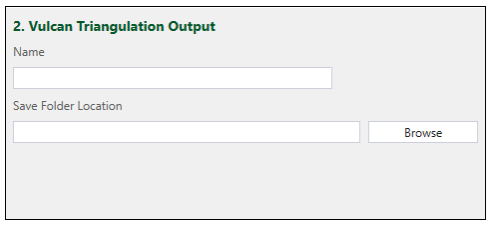
 Vulcan Triangulations
If you have selected ![]() Vulcan Triangulations as an output, specify the name of the new model to be created, and the location under which the folder with the model should be saved.
Vulcan Triangulations as an output, specify the name of the new model to be created, and the location under which the folder with the model should be saved.
After entering the required information, click ![]() Run to validate your model. The model will be loaded in the project explorer.
Run to validate your model. The model will be loaded in the project explorer.
