Export End of Period Solids
Source file: epoch-schedules-export-as-solids.htm
Evolution allows you to export end of period solids to view the state of your models in each period.
To export end-of-period solids, follow these steps:
-
Generate a schedule (see 4. Generate and View the Schedule).
Note: You do not need to save the schedule to export end of period solids.
-
Open the Schedule Playback tab from the Reporting Window tabs.

-
In the Schedule Playback tab, from the Export section, select
 End of Period Solids.
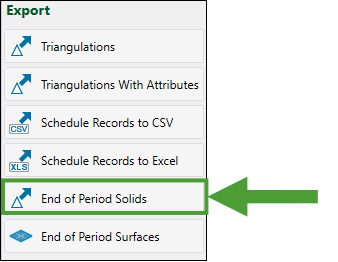
The Select Models panel will appear.
-
Select the models for which you want the end-of-period solids to be exported and click Next.
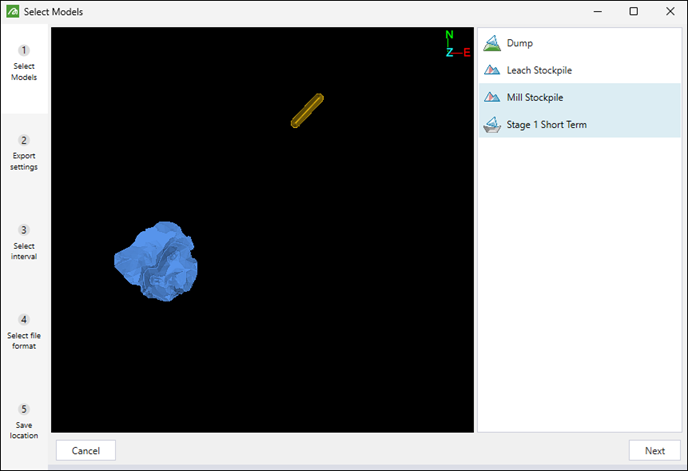
Tip: Press and hold Ctrl to select multiple models.
-
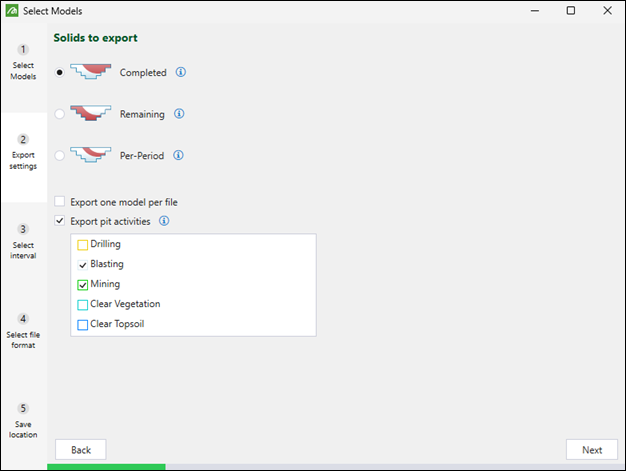
Choose the solids to export by selecting one of the following radio buttons:
-
Completed. Depending on the models you have selected in the previous step, the following solids will be exported:
-
The pit solids that have been completely or partially mined out.
Note: If a pit solid has been partially mined, Evolution will export the mined proportion of that solid.
-
The current proportion of waste utility solids that have been filled.
-
The current proportion of stockpile solids that have been filled.
-
-
Remaining. Depending on the models you have selected in the previous step, the following solids will be exported:
-
The proportion of pit solids that have not been mined out.
-
The current proportion of waste utility solids that are empty.
-
The current proportion of stockpile solids that are empty.
-
-
Per-Period. Depending on the models you have selected in the previous step, the following solids will be exported:
-
The pit solids mined during selected periods.
-
The fill state of waste utility solids at the end of selected periods.
-
The fill state of stockpile solids at the end of selected periods.
-
Tip
Optionally, select the following checkboxes to customise the exported files:Export one model per file: A separate file will be exported for each selected model. This checkbox will appear only if you have selected more than one model in the previous step.
Export pit activities: A separate file will be exported for each activity you select. Pit solids will be considered complete if the selected activity has been completed in them. This checkbox will appear only if you have selected a pit model in the previous step.
Note: For non-dynamic Epoch exports, the solids are cut proportionally based on volume. For dynamic solids models, you can cut partially mined solids proportionally, based on volume or based on an accumulation type that you have in your setup. To do so, select the required option from the Cut partially-mined solids proportionally based on drop-down.
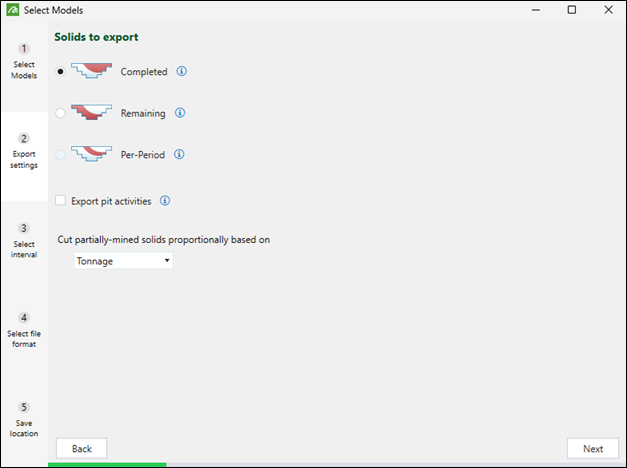
Click Next to move on to the subsequent step.
-
-
Select the time intervals to export. You can only export as far as the furthest period in time you have scheduled to. The available options will depend on the solids you have selected to export in the previous step, as follows:
-
If you have selected the Completed or Remaining solids, specify the time intervals by selecting one of the following buttons:
-
Export current schedule state: Export the current state of solids from your schedule.
-
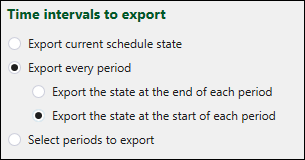
Export every period: Include the state of solids from all periods in the export.
Note: When you select this option, you must also specify the point of time for which you want the solids to be exported by selecting either the Export the state at the end of each period or Export the state at the start of each period radio button.
-
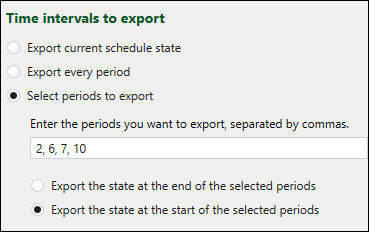
Select periods to export: Specify the periods from which you want to export the solids by entering them in the field, separated by commas.
Note: When you select this option, you must also specify the point of time for which you want the solids to be exported by selecting either the Export the state at the end of the selected periods or Export the state at the start of the selected periods radio button.
-
-
If you have selected the Per-Period export in the previous step, you can select one of the following radio buttons:
-
Export every period. Exports one triangulation file for each period in the schedule, each containing all solids mined during that specific period.
-
Select periods to export. Specify the periods from which you want to export the solids by entering them in the field, separated by commas. You can additionally specify the period ranges to be exported.
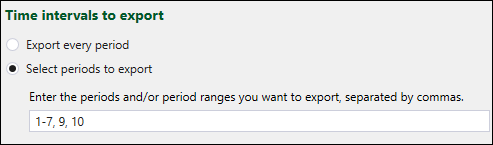
Note: The specified range will be exported as a single solid.
-
Click Next to move on to the subsequent step.
-
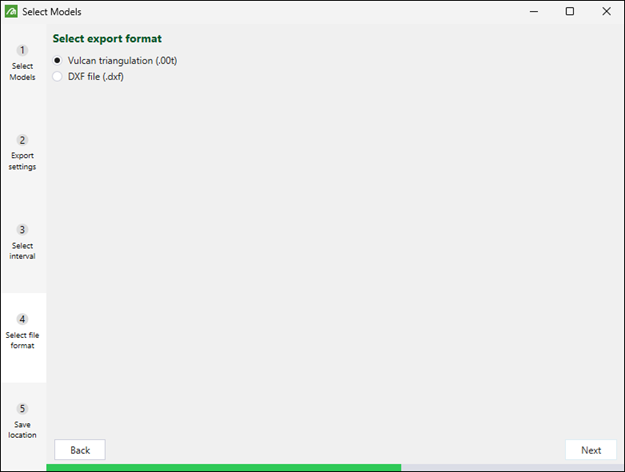
- Select the file format in which you want the solids to be exported and click Next.
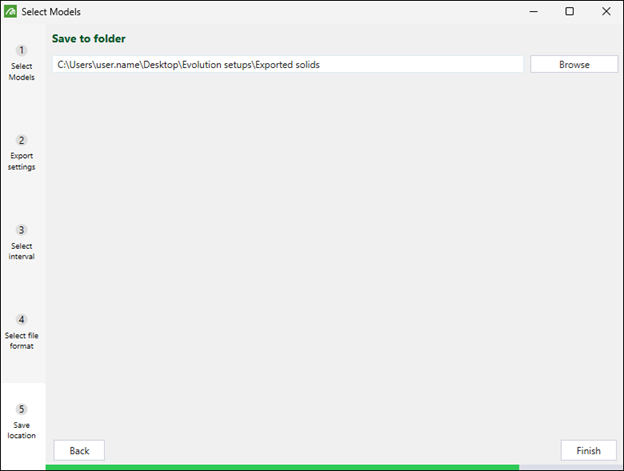
- Click Browse to specify the folder in which you want the files to be saved, then click Finish to confirm the export of solids.
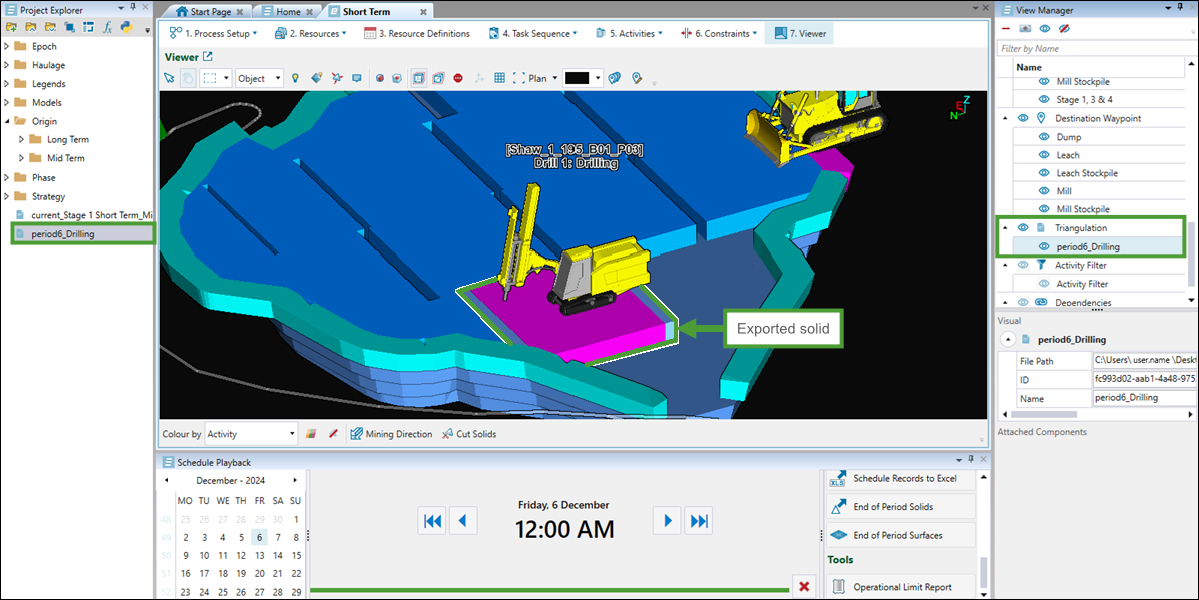
When the export is complete, you can drag the exported solids into the viewer to examine the state of your model in each period.
Note: The solids that you apply to the viewer will be added to both the project explorer and the View Manager.