Properties
The following table describes the tools in the Properties section of the Edit tab.
| Tool | Description |
| Properties | View and edit the properties of a CAD object. |
| Apply Feature | Apply custom features (created in the Vulcan GeologyCore Preferences > Features section) to a CAD object. |
Properties
The Properties tool allows to view or edit the properties of a CAD object.
-
On the Edit ribbon tab navigate to the Properties group and select Properties.
-
Select the text, 3D text, a line, numeric legend, a marker or an attachment and it will automatically select the appropriate tab.
-
The editing functions depend on the type of the object selected.
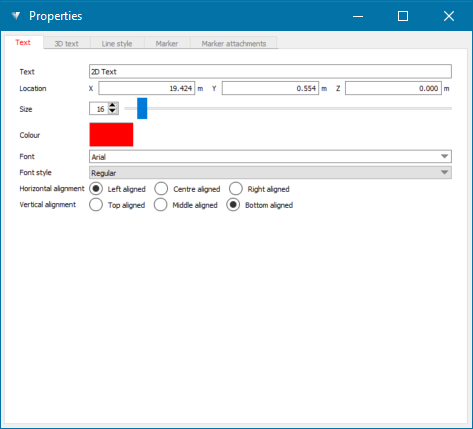
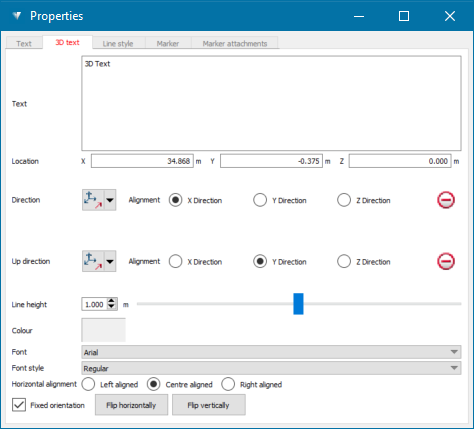
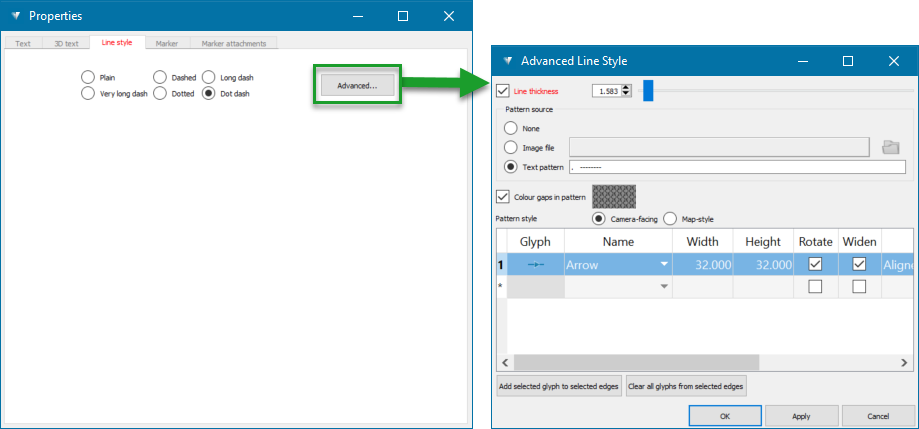
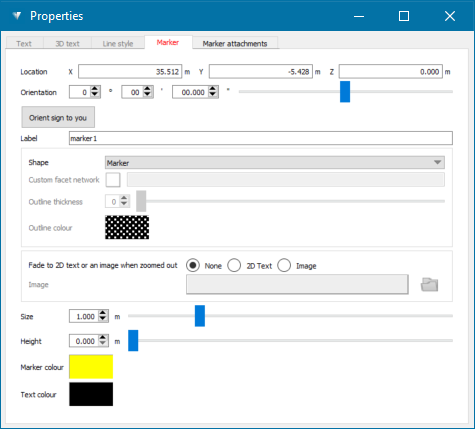
The editable fields are the same as the fields upon creation of those objects in the Create section.
View and edit the Text
View and edit 3D Text
View and edit the Line Style
View and edit the Markers
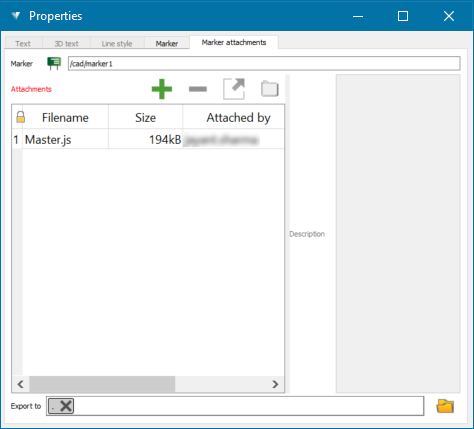
View and edit Marker Attachments
Apply Feature
The Apply Feature tool allows to set custom attributes to the selected object(s). When you create features in the Vulcan GeologyCore Preferences, you can pick a feature before/after creating CAD objects and it will automatically apply this feature to the created/selected objects.
Create Feature
-
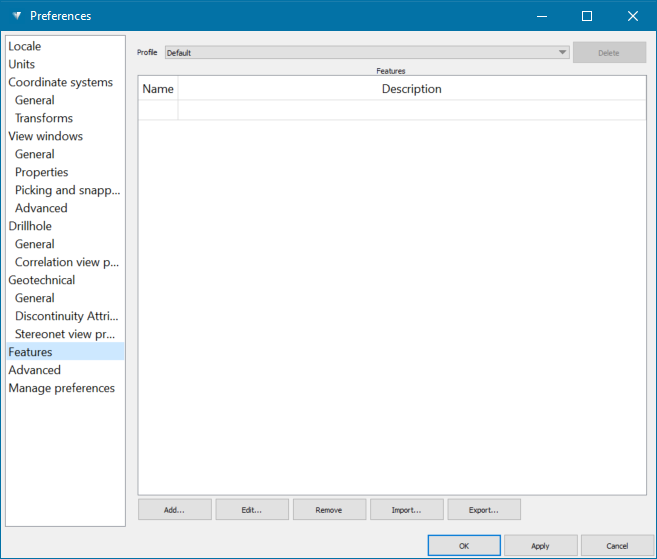
Click the gear icon on top right-hand side of the Vulcan Geology Core application an navigate toVulcan GeologyCore Preferences > Features.

The following panel appears.
-
Click the Profile drop-down list for the following options:

-
By selecting Default, you can create features and attributes that will be set as the default features and attributes for your objects.
Note: The Default profile cannot be deleted.
-
Selecting an exisitng profile name (in the example above Demo) will list the features that are set to that profile.
-
Selecting New..., will prompt you to create a new profile with a new name to add features to.

-
The selected profile can be removed by clicking the Delete button on the far right.
-
-
Clicking on the feature name gives you the following options that are accessible from the bottom of the panel:


-
Add...: To create a new set of features and attributes .
-
Edit...: To edit the selected features and attributes.
-
Remove: To remove the selected feature set.
-
Import...: To import a feature shared or created on another PC.
-
Export...: To export a feature and share or to use on another PC.
-
To create a set of features to applyto objects follow these steps:
-
Select a Profile to list the features created or create a new profile.
-
Select a feature to edit by clicking the features name.
-
Click Add... or Edit...

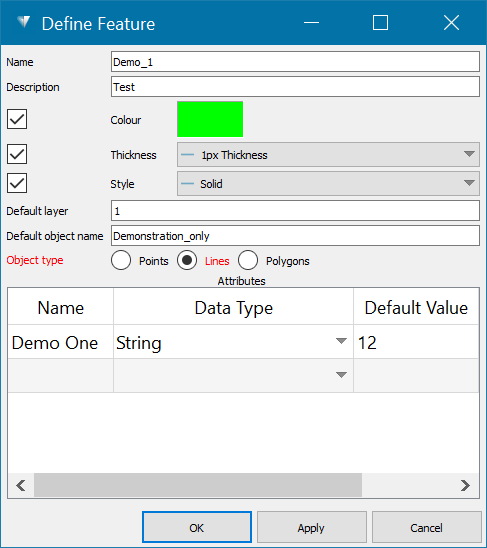
Define Feature panel opens up that allow to add/edit the features pertaining to selected feature set.
-
In the Define Feature panel you can create change the name of the feature.
-
Give it a Description.
-
Select to use or bypass the use of the colour feature. Set the colour by clicking the Colour swatch.
-
Select to use or bypass the use of the line thickness. Set the line thickness from the Thickness drop-down list.
-
Select to use or bypass the use of the line style. Set the line style from the Style drop down list.
-
Default layer is the layer this feature will be added to.
-
Default object name is the objects created with this feature will get this value as a name.
-
Object type is whether to set these features and attributes to either: Points, Lines or Polygons.
-
Optionally set additional Attributes that will also be assigned to the object when it is applied.
OR
-
-
Click in the empty row below the features list.
-
Click Add....
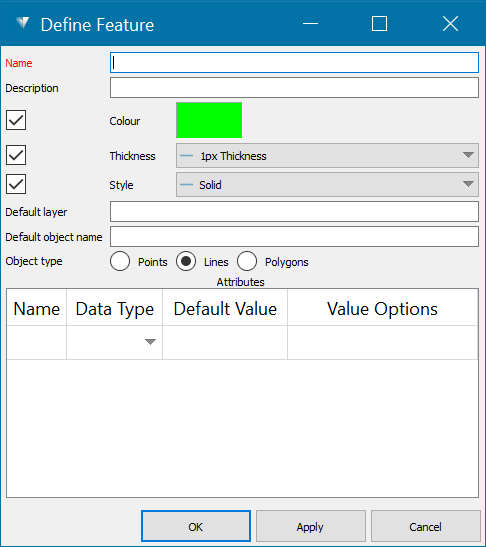
A blank Define Feature panel will open for creating the new features.
-
Use the information in the previous step to set up the new features.
-
Click OK or Apply.
Apply Feature
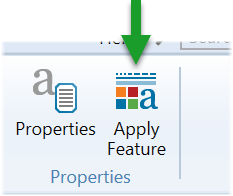
These feature created in the previous section can now be accessed from the Edit > Properties tab.
-
Select the object(s).
Note: You must first select an object to apply a feature to.
-
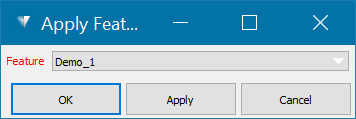
Click Apply Feature. The following panel appears.
-
Choose the feature from the drop-down list. If there is only one feature, no drop-down list is shown.
-
Click OK or Apply.