Adjust Image Colour
Source file: adjust-image-colour.htm
Use the Adjust Image Colour tool to apply colour corrections to an image that has been superimposed onto an object or scan. Hue, saturation, lightness and contrast are individually adjustable. Points not covered by the image are displayed in greyscale according to beam intensity.
To apply colour corrections, proceed as follows:
-
Select an object which has an image (or multiple images) superimposed and registered onto it. Select the image name from the Image drop-down list, if not already selected.
-
On the Home ribbon tab, go to the Colour group. From the Photographic drop-down list select
 Adjust Image Colour.
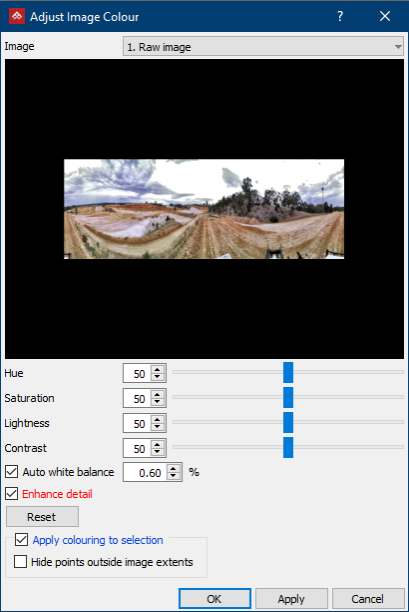
The Adjust Image Colour tool panel opens, from which you can adjust the following parameters, as required. The panel includes an image previewer to check your adjustments before accepting.
Tip: You can zoom in or out of the image using the scroll wheel.
-
Adjust the image characteristics according to the options given below:
- Hue changes the overall colour tint by moving through the colour spectrum.
- Saturation adjusts the strength of colours.
- Lightness adjusts the brightness of colours.
- Contrast adjusts the distinction between shadows and highlights.
- Reset brings sliders back to central default positions.
-
Select Auto white balance and enter a percentage value if white areas in the image don't appear correct.
-
Select Enhance detail to improve detail in lighter or darker areas of the image.
-
Select Apply colouring to selection in order to transmit alterations to the object.
-
Select Hide points outside image extents so that only points coloured by the photographic image are visible.
Note: You can also configure PointModeller to hide points outside image extents automatically on import. Go to Preferences > Advanced settings and select Hide points outside image extents. See Advanced.
-
Click OK to adjust the image and exit or click Apply to carry out the function without exiting.
-
Click Cancel to exit the function without any further actions.
