Properties
Source file: edit-properties.htm
With the properties tool you can view and edit the properties of CAD objects.
-
On the Edit ribbon tab, go to the Properties group and select
 Properties.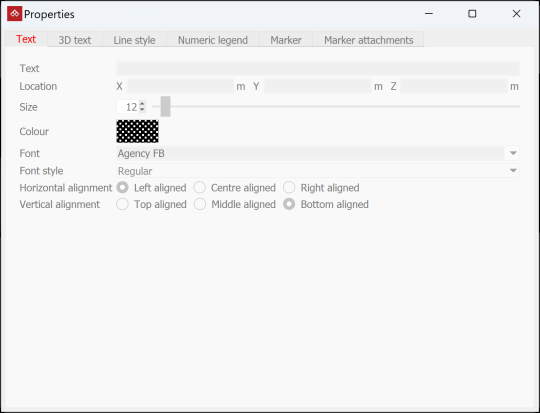
-
Select an object in the CAD container. The property editing tool will automatically activate the tab appropriate to the selected object.
-
Edit the object's properties as required. Expand below for detail.
 View and edit
Text (2D)
View and edit
Text (2D)
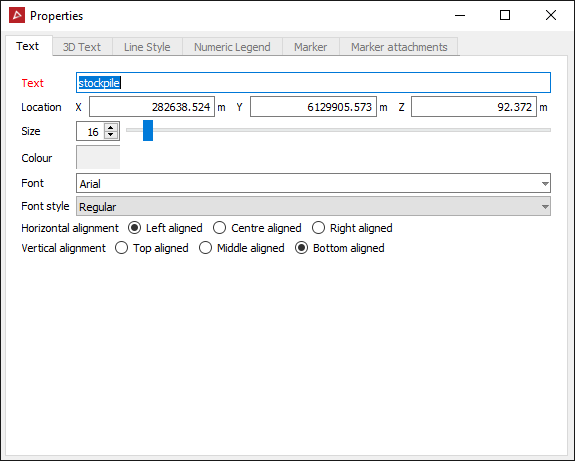
Edit properties are as follow:
-
Text: Edit the displayed text.
-
Location: Reposition the text in space.
-
Size: Change the text’s size with either the text box or the slider.
-
Colour: Change the text’s colour. Single-click for the basic colour palette, double-click for the advanced colour palette (see Using the colour selector, below).
-
Font: Select the preferred font from the available list.
-
Font style: Choose a style from Regular, Bold, Italic or Bold Italic.
-
Horizontal and Vertical alignment: Select suitable alignments to fine-tune text positioning.
View and edit 3D Text
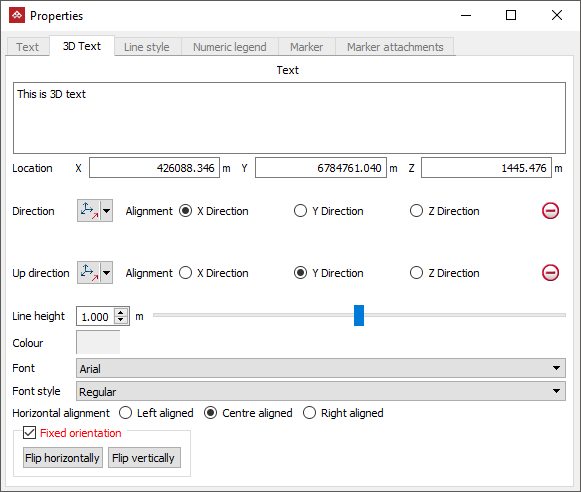
Edit properties are as follow:
-
Text: Edit the displayed text.
-
Location: Reposition the text in space.
-
Direction and Up direction: Adjust the 3D text’s direction. Select the preferred method from the drop-down lists as follow, and adjust the parameters via text boxes or sliders:
 Two points: Define the direction by specifying two points.
 Facet: Make the direction perpendicular
to a selected facet.
Facet: Make the direction perpendicular
to a selected facet. Axis aligned: Define the direction by an axis of the view window.
 Bearing and inclination: Define the direction by a bearing and inclination angles.
 Action plane axis: Define the direction by an axis of the action plane.
-
Line height: Change the text’s size with either the text box or the slider.
-
Colour: Change the text’s colour. Single-click for the basic colour palette, double-click for the advanced colour palette (see Using the colour selector, below).
-
Font: Select the preferred font from the available list.
-
Font style: Choose a style from Regular, Bold, Italic or Bold Italic.
-
Horizontal alignment: Select suitable alignment to fine-tune text positioning.
-
Fixed orientation: Select then click either flip option to change text’s orientation.
Note: Direction and Up direction are linked such that one affects the other and logically inconsistent states are prevented. For example, if using Axis aligned for both, you cannot select the same axis.
View and edit a Line Style
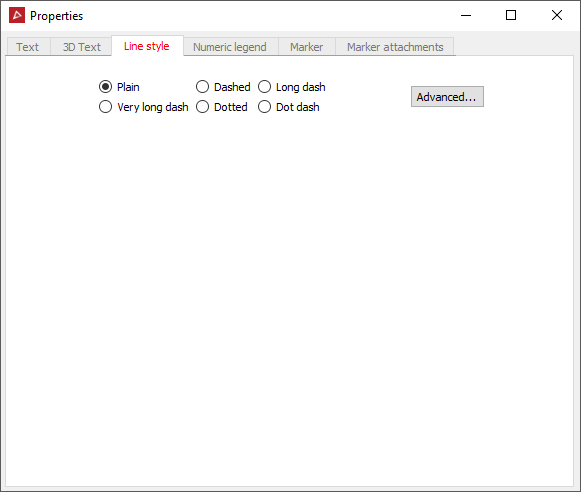
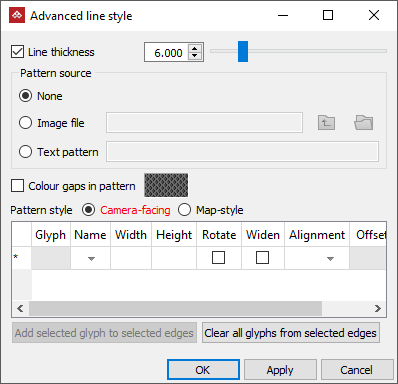
Select the preferred line style from the available options.
Click Advanced... for more options. See Advanced line style settings.
View and edit a
Numeric Legend.
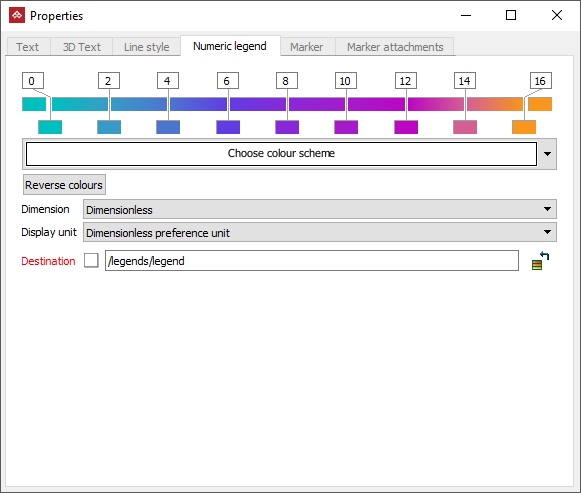
Edit properties are as follow:
-
Colour scale: Adjust the colour scale’s appearance. See Modify a colour scale for detailed instructions.
-
Dimension: Select the correct dimensions represented by the legend.
-
Display unit: Select the required units. Available options depend on the chosen dimensions.
View and edit the Markers
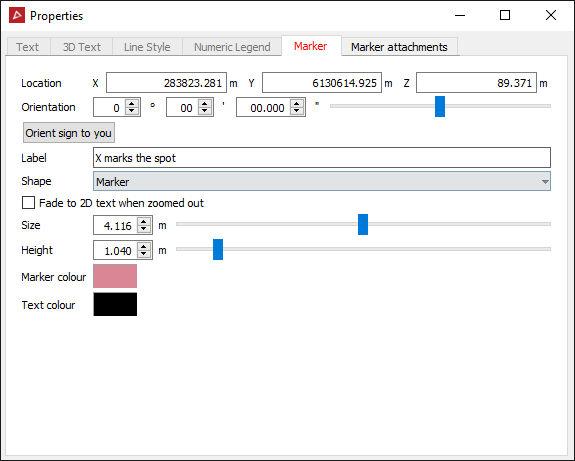
Editable properties are as follow:
-
Location: Reposition the marker in space.
-
Orientation: Adjust the marker’s orientation by entering an angle or dragging the slider. Click Orient sign to you to rotate the marker perpendicular to the current view direction.
-
Label: Edit the marker’s text.
-
Shape: Choose a different marker shape from the drop-down list. If you select Custom from the drop-down, the following options are made available:
-
Fade to 2D text or an image when zoomed out: Select one of the options to determine how the marker is visible as you zoom out:
-
None: The marker disappears.
-
2D Text: The marker’s text is added to the view and remains visible.
-
Image: Browse to and select an image. The image becomes visible as the marker gets smaller in the view.
-
-
Size: Change the marker’s size. The text size changes proportionally.
-
Height: reposition the marker vertically.
-
Marker colour and Text colour: Change the marker and text colours. Single-click for the basic colour palette, double-click for the advanced colour palette (see Using the colour selector, below).
View and edit Marker Attachments
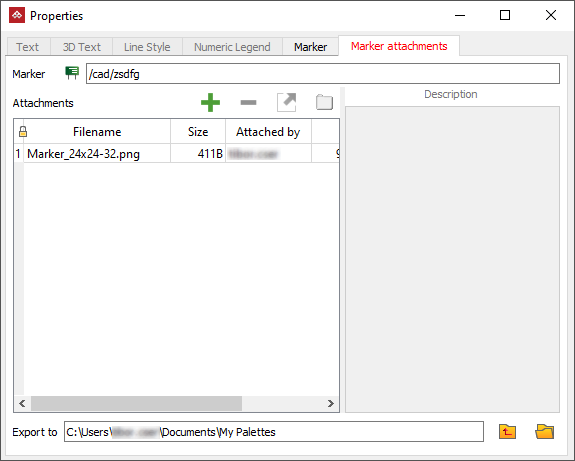
Attach files to, or remove or export files from the marker.
Using the colour selector
There are several methods for selecting colours with the colour selector tool, as follows:
-
Choose a colour from the Basic colours palette.
-
Click on the spectrum box to choose a hue, then click on the intensity bar to set the colour's intensity.
-
Click Pick screen colour then a point on the display to select its colour.
-
Manually enter colour values in the Hue, Sat and Val fields or the Red, Green and Blue fields.
-
Enter the hexadecimal RGB colour code.
To save custom colours for later use, click Add to custom colours. The new colour will appear on the Custom colours palette.
