Project to Edges
Source file: project-to-edges.htm
Use the project to edges tool to project a set of selected points, within a specific range, to an edge or set of edges.
-
On the Edit ribbon tab, go to the Project group and select
 Project to Edges.
 -
With the object or points selection type, select the projection edge object, to populate the Edges field. Alternatively, drag the object from the project explorer into the Edges field.

Note: The edges field will only accept a single object. If you drag in a new object it will replace the previous one.
-
Enter the maximum distance in the Range field.
Tip: If you are unsure of the distance, measure it with the
 Distance query tool.
 -
Using the
 Select points mode, select the group of points to project to
the line or edge of the polygon.
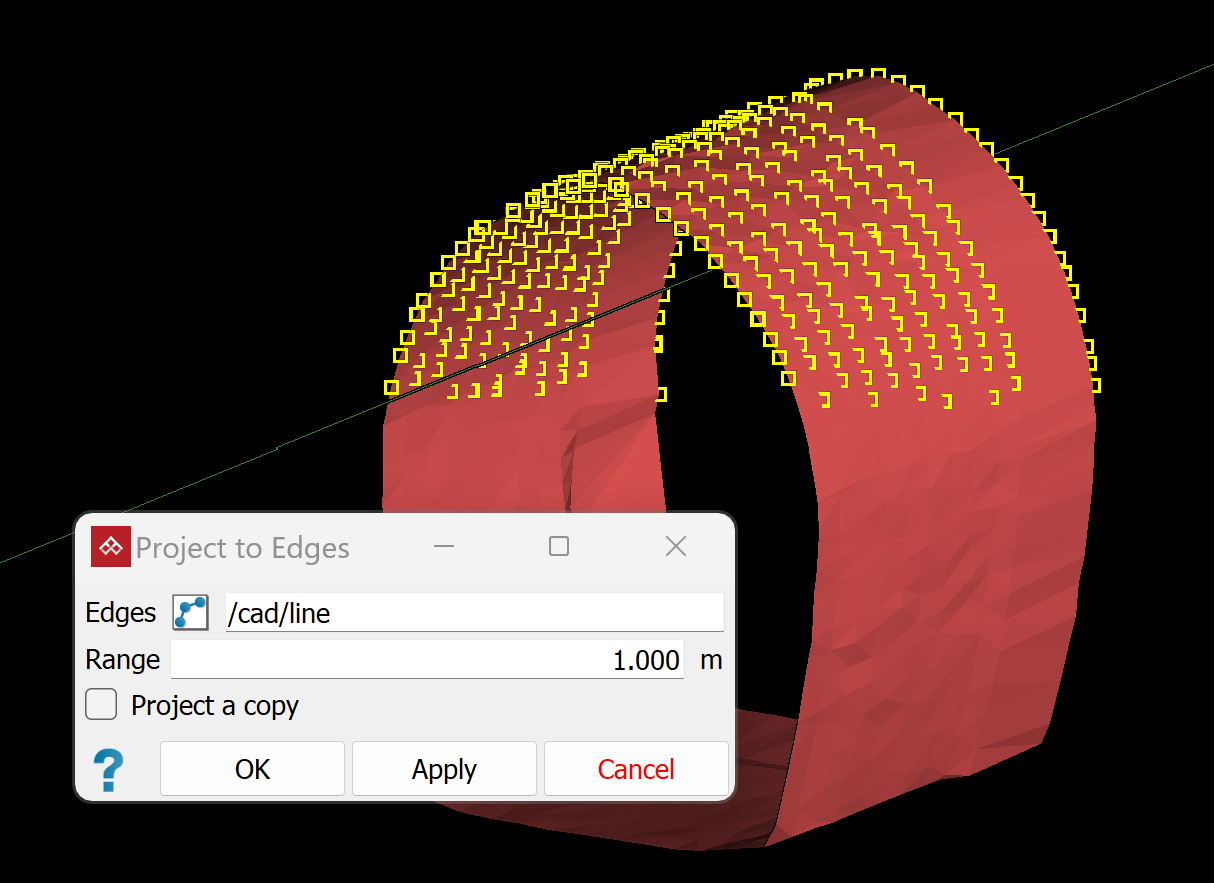
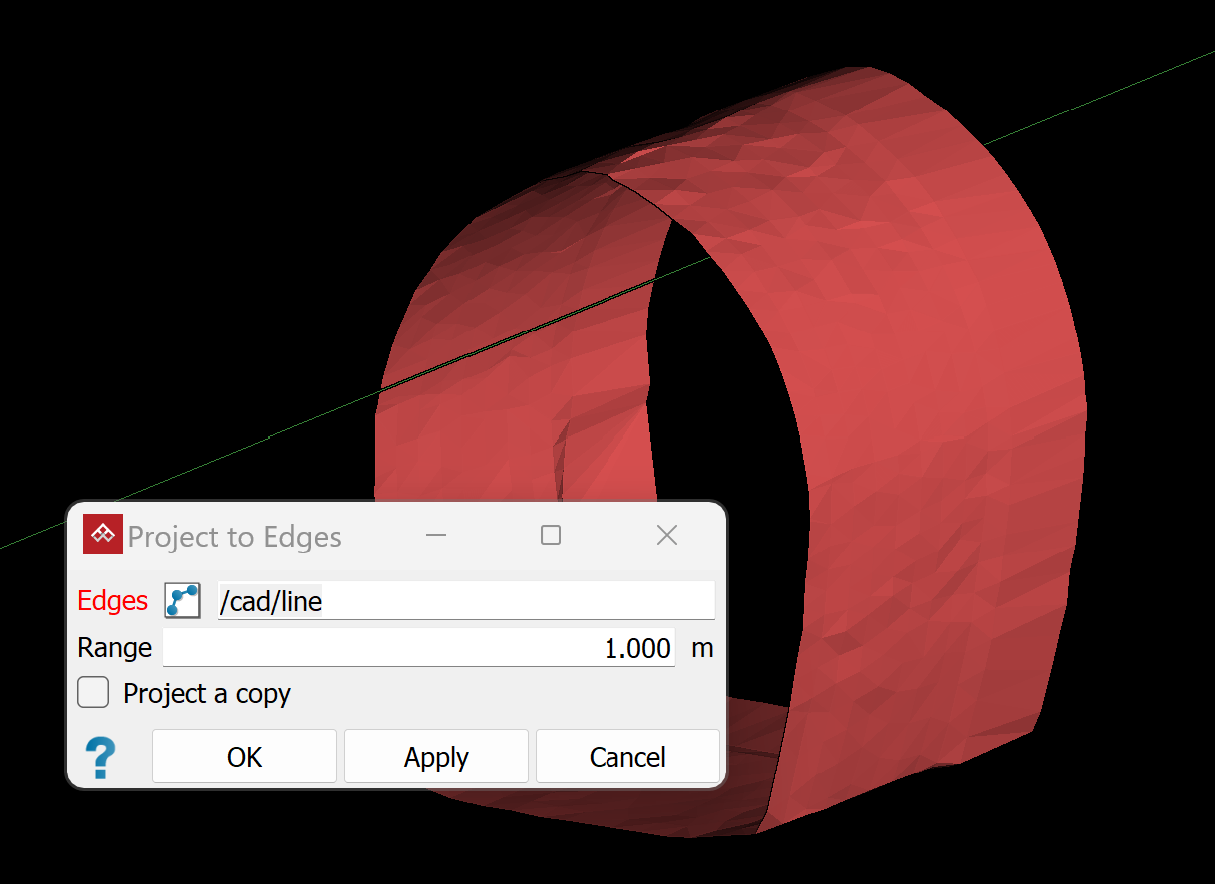
Select a group of points (left) or a whole surface (right).
Note: The project to edges tool cannot be used on scans.
-
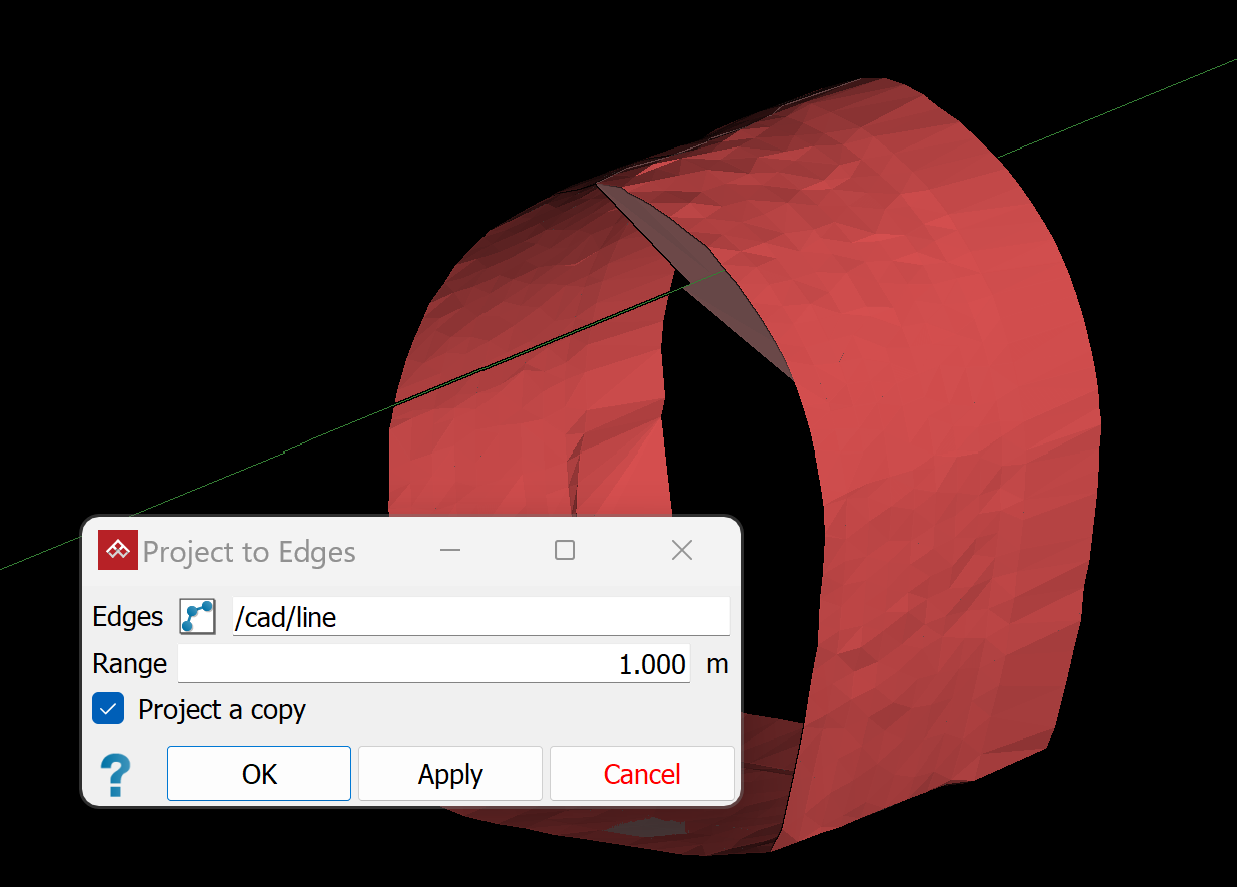
Select Project a copy to leave the original points in place, and create copies projected to the edge. Clear this option if the points are to be moved.
-
Click OK or Apply.
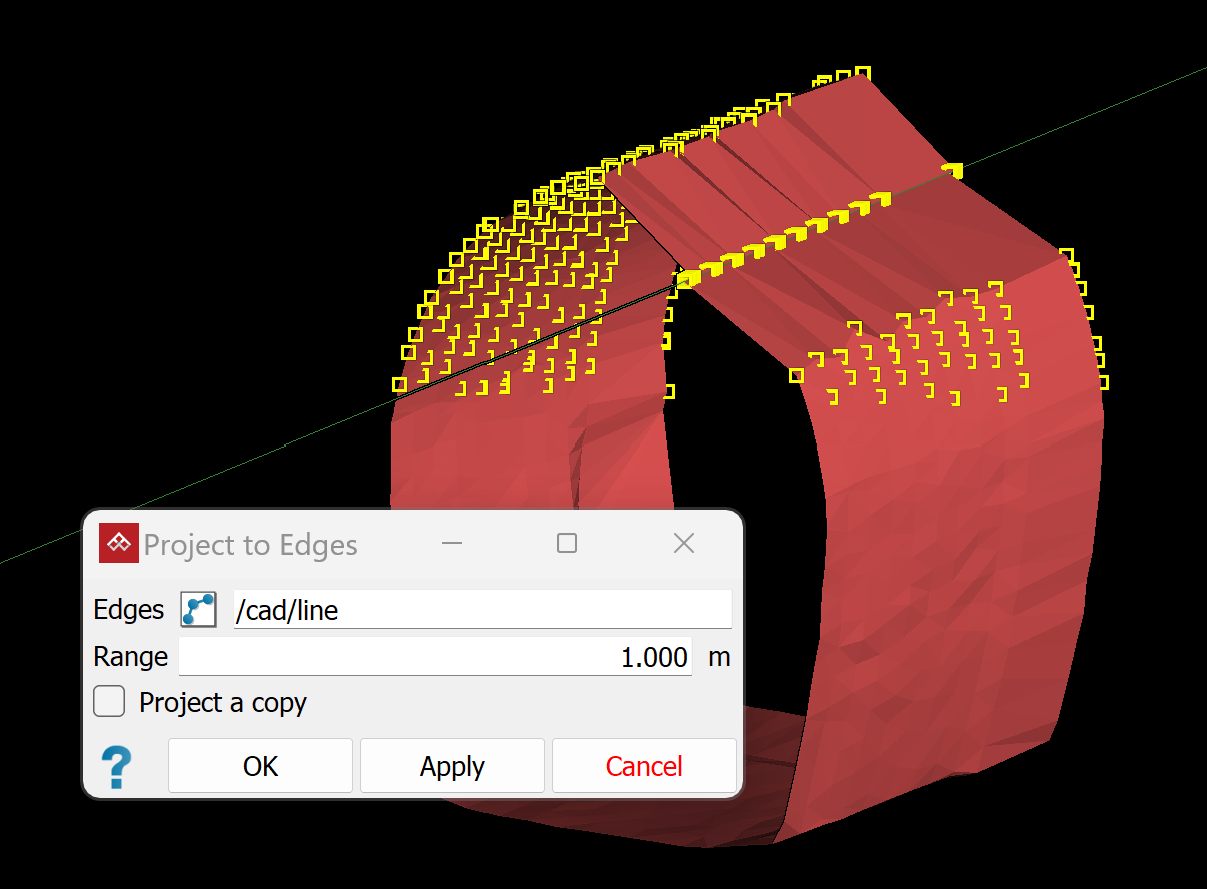
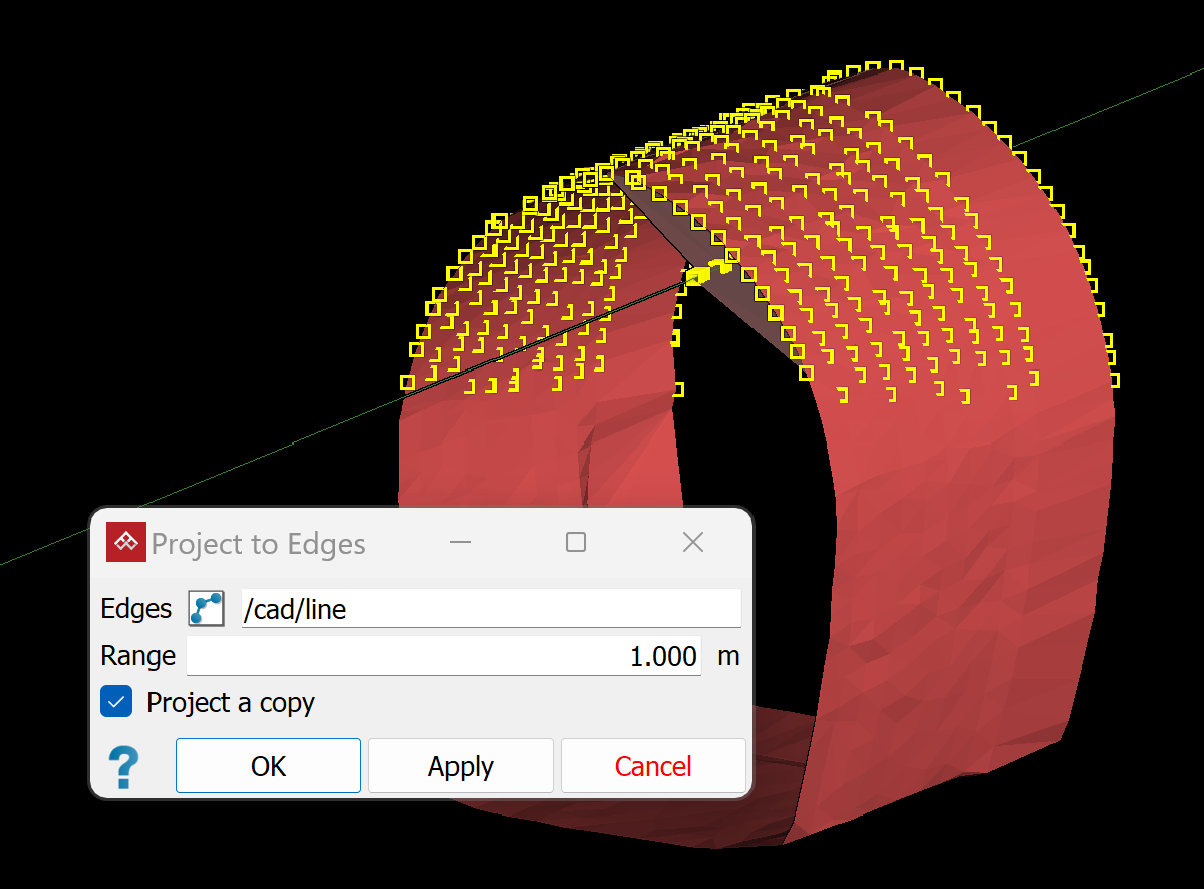
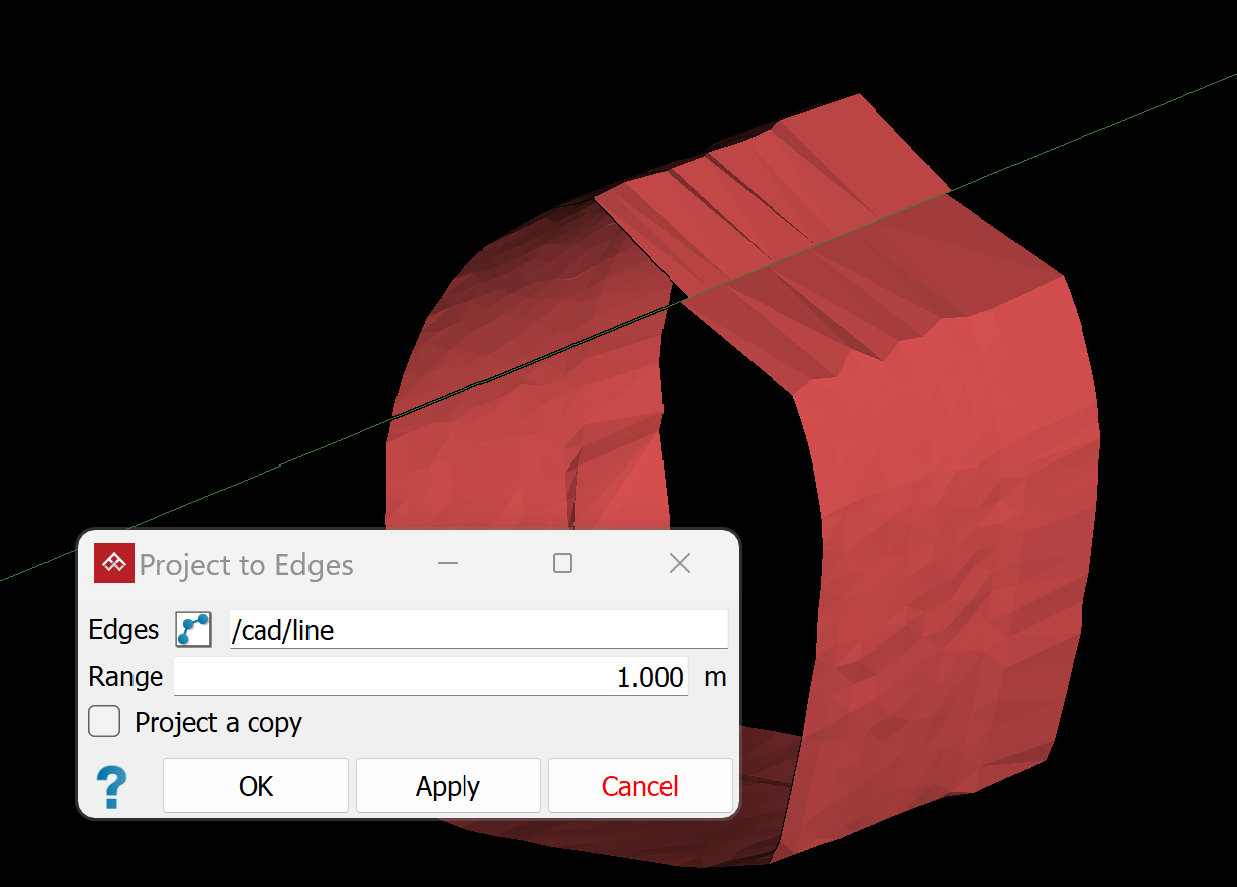
Points projection without copying (left) or with copying (right)
Surface projection without copying (left) or with copying (right)
Note: Only points or vertices within the specified range (1 m in this example) are projected.
