Creating a 2D Polygon
The 2D polygon
function is a 2D function that draws a polygon on the action plane.
The action plane assists in determining the polygon's placement in 3D
space.
The point coordinates, length and angle, or plane relative offset will
be displayed as the polygon is being created.
The resultant shape is saved in the CAD
container.
-
Set up the action plane where you want placement of your shape.
-
On the Create ribbon tab navigate to the Draw group. From the Polygon drop-down list select
 2D Polygon.
 -
The panel will open allowing manual input of coordinates for points, or you can select points in the view window (on the action plane).

-
Enter as many points as required to build your polygon, while selecting the desired mode of relationship between points (Point coordinates, Length and angle, Plane relative offset).
-
Right -click to complete the polygon creation process.
If the polygon is incomplete, a line is automatically created from the first point to the last point - closing the shape.
-
Press Esc or click
 to exit the function,
otherwise continue creating new polygons.
Note: Once the shape is completed and the function exited, the shape is no longer attached to the action plane.
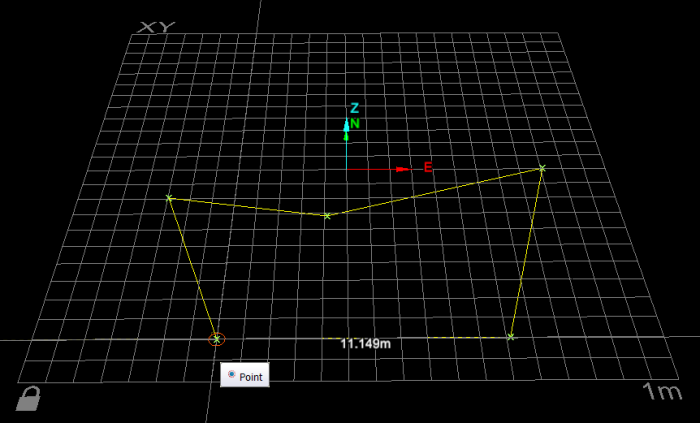
An example of polygon creation - various related dimensions can be displayed as each point is dragged into position on the action plane.

Helpful shortcuts:
|
|
D switch to point entry mode |
|
|
L switch to length and angle mode, then
|
||
|
R switch to plane relative offset mode (Action plane), then
|
||