Filter by Plane
Use Filter by plane to define 3D planes
and remove points on one side of the plane. This is useful for removing
points above or below specific elevations, or for indoor scenes to remove
ceiling points for better visualisation.
-
On the Position and Filter ribbon tab navigate to the Filter group. From the Filters drop-down list select
 Plane.
-
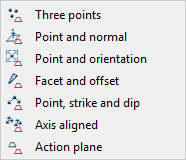
Choose how to define the Plane from the drop-down list. (The default is set to Axis aligned).
|
The Plane options are:
|
-
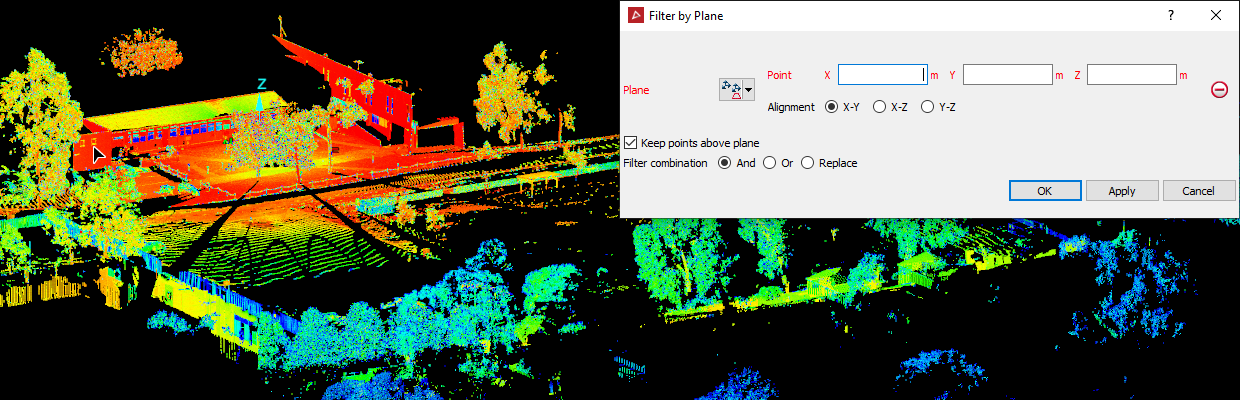
Select Keep points above plane to keep the points above the defined plane. If not selected, the points above the plane will be filtered out and points below will be visible.
-
Select the required Filter combination.
-
Click OK or Apply.
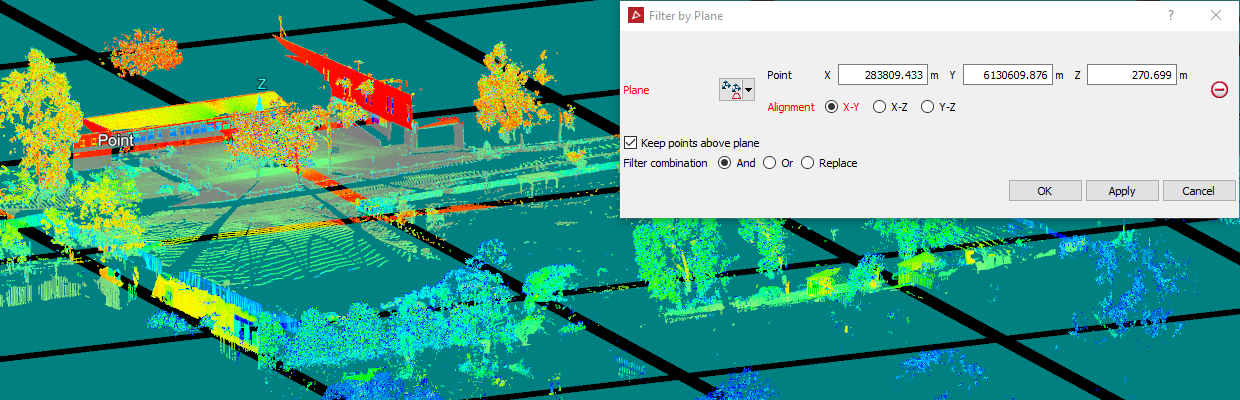
An example of a plane will display where the points will be filtered out.
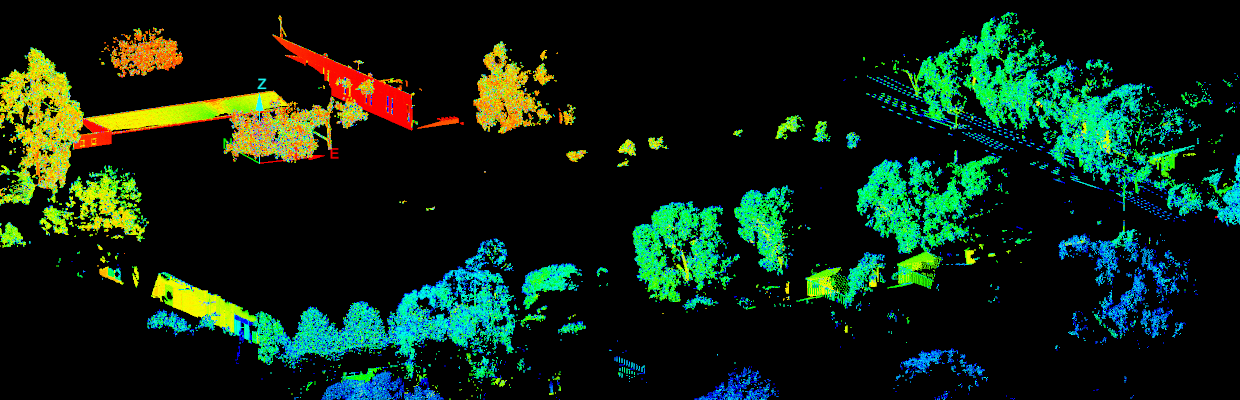
An example of filtering by plane and keeping points above the plane.
Note: The points can be recovered using the Show All option.