Complex 3D Surface
The Complex 3D surface provides a simple solution for creating surfaces from point clouds where the existing methods do not adequately model all nuances of the actual ground. The method only requires an input guide to the smallest feature size, then will attempt to piece together the surface based on points within proximity of each other, regardless of orientation. This approach is quite successful at detecting and incorporating even small indents, overhangs and caves or holes that other surfacing methods would miss.
-
On the Create ribbon tab navigate to the Surface group and select
 Complex 3D Surface.
 -
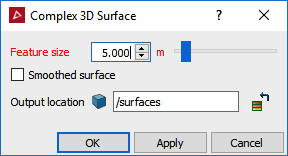
Set the desired Feature Size.

Note: Holes can occur in the model if the feature size guide is too small and the procedure cannot find a neighbouring point close enough to connect to. Larger feature sizes will result in less holes in the surface but will also result in less detail representing the true shape of the stope/ground.
-
Click Apply.
- Choose one surface to continue the process with and view it in a new view window.
Two surfaces will be created in the Surfaces container. A surface on projected points and a surface on original points.
Note: The facets of the surface on original points are created from the scan points used to create the surface and is more true to the real world surface but can be very spiky and jagged. The facets of the surface on the projected points are a best fit of the scan points and will be smoother and have less spikes.
-
Click OK when finished.
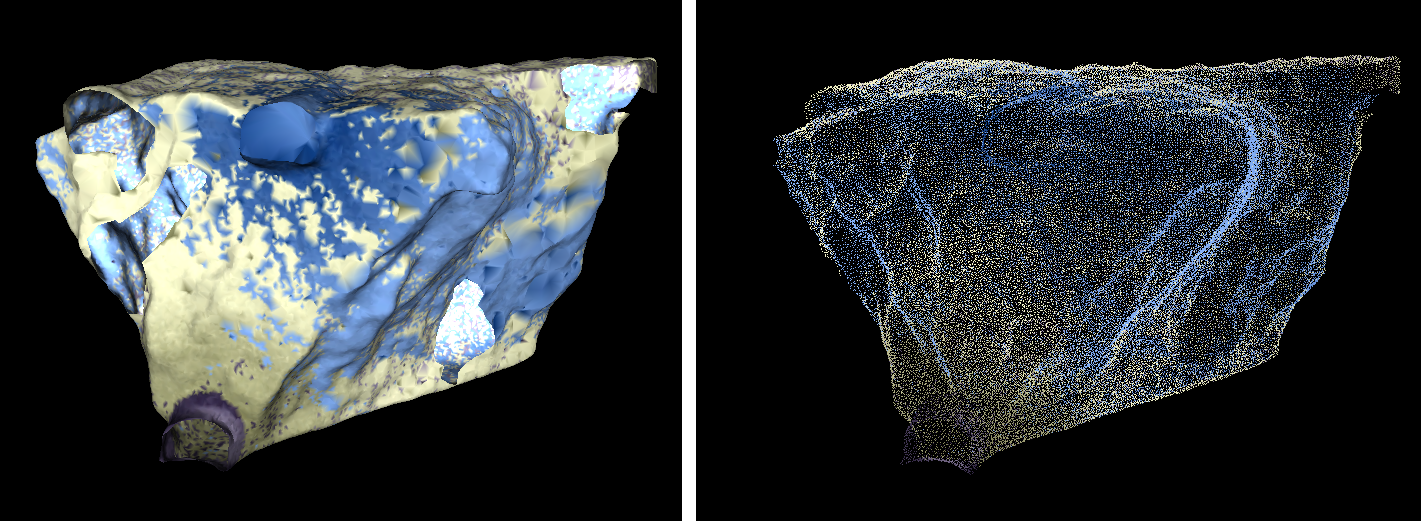
An example of a Complex 3D surface.
