Creating a Loop Surface
Used to create a surface from a selection of loops or surfaces. A tubular surface is produced. This is useful for modelling drives, voids and tunnels.
For this exercise we will use loop polygons.
-
Select the tunnel in the project explorer and choose to view it in a new view window.
-
Create polygon loops using
 Loop
wrap if not already created
 -
On the Create ribbon tab navigate to the Surface group and select
 Loop Surface.
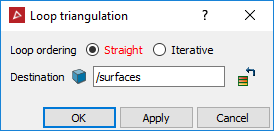
Loop ordering
- Straight - Creates a single surface with the loops ordered along a straight line based on their orientation.
- Iterative - If there are two parts of a tunnel with a small gap between them it will automatically extract the boundary polygons of the surfaces and intelligently join the nearby loops of similar orientation. This can create multiple surfaces and wrap around corners if needed.
Note: This may ignore loops if it can't find another loop nearby to join them.
In the example
below, there is data (points) with loops made using ![]() Loop
wrap. By selecting the loop polygons and then Loop Surface, a single 'tubular'
surface is produced, as shown below.
Loop
wrap. By selecting the loop polygons and then Loop Surface, a single 'tubular'
surface is produced, as shown below.
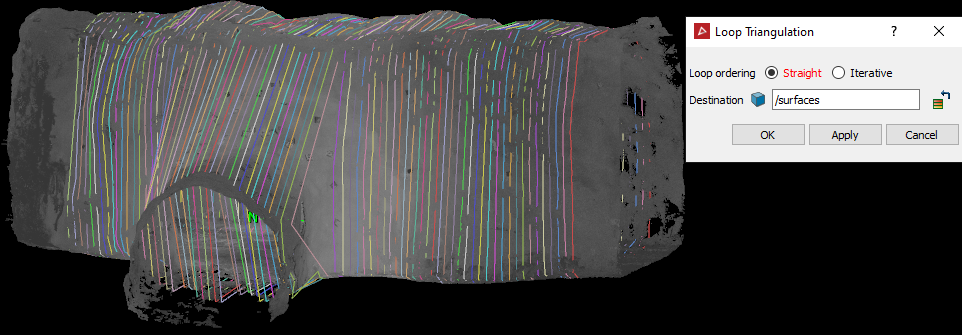
Result of a single 'tubular' surface created.
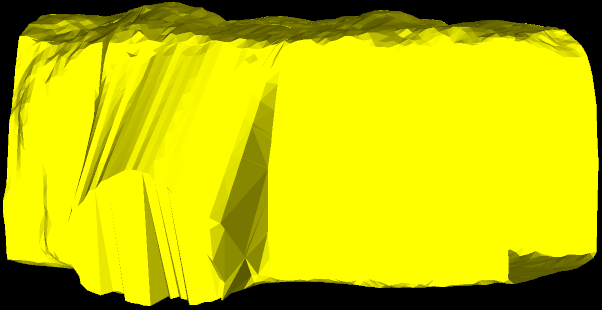
In the following example, a Loop Surface was used on a selection of polygons and the process repeated three times.
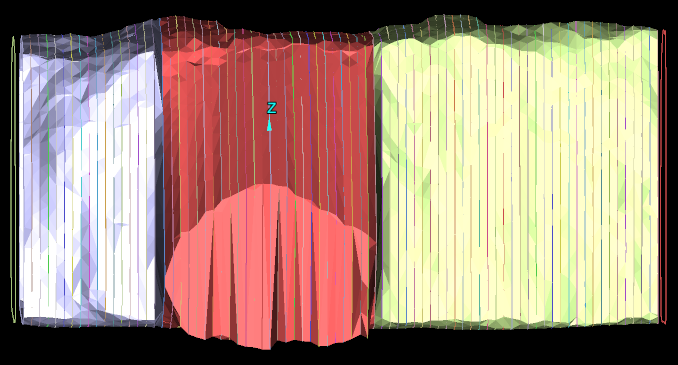
These sections can now be hidden (using the Visibility Editor) from one another and each surface can be examined in a closer detail.
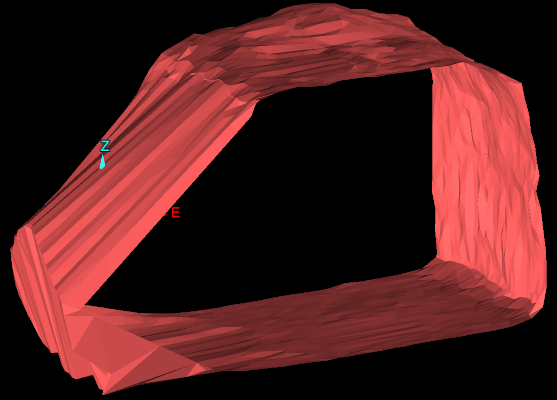
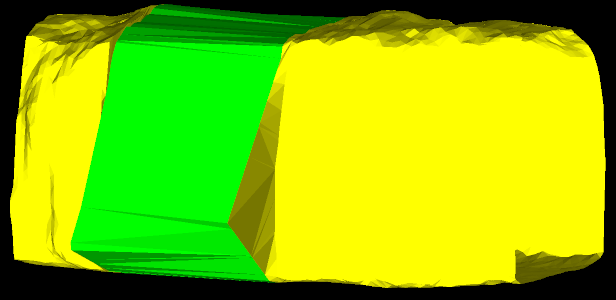
If there are only two loop surfaces, selecting both of them and applying a loop surface will create a new loop surface to fill the gap between the two loops.
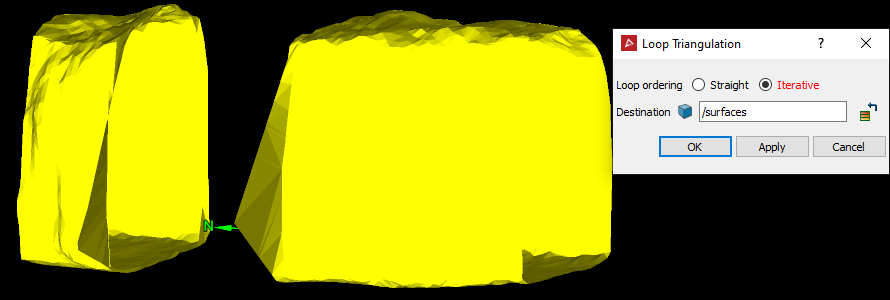
Result of the new loop surface created between the original two surfaces.
