3D Text
Source file: create-3d-text.htm
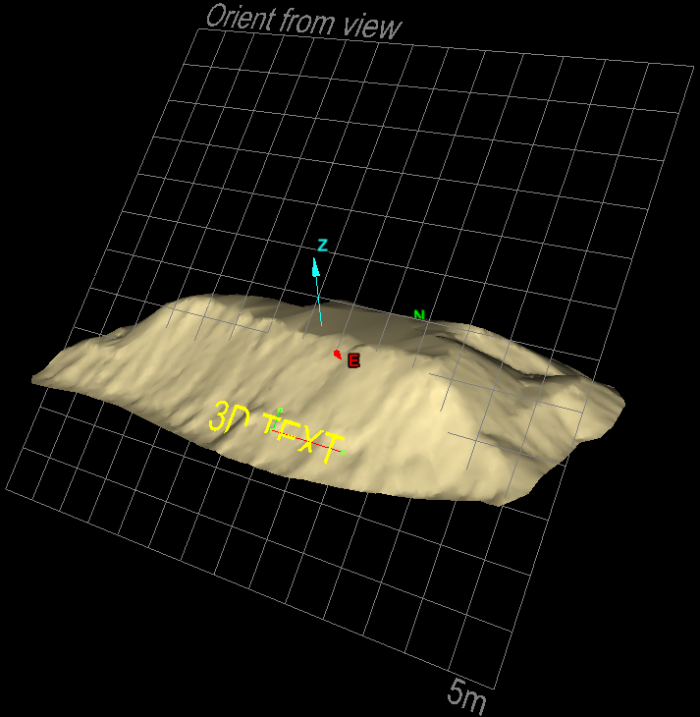
3D text can be used to label data in a view window. Unlike the Text option, 3D text is aligned to the action plane (see Action Plane) and rotated or zoomed like any other 3D object in the scene.
Tip: Set the action plane before creating the text.
Note: Rotating 3D text can cause it to flip directions in the view. The text creation tool provides orientation options to manage text directions.
-
On the Create ribbon tab, go to the Create group. From the Annotation drop-down list select
 3D Text.
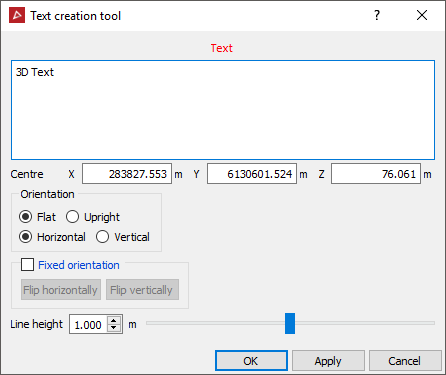
-
Type in the required text.
-
Click in a location field and enter the information or click in the view window at the desired location for the Centre of the text.
PointStudio displays a preview of the 3D text.
-
Select the Orientation options for the best orientation of the text in relation to the action plane.
Tip: If you need a different orientation of the text, you can use the Freehand Rotate tool after creating it. See Freehand Transform.
-
Select Fixed orientation to force the text to maintain its orientation with the view’s axes. If Fixed orientation is not selected, the text will flip automatically to maintain readability when you rotate the view.
If Fixed orientation is selected, you can click Flip horizontally and/or Flip vertically to obtain the desired orientation.
-
Enter the required Line height for the text, or use the slider bar to set the value. The maximum possible text size is 2 m.
-
Click OK or Apply to complete.
The
3D text is stored in the cad ![]() container by default and is displayed in the active view window.
container by default and is displayed in the active view window.
To edit the 3D text properties
You can edit 3D text properties at any time.
-
Highlight the 3D text in the project explorer.
-
On the Edit ribbon tab, go to the Properties group and select
 Properties.
The Properties panel will open with its 3D text tab automatically selected, ready for editing.
