Creating a Dense Point Set
Source file: create-dense-point-set.htm
To create a dense point set, click on the ![]() Create Dense Point Set button on the Photogrammetry ribbon tab, then follow the steps below.
Create Dense Point Set button on the Photogrammetry ribbon tab, then follow the steps below.
-
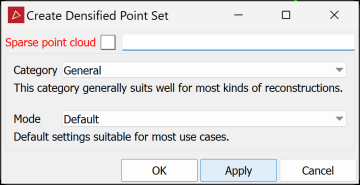
Select the required sparse point cloud in the project explorer. It will automatically appear in the Sparse point cloud field.
-
Select the appropriate reconstruction category as with New
-
Choose the Mode from the available options:
Mode Description Applicable categories Preview This mode skips densification; the sparse point cloud is treated as the dense point cloud. General, Aerial/Nadiral, Urban, Surface scan Default Default settings for most use cases. General, Aerial/Nadiral, Urban, Surface scan High details Higher resolution than the default setting. Use this setting to produce a more dense point cloud. General, Aerial/Nadiral, Urban, Surface scan, Vertical structure Ultra Fine resolution and very slow mode that should be used only in very specific cases. Surface scan -
Click Apply or OK
| General | This category generally suits most kinds of reconstructions well. |
| Aerial/Nadiral | Use this category when you are reconstructing a top-down view scenario, typically a UAV drone-acquired dataset. |
| Urban | Use this category when reconstructing buildings, façades or scenarios that are shot in an urban setting. You can use this category for small objects instead of the Surface scan category if you are mixing different types of photos, especially if the whole dataset is not shot from the same distance. |
| Surface scan | Use this category when you are reconstructing surfaces close up (e.g. terrain or ground). |
| Vertical structure | Use this category when you are reconstructing telecommunication towers or other thin vertical structures from drones. |
The dense point cloud will be placed in the same container as the sparse point cloud.
