Selecting data
Selecting data is a fundamental operation in PointStudio. You must select an object or primitive before you can work with it. The data types that you can select depend on the selection type used, per the table below, with reference to Objects. To change the selection type, click the appropriate button on the selection toolbar.

|
|
Objects (1) Select any object in the view window.
|
|
|
Points (2) Select points or vertices in all object types.
|
|
|
Lines (3) Select lines, edges of polygons and surfaces, edge networks.
|
|
|
Facets (4) Select triangles in surfaces or stereonet grids.
|
|
|
Cells (5) Select cells only where scan points are connected, based on the acquisition order or topology of the scan.
|
|
|
Blocks (7) Select block models from imported
|
|
|
|
|
|
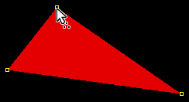
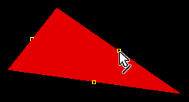
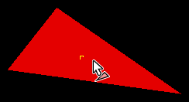
Point selection on a facet (left). Edge selection on a facet (middle). Facet selection (right). |
||
|
|
|
|
|
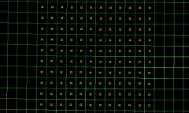
Cell selection selects a grid of cells in a connected scan. |
||

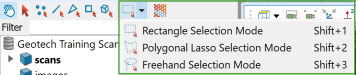
You can select an individual primitive by clicking on it. To select multiple primitives within a region of interest, use the left mouse button to draw a boundary around that region according to one of the available selection modes, described below. You can either step through the selection modes by clicking the button on the selection toolbar, or select them directly from the drop-down list.
|
(Shift+1) |
Click and drag to create
a selection boundary box. Release the mouse button to
complete the selection.
|
|
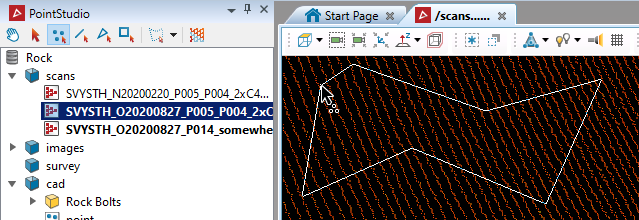
(Shift+2) |
Click and drag to start the lasso, then click around the area to be selected. To complete the selection, do one of the following:
|
|
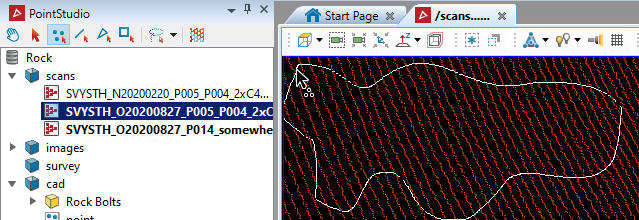
(Shift+3) |
Click and drag the mouse while drawing around the area to be selected. Release the mouse button to complete the selection.
|

Follow these steps to select primitives:
-
Select the object in the project explorer window.
-
Choose a selection type appropriate to the selected object.
-
Choose the required selection mode.
-
Create a bounding region using the mouse according to the chosen selection mode. To modify the selection:
- Hold Shift while selecting to add objects to the current selection.
- Hold Ctrl while selecting objects to remove them from the selection.
- Click in the background of a view window or at the bottom of the project explorer to clear the current selection. Clicking in the status display or pressing Ctrl+Space will also clear the selection.
- With
 (Select objects), all objects in the bounding region will be selected.
 - If no eligible primitive (according to the selection type) of the selected object is within the bounding region, nothing will be selected; all objects will be deselected in the project explorer.
- If nothing is selected in the project explorer, all eligible primitives in the bounding region will be selected, along with their parent objects.
The selection status bar under the
project explorer, displays the number of objects and primitives selected.

-
The object type icon will be blank if multiple types are selected.
-
The primitives count is not displayed if object selection type
is active. -
The primitive type icon will always match the selection type. It's not possible to select multiple primitive types.
The ![]() (Temporarily suspend highlighting of the selection) button allows you to suspend both highlighting of the selected objects and dimming
of unselected objects in the view windows, displaying them all at standard intensity.
(Temporarily suspend highlighting of the selection) button allows you to suspend both highlighting of the selected objects and dimming
of unselected objects in the view windows, displaying them all at standard intensity.
