Cubic Reserves
Use the Cubic Reserves option to automatically calculate and account for waste in the overlapping triangulation areas between the primary and secondary stopes of a block model. This produces a report (in.csv format) detailing what has been mined, how much has been mined, and the breakdown of waste versus ore. This report can be manipulated as desired.
Automatically performing this once manual task reduces the likelihood of over-counting or counting the area twice, saving you time and increasing the reliability of results.
Note: Before you begin, load the block model containing the necessary grade and variables, and then load the triangulations representing the primary and secondary stopes.
Instructions
On the Block menu, point to Reserves, and then click Cubic Reserves.
Open Specification
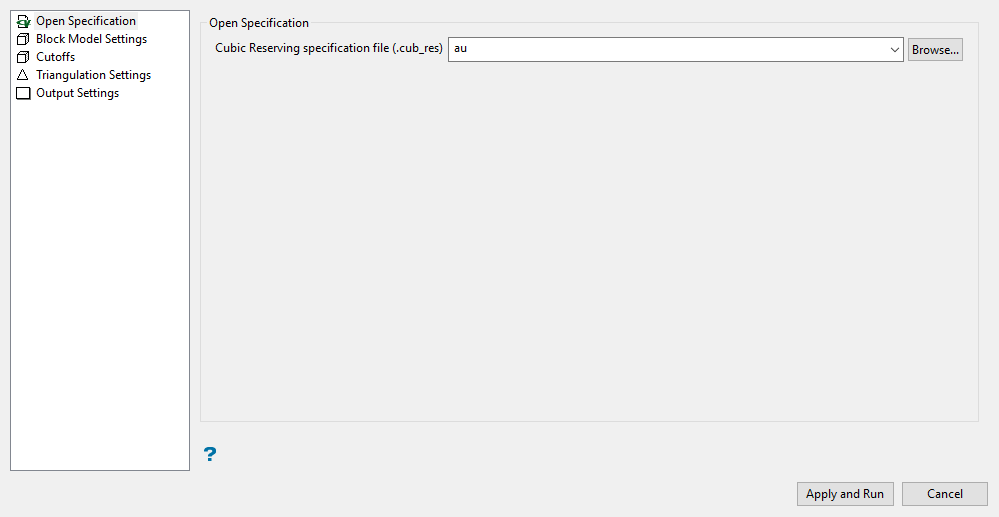
Follow these steps:
-
Enter a name for your specification file (.cub_res) in Cubic Reserving specification file, of select one from the drop-down list. The drop-down list contains all of the (.cub_res) files in the current working directory. Click Browse to select a file from another location.
The configuration settings stored in the nominated file will automatically populate the contents the Cubic Reserving interface when loading a previously saved specification.
Block Model Settings
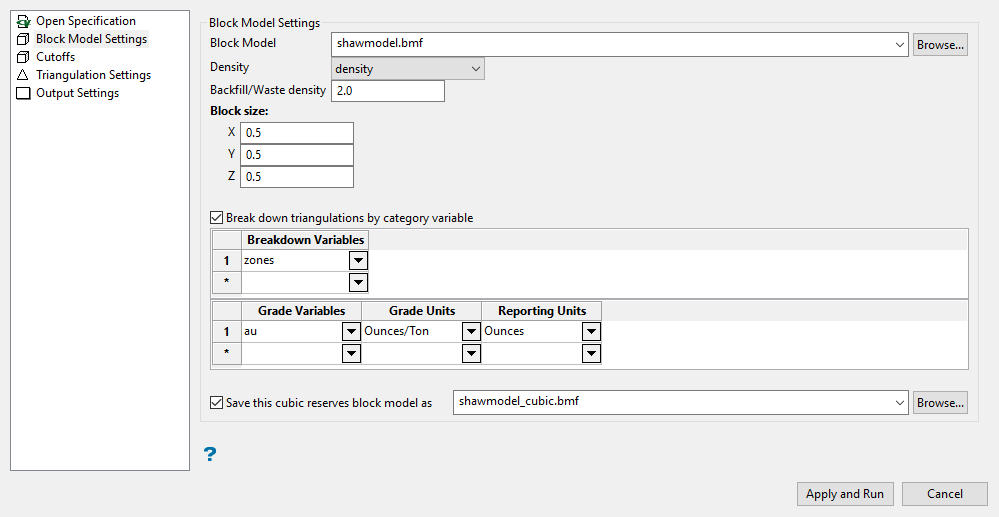
Use the Block Model Settings option to choose block model variables to use in the cubic reserving process.
-
Select the block model that contains grade information from the Block Model drop-down list, or click Browse to select a file from another location.
-
Select the density variable from the block model.
-
Enter the default density value used to represent backfill material in Backfill/Waste density.
-
Enter the minimum blocking cell sizes for the X, Y, and Z directions into Block size.
Note: Small sub-blocking sizes will result in a longer calculation time when associated with large triangulation volumes.
Note: The block size specified for cubic reserving must be a value that is divisible by the block size defined in X, Y, and Z directions.
-
Enable Break down triangulations by category variable if you want to report on different categories within your triangulations. You can select the block model variable that is used for categorisation by selecting one or more from the drop-down list.
-
Select the grade variables that you want to report. The drop-down list contains all grade variables found in the nominated block model.
-
Select the grade variable units to use for calculating grade in the reserving area. The drop-down list contains all units available, including oz/ton, grams/tonne, percent, and parts per million.
-
Select the reporting grade units to use for reserving. The drop-down list contains all units available, including grams, kg, tonnes, oz, lbs and tons.
-
Select Save this cubic reserves block model as if you wish to save the cubic version of this model as a separate model. Select the name of the model from the drop-down list, browse for it if it does not exist in the current working directory by clicking the Browse button, or type a new name for your model in the space provided.
Cutoffs
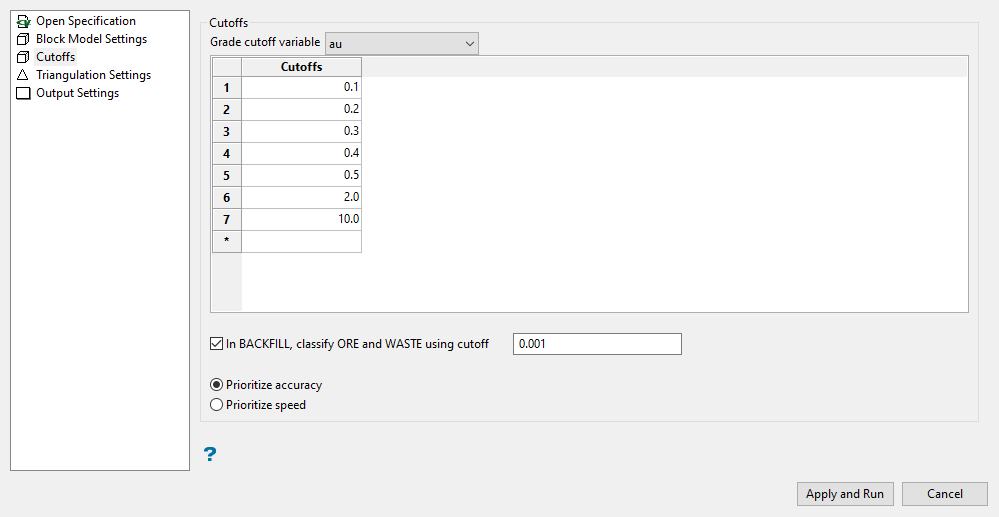
Use the Cutoffs option to apply cutoff values to selected grade variables.
-
Select the grade variable to be applied to the specified cutoffs.
-
Enter the cutoff values for the selected grade variable.
-
Select In BACKFILL to save the cubic reserves block model that is generated during the process.
-
Select the algorithm you want to use by choosing either Prioritize accuracy or Prioritize speed.
Prioritize accuracy uses the blocks exact volume of the intersection between a block and triangulation rather than the entire volume.
Prioritize speed uses the blocks entire volume rather than the exact volume of the intersection between a block and triangulation.
Triangulation Settings
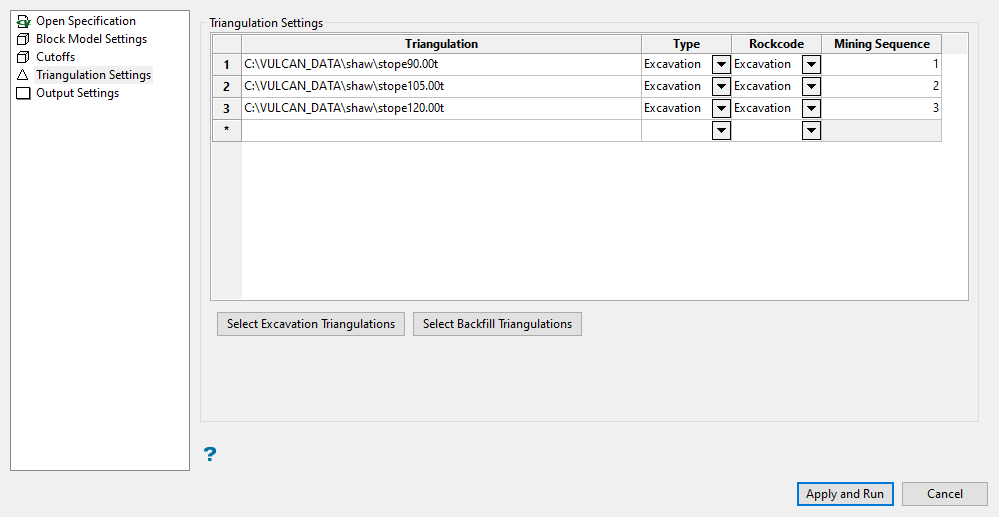
Use the Triangulation Settings option to choose the solid triangulations that represent the targeted stopes for reserving.
-
Select the triangulations interactively by clicking the triangulations loaded on the screen, or by using the drop-down list.
-
Select the type of triangulation to use for the block model.
The type of triangulations available from the drop-down (Excavation or Backfill), may vary depending on the option specified when the solid triangulations were chosen. Excavation and Backfill are the most common.
If Excavation is chosen, reserves for that triangulation will be calculated and reported.
If Backfill has been chosen, the reserves report will account for the mass and volume of material mined (using the value entered in the Backfill/Waste density field in the Block Model Settings option), however, no grade or value will be reported.
-
Enter or select a description for the excavation or backfill material. The default is the initial Type value for the selected triangulation.
-
Enter the number corresponding to the mining sequence for each Excavation triangulation. All triangulations that have been defined (in the Type column) as being an Excavation type require a mining sequence definition.
-
The Select Excavation Triangulations and Select Backfill Triangulation buttons can be used to select loaded triangulations directly from the screen.
Note: Triangulations should be chosen by the sequence in which they are to be mined. If necessary, the Mining Sequence column can be used to manually change the mining order.
Output Settings
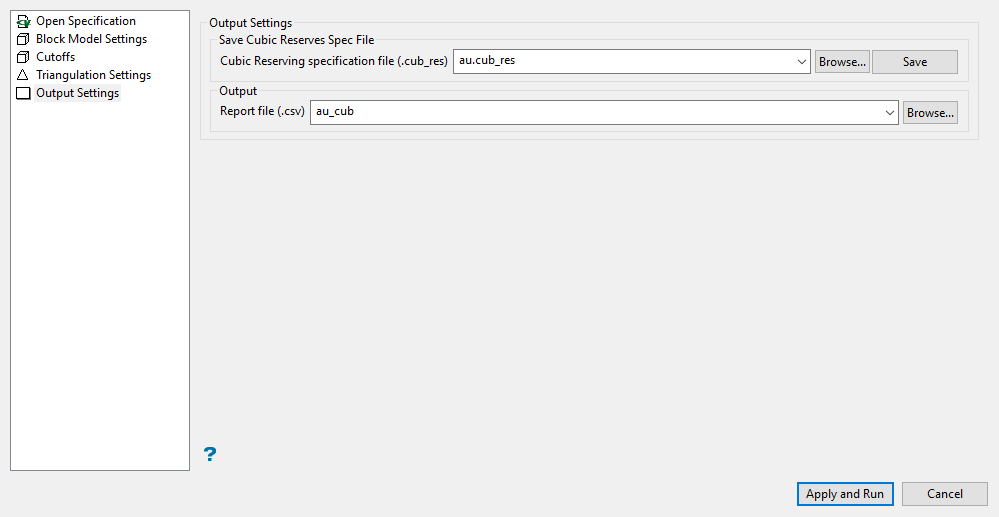
Use the Output Settings option to choose the report file that will be used to store the resulting report information. The Output Settings section can also be used to save the configuration settings in a different Cubic reserving specification file.
-
Select the Cubic Reserving specification file (.cub_res) for saving the current configuration settings. The specification file nominated through the Open Specification section displays by default. The drop-down list contains all (.cub_res) files found in the current working directory. Click Browse to select a file from another location. If an existing file is selected, the values in the chosen file will be overwritten with the new specifications.
To create a new file, enter the file name and file extension.
-
Select the report file used to store the resulting report information. The drop-down list contains all CSV files found in the current working directory. Click Browse to select a file from another location. If an existing file is selected, the values in the chosen file will be overwritten with the new specifications.
To create a new file, enter the file name and file extension.
Select the Apply and Run option to start the reserving process.
Tip: To modify existing configuration settings but retain the original settings, it is recommend the modified settings be saved to a different file.

