Boolean
Use this option to compute the elementary boolean operations on planar polygons.
Instructions
On the Design menu, point to Polygon Edit, then click Boolean to display the following panel.
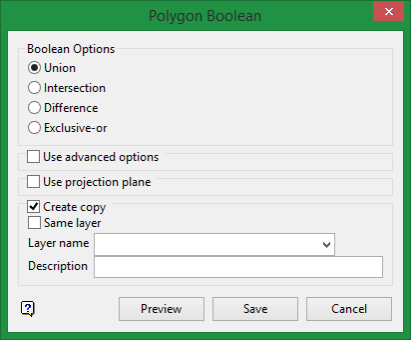
Boolean Options
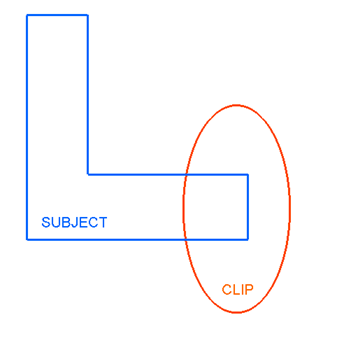
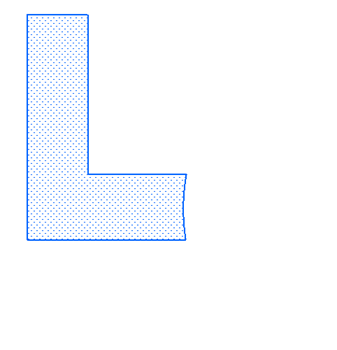
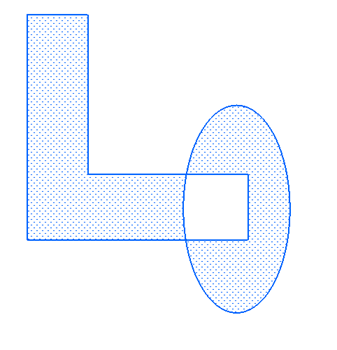
There are four boolean operations: union, intersection, difference and exclusive-or. Using the two polygons illustrated below, subject and clip, the results of each boolean type are shown.
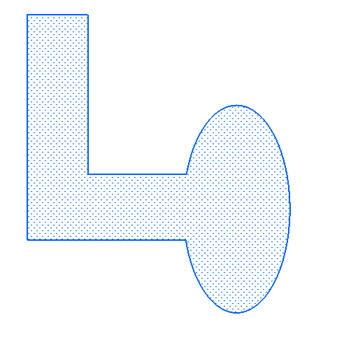
Union (OR)
Regions where either subject OR clip polygons (or both) are filled.
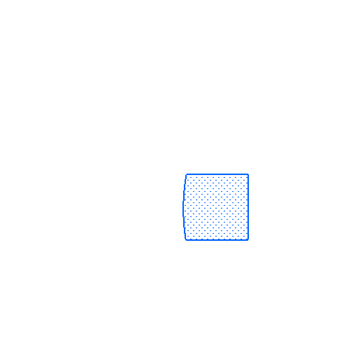
Intersection (AND)
Regions where both the subject AND clip polygons are filled.
Difference (NOT)
Regions where subject polygons are filled EXCEPT where clip polygons are filled.
Exclusive-or (XOR)
Regions where EITHER subject or clip polygons are filled BUT NOT the area defined by both.
Use advanced options
The winding number of a region within a polygon is the number of times an infinite ray cast in any direction intersects the curve. Downwards intersections decrease the winding number, Upwards intersections increase the winding number.
- Negative - Regions with winding number < 0 are filled.
- Positive - Regions with winding number > 0 are filled.
- Even odd - Regions with Odd winding number are filled, Regions with even winding number are not filled.
- Non zero - Any non-zero subregion is filled.
The output can be made 'simple' or 'strictly simple'. A Strictly simple polygon does not have any shared points.
Use projection plane
Select this option to work in a plane other than plan view. Select the Plane method from the drop-down list to define a plane with the selected method. See below for explanations of the available plane methods.
A flat plane at the given elevation.
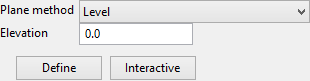
Elevation
The elevation can be defined two ways:
-
Type the elevation into the textbox.
-
Click the Define button and then digitise the elevation on the screen.
Interactive
The Interactive button can be used to display the current plane definition or change it by dragging the handles around.
A vertical plane at the given easting.
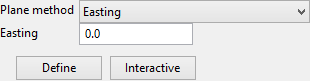
Easting
The easting can be defined two ways:
-
Type the easting into the textbox.
-
Click the Define button and then digitise the easting on the screen.
Interactive
The Interactive button can be used to display the current plane definition or change it by dragging the handles around.
A vertical plane at the given northing.
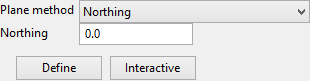
Northing
The northing can be defined two ways:
-
Type the northing into the textbox.
-
Click the Define button and then digitise the northing on the screen.
Interactive
The Interactive button can be used to display the current plane definition or change it by dragging the handles around.
A plane defined along a selected line segment at the given angle (dip).
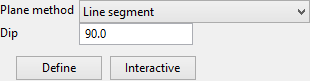
Dip
Enter the dip angle.
Define
Click this button to select a line segment of an existing object.
Interactive
The Interactive button can be used to display the current plane definition or change it by dragging the handles around.
Similar to the Line Segment option, except the segment is defined by interactively defining two points.
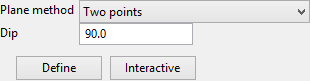
Dip
Enter the dip angle.
Define
Click this button to digitise the two points.
Interactive
The Interactive button can be used to display the current plane definition or change it by dragging the handles around.
A plane defined by interactively defining three points.
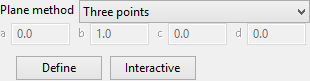
Define
Click this button to digitise the plane, defined by three points.
Interactive
The Interactive button can be used to display the current plane definition or change it by dragging the handles around.
A plane defined by the strike and dip.

Strike
Enter the strike angle.
Dip
Enter the dip angle.
X, Y, Z
These fields show the coordinates of the origin of the plane. The origin can be defined by clicking the Define button and digitising it on screen or by entering the coordinates directly into the textboxes.
Define
Click this button to digitise the origin of the plane.
Interactive
The Interactive button can be used to display the current plane definition or change it by dragging the handles around.
A plane determined to be the best fit, in a least squares sense, to a selected point cloud.
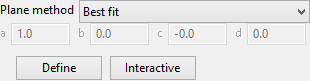
Define
Click this button to select the point cloud.
Interactive
The Interactive button can be used to display the current plane definition or change it by dragging the handles around.
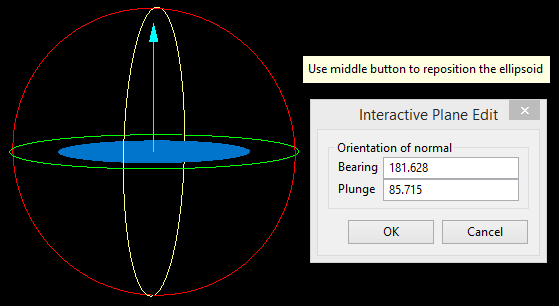
A plane defined interactively within Vulcan.
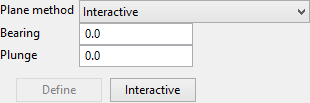
Bearing / Plunge
Enter the bearing and plunge angles, or click the Interactive button to select the bearing and plunge interactively.
Interactive
The Interactive button can be used to display the current plane definition or change it by dragging the handles around.
The current view in Vulcan.

Interactive
The interactive button can be used to display the current plane definition or change it by dragging the handles around.
A plane defined by the equation of the plane.
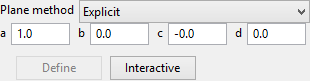
The equation of the plane is ax + by + cz + d = 0.
a, b, c, d
Click the Interactive button to digitise the bearing and plunge, or enter the values for the equation directly into the textboxes.
Interactive
The Interactive button can be used to display the current plane definition or change it by dragging the handles around.
To create a copy of a polygon, follow these steps:
-
Click Create copy.
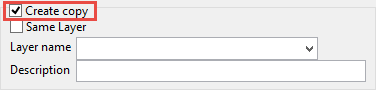
- Choosing a destination. You have three choices: the same layer, another existing layer, or a new layer.
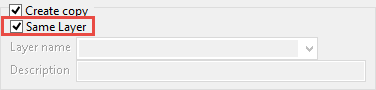
- Same layer: Select the option to save it to the same layer by clicking Same layer.
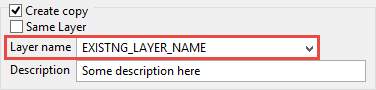
- An existing layer: Leave the option Same layer unchecked. Use the drop-down list to select another existing layer the object will be copied to.
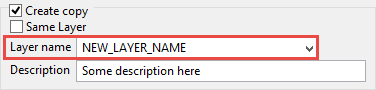
- A new layer: Leave the option Same layer unchecked. Type a new layer name into the Layer name textbox.
- Same layer: Select the option to save it to the same layer by clicking Same layer.
- Click the Select button, then select the object(s) you want to copy.

- Click Cancel on the context menu, or right-click anywhere in the Vulcan workspace to exit the Select mode and return to the Filter panel.
- Click the Save button.

Important: Be sure to save the changes to your Workbench session. If you do not save the changes any edits will be lost.

