Tutorial - Import CSV Database
This tutorial includes step-by-step instructions about how to dynamically create an Isis database without a pre-existing design and view the resulting database.
Opening your data file in Vulcan
Instructions
The first step is to prepare and open your data file in Vulcan.
-
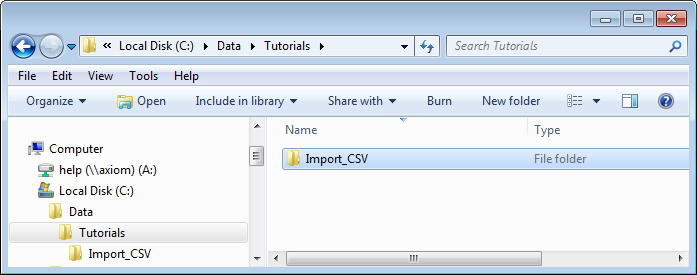
Create a new folder on your local drive. For this tutorial, we will use a folder called C:\Data\Tutorials\Import_CSV\.
-
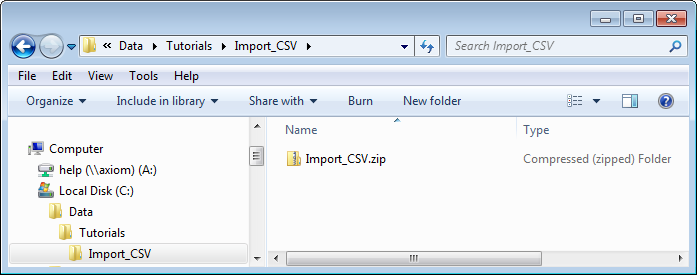
Download the sample tutorial by clicking the following link and saving the.zip file on your local drive: Import_CSV_Data_File
-
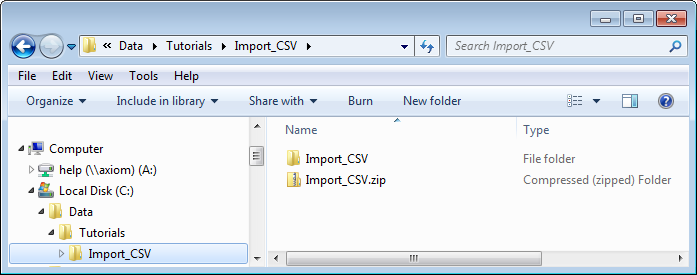
Extract the data from the.zip file to C:\Data\Tutorials\Flag\Import_CSV_Data_File that contains the files required for this tutorial.
-
Open the Vulcan application using the unzipped files using one of the following methods.
To open Vulcan directly and browse to the data file folder:
- Double-click the Vulcan button on your desktop to open Vulcan.
- Browse to your data folder by clicking Browse in the Work Area Section of the Vulcan Launcher window.
- Select your data folder C:\Data\Tutorials\Import_CSV\Import_CSV_Data_File and click OK.
- Click Vulcan.
- Click Cancel on the Open Design File panel that displays.
To open Vulcan by clicking and dragging the data file:
- Click on your C:\Data\Tutorials\Import_CSV\Import_CSV_Data_File folder that you created in Step 3 and drag it on top of the Vulcan button in your desktop to launch Vulcan with the data from the folder.
- Click Vulcan.
- Click Cancel on the Open Design File panel that displays.
Result:
The tutorial data that you extracted from Import_CSV_Data_File.zip is now loaded.
Next step:
You can now begin the CSV file import process.
Importing the CSV files
Instructions
Now that you have opened your data file, the next step is to import the CSV files.
The parameters for the imported CSV files are specified on the Import CSV panel. This panel has four branches. The screenshots below indicate how the screens should be completed for the example in this tutorial.
- Select File > Import > CSV (Databases) > Databases and click OK. The Import CSV window displays.
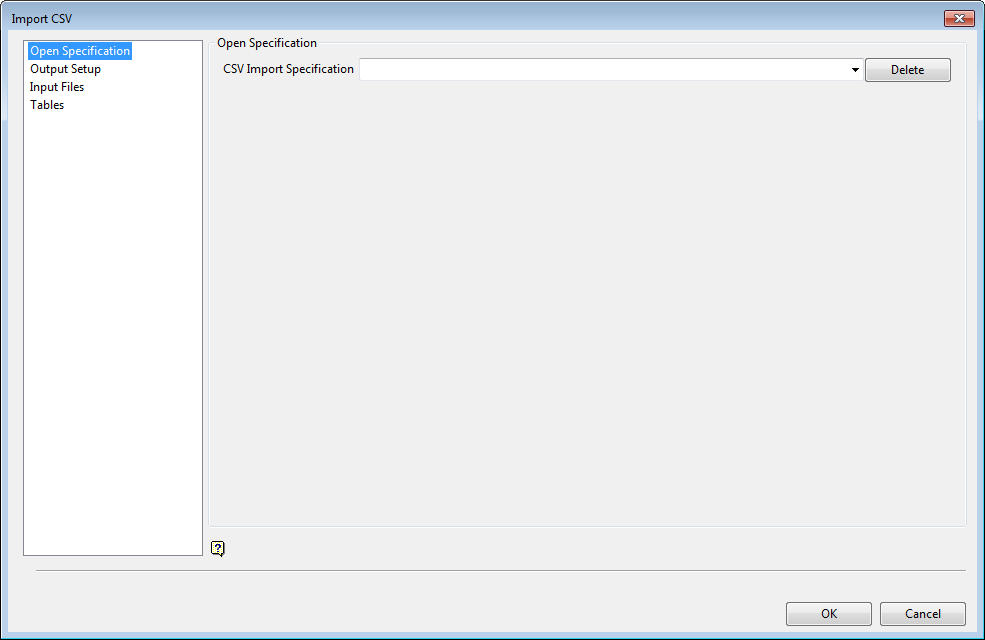
- Click on Output Setup in the navigation panel on the left.
- Select Output to Isis file.
- Enter a name for your output database in the Output File Name box, such as NewDB.dhd.isis.

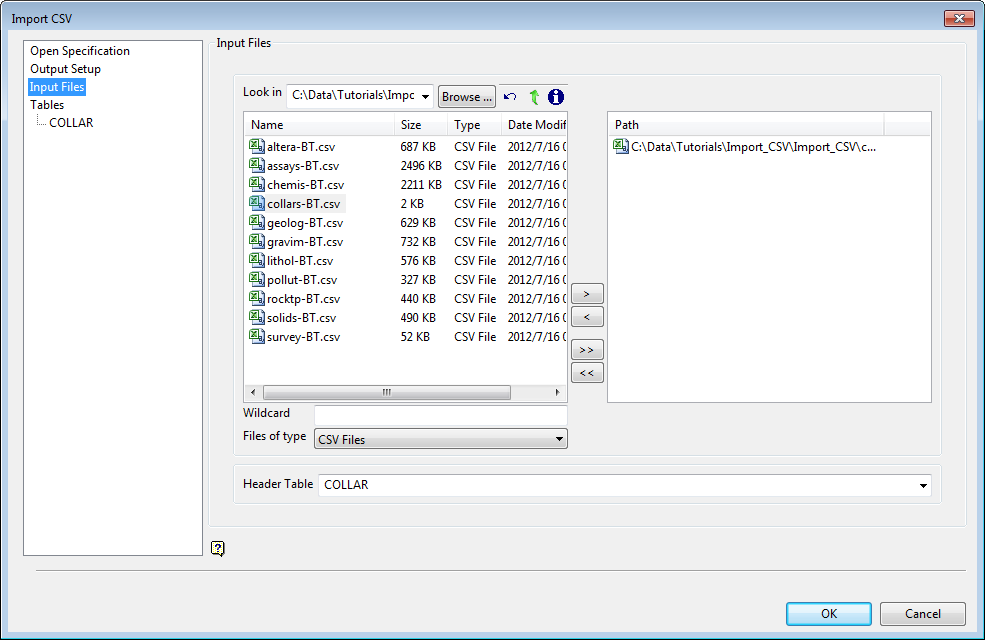
- Click Input Files in the navigation panel on the left.
- Click on collars-BT.csv in the file list first as this will be the column used to identify the primary key.
- Select the file by clicking the > button in between the two panels. This will move the file name to the right side of the panel.
Note You can select additional files the same way, or you can select all files by clicking the >> button. - Select COLLAR from the Header Table drop-down menu.
- Click COLLAR in the navigation panel on the left, and review and adjust any settings, if desired.
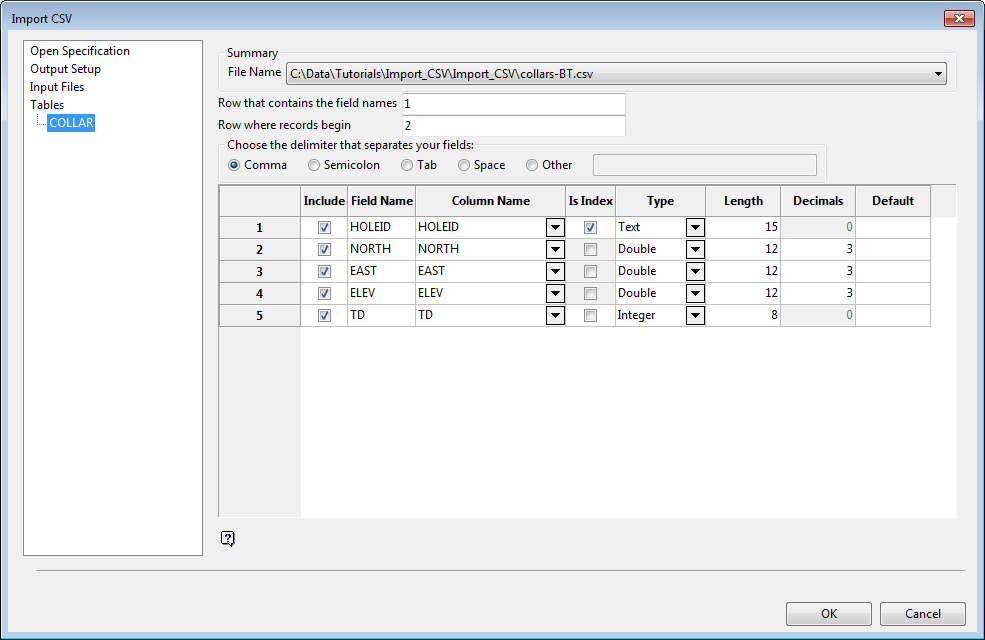
- Repeat for any other tables listed in the Tables list in the navigation panel on the left, if desired.
- Click OK to import the CSV data. When the import is complete, the Import panel displays again.
- Click Cancel to exit the panel.
Result:
The data is imported and the Isis database is created according to the parameters specified on the Import CSV panel.
You can also assign drillhole synonyms during import by selecting the Prompt for Drillhole Synonyms check box on the Output Setup branch of the Import CSV panel. If you want to assign synonyms at a later time, you can open the database design in the Isis editor and assign the synonyms as required.
Next step:
You can now view the data in the newly created Isis database.
Viewing the new Isis database
Instructions
The next step is to view the new information in the newly created Isis database.
- Click the Start button in the lower right corner of Vulcan.

- Click Isis. The Open Database panel displays.
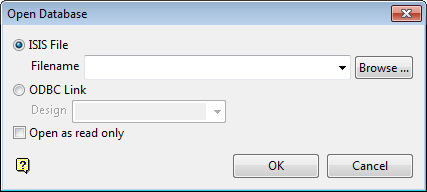
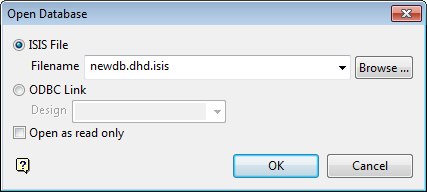
- Select newdb.dhd.isis name from the Filename drop-down menu.
Result:
The Isis database information displays.

