Tutorial - Rapid Pit Design
This tutorial provides step-by-step instructions on how to use the Rapid Pit Design tool.
Rapid Pit Design
The Rapid Pit Design tool allows you to quickly create pit designs at a strategic level, allowing multiple possible alternative designs to be evaluated quickly so that a final design can later be implemented. The tool quickly creates and changes pit designs with tools that provide quick evaluation/reserving.
This feature requires Mine Design Open Pit configuration.
Opening Your Data File in Vulcan
Instructions
The first step is to prepare and open your data file in Vulcan.
-
Create a new folder on your local drive. For this tutorial, we will use a folder called C:\Data\Tutorials\Rapid_Pit_Design\.
-
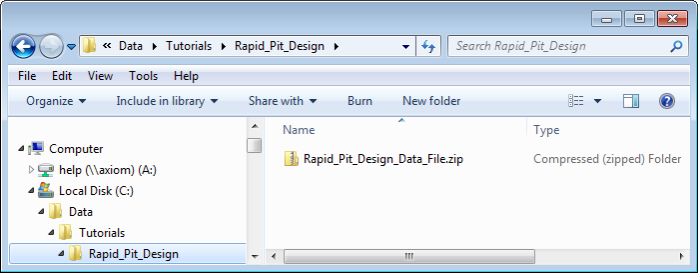
Download the sample tutorial by clicking the following link and saving the.zip file on your local drive: Rapid_Pit_Design_Data_File
-
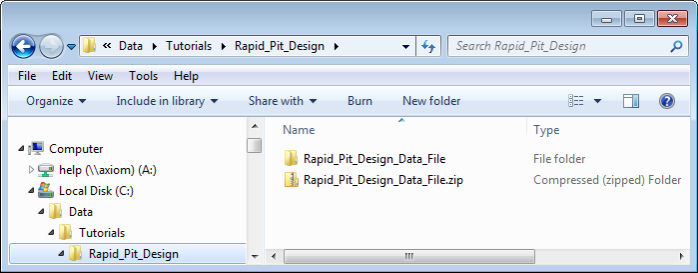
Extract the data from the.zip file to C:\Data\Tutorials\Rapid_Pit_Design\Rapid_Pit_Design_Data_File that contains the files required for this tutorial.
-
Open the Vulcan application using the unzipped files using one of the following methods.
To open Vulcan directly and browse to the data file folder:
- Double-click the Vulcan button on your desktop to open Vulcan.
- Browse to your data folder by clicking Browse in the Work Area Section of the Vulcan Launcher window.
- Select your data folder C:\Data\Tutorials\Rapid_Pit_Design\Rapid_Pit_Design_Data_File and click OK.
- Click Vulcan.
- If prompted, select shawdefault.dgd.isis in the Design File drop-down menu.
To open Vulcan by clicking and dragging the data file:
- Click on your C:\Data\Tutorials\Rapid_Pit_Design\Rapid_Pit_Design_Data_File folder that you created in Step 3 and drag it on top of the Vulcan button in your desktop to launch Vulcan with the data from the folder.
- Click Vulcan.
- If prompted, select shawdefault.dgd.isis in the Design File drop-down menu.
Result:
The tutorial data that you extracted from Rapid_Pit_Design_Data_File.zip is now loaded.
Next step:
You can now begin designing your pit using the Rapid Pit Design feature.
Starting the Rapid Pit Design Tool and Loading the Pit Specification
Now that you have opened your data file, the next step is to open the Rapid Pit Design tool and load your pit specification.
-
Click the Start button on the lower right corner of the Vulcan window.
- Click Rapid Pit Design.
- Select the demo1 specification from the Choose Specification drop-down menu.
- Click Load.
-
If necessary, click the Zoom Data Extents button (
 ) on the Graphics toolbar on the right side of the screen. This will re-centre the layer in the centre of the screen and zoom to fit the entire object on the screen.
Result:
The specification is loaded and the pit design displays.
Next step:
You are now ready to modify the pit design properties using the Rapid Pit Design tool.
Viewing the Pit
You are now ready to view the pit.
- If necessary, click on the arrow (
 ) in the upper right corner of the window to open the Properties window.
 - In the Properties window, select Current Component and select newPit from the drop-down menu.
- Select 85.0 from the Current Bench drop-down menu.
- Click on the Rapid Pit Design window to refresh the screen. The current bench will be highlighted.
- Select Utilities > Project (or press the X key) to display the Project panel.
- Enter 20 in the Number of Benches to Project box to project 20 benches up.
- Click OK.
- Select Utilities > Generate Reserves (or press the G key) to display at the Workbench tab in report window.
- In the Properties window, click the Expand button (
 ) next to the cu variable.
 - Select the Display as Reference check box.
- Click on the Rapid Pit Design window and press Page Down to step down a bench.
- Continue stepping down benches to view the block model.
Related topics

