Plot RIN Data
Plot Reserve Inventory Data
The Plot RIN Data option to create a text layer containing specified fields from a reserve inventory database (
.rin
). Once in a text layer, the fields can be plotted along with the blocks.
Instructions
On the Open Pit menu, point to Batvol, and then click Plot RIN Data to display the RIN database panel.
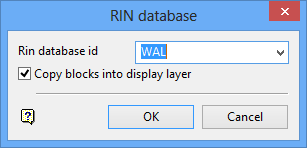
RIN database id
Select the pit area name of the reserve inventory database that was generated through the Run Batvol option, or enter a new name.
Copy blocks into display layer
Select this check box to copy the blocks to the display layer.
Click OK.
The following panel displays.
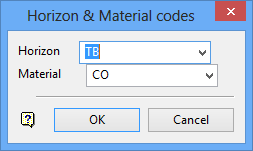
The horizon and material codes are used in the selection of the required block information. The codes can be selected from the list or manually entered.
Click OK.
The following panel displays.
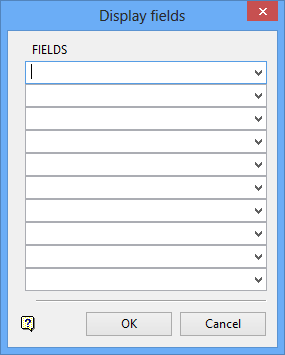
Select the fields to be displayed.
Click OK.
The Font dialog box displays. Select a font for the text layer from the list.
The following panel displays.
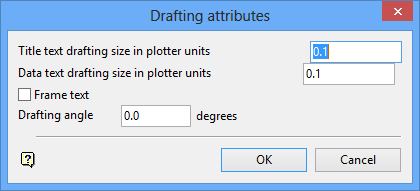
Title text drafting size in plotter units
Enter the size of the title text on the plot. The size is in relation to the map scale if you selected a transformable font (a font other than Normal, Small, Medium or Large).
For example: If the title text size is set to 0.30, and the map scale to 1:100, then the title will appear the same size as an object that is 30 units tall. Changing the scale to 1:1000 results in title text of 300 units and so forth.
Data text drafting size in plotter units
Enter the size of the data text on the plot. For transformable fonts, this is in relation to the map scale (see above paragraph).
Note The title text and data text will be treated as two separate text objects.
Map scale
Enter the map scale that will be used with the text drafting size to determine the size of the text on the screen. This field only displays if you have select a transformable font.
Frame text
Select this check box to frame the text. The frame is only displayed on the screen and is not plotted. This check box only displays when you select a non-transformable font.
Drafting angle
Enter the angle at which the text block displays.
For example: 0° = horizontal (normal), 90° = vertical. The angular unit of the angle, either gradians or degrees, is set through the Miscellaneous section of the Tools > Preferences option.
Click OK.
The Multiple Selection box displays. In this box, specify your method for selecting the blocks and select the blocks. The screen is then updated with the text objects.
If you chose to copy the blocks to the display layer (through the RIN database panel), then the Allocate Layer panel displays first.

Allocate Layer panel
Name
Select the name of the layer from the Name drop-down list, or enter a new name to create a new layer. If you select an existing layer that is already loaded, subsequent digitising will be appended to this layer. If you select an existing layer that is not loaded, you will be prompted to specify whether you want to load the existing layer or overwrite its existing content.
Description
Enter a description of this layer. The description can contain up to 80 alphanumeric characters and can include spaces. If a description is not entered, a default description will be used instead. If the selected layer already has an assigned description, it displays when the layer is selected. Existing layer descriptions can be overwritten.
Click OK.
Notes- If you choose to Select By Object, then all blocks having the object seed name of the selected block will also be selected and searched for reportable data.
- Use the Design > Text Edit > Drag or Design > Text Edit > Move options if the text objects overlap.

