Update Topography
Use the Pit Topography option to update topography with pit advance, update topography with dump advance, or find the topography change.
Note: This can also be accomplished using the replace line tool.
Instructions
On the Open Pit menu, point to Open Cut Design, and then click Update To pography to display the follow interface.

This tool has three operational modes:
Fill - update the topography with dump advance.
Cut - update the topography with pit advance.
Difference - find the topography change.
The Fill and Cut options work in much the same way. They both follow the same basic steps as outlined below. The only difference is that the Fill option will add material to the topographic surface and the Cut option will remove material.
Update topography with dump advance:
The option for dump advance is used as an example below. However, the option for pit advance works the same way.
Steps:
Digitise the area that you want to add by using polygons and then save the layer.
Next, on the Open Pit menu, point to Open Cut Design, and then click Update To pography to open the Update Topography panel.
Select Fill from the Options menu, then click OK.
The following label will appear at the top of the screen

instructing you to select the original topography layer. Select Layer from the context menu, then select the topography layer. If you only have one layer representing the topography, right-click to cancel to escape this step and move on to the next step.

Context menu
The following label will then appear at the top of the screen

instructing you to select the layer showing the edits you want done to the topography layer. Select the layer(s).
When you have finished selecting the edit layer(s), right-click to complete the operation. The topography layer will be rebuilt showing the updates.
Topography layer with updated edits.
Find the topography change
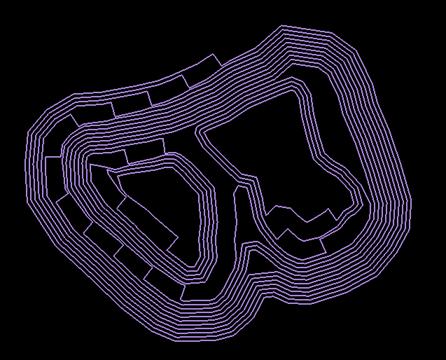
Original topography layer
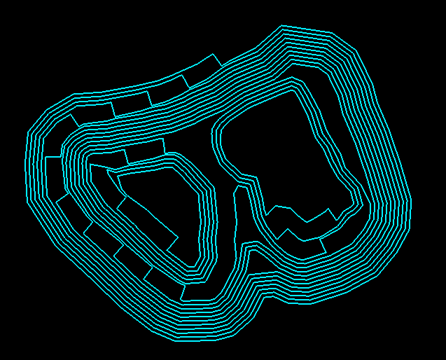
Edited copy of topography layer
Note: Make a copy of the topography layer before you start. You will need an unmodified copy of the topography layer and a modified layer to complete this operation.
Load both the original and modified versions of your topography layers into Vulcan.
Next, on the Open Pit menu, point to Open Cut Design, and then click Update Topography to open the Update Topography panel.
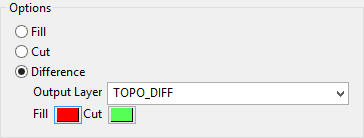
Select Difference from the Options menu. Select an output layer from the drop-down list or enter a name for a new layer. Then select the colours to represent areas of Fill and Cut.
Click OK.
The following label will appear at the top of the screen

instructing you to select the original topography layer. Select Layer from the context menu, then select the topography layer. If you only have one layer representing the topography, right-click to escape this step and move on to the next step.
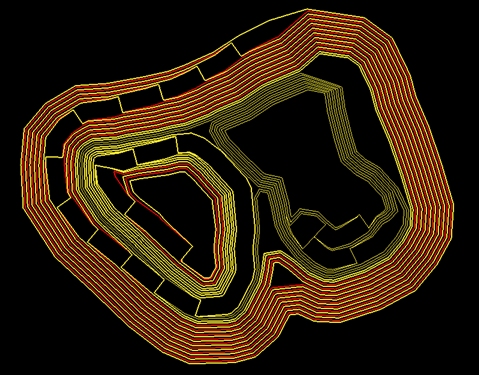
When you have finished selecting the edit layer(s), right-click to complete the operation. The operation will finish by producing polygons corresponding to the areas of Fill and Cut. Any areas where material has been added to the original topography will be coloured whatever colour you chose for Fill. (In the case of this example, they will be red.) Any areas where material has been removed from the original topography will be colour whatever colour you chose for Cut. (In the case of this example, they will be green.)
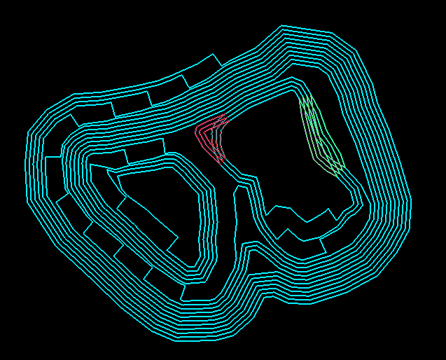
Differences superimposed on topographic layer.
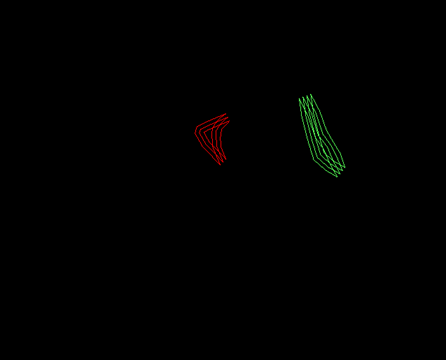
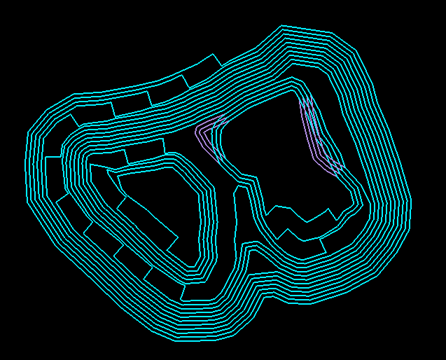
Differences as separate layer.

