Save Layer To
Use Save Layer To to save loaded layers into a design database other than the currently open database. The nominated database may be stored in any existing directory.
Instructions
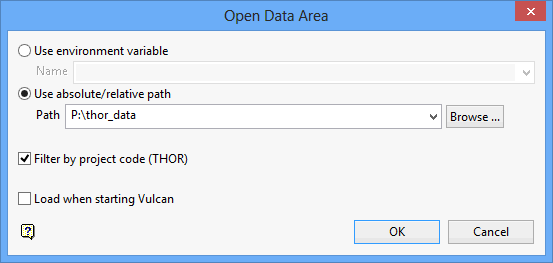
On the Underground menu, point to Microseismic, and then click Save Layer To to display the Open Data Area panel.

Use environment variable
Select this option if you have created an environment variable that points to the data area. Enter, or select from the drop-down list, the environment variable. The following environment variables are reserved by Vulcan and should not be used:
-
ENVIS_<any value> -
KRJA_<any value> -
VULC_<any value> -
WHITTLE -
MAPSOFT -
PATH -
VULCAN -
MANPATH -
HOMEPATH -
CLIENT_BIN -
CLIENT_EXE -
CLIENT_FLIB
Note: Add a forward slash '/' to the end of the environment name.
Select this option to specify the path (for example either relative or full) to the data area.
Use absolute/relative path
Filter by project code
Select this check box to list all of the design databases that have the same project code as your project file (.dg1).
Load when starting VULCAN
Select this check box to force Vulcan to start with the chosen design file. It is also possible to specify a design file to open when Vulcan starts by editing the project file.
Select OK.
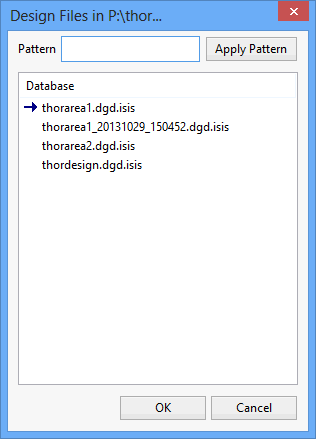
A list is then produced of all the design database files found within the specified data area. Note the arrow indicating the currently open design database.

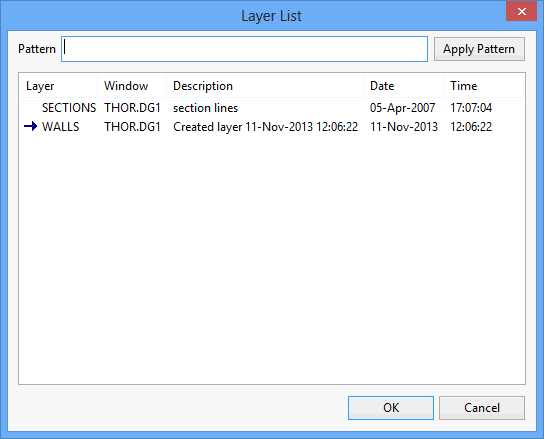
Select the design database into which to save the layers and click OK. A listing of the layers in the chosen design database displays.

Click the desired layer(s) to overwrite. Use a left mouse click with the CTRL and Shift keys to choose multiple entries.
It is also possible to use the Pattern field, the Apply Pattern button and wildcards (* multi-character and ? single character) to highlight the layers that begin or end with certain characters (for example to highlight all layers that begin with 'P', type 'P*' in the Pattern field and select the Apply Pattern button. All matching layers will be selected (highlighted).
Once the layer(s) to overwrite have been selected, click OK. When prompted, confirm the layer overwrite by selecting Yes. If you have selected multiple layers for overwriting and want to overwrite them all in one step, instead select the Yes to All button.
Alternately, click No to retain the original layer. Clicking Cancel will abort the Save Layer As action.

